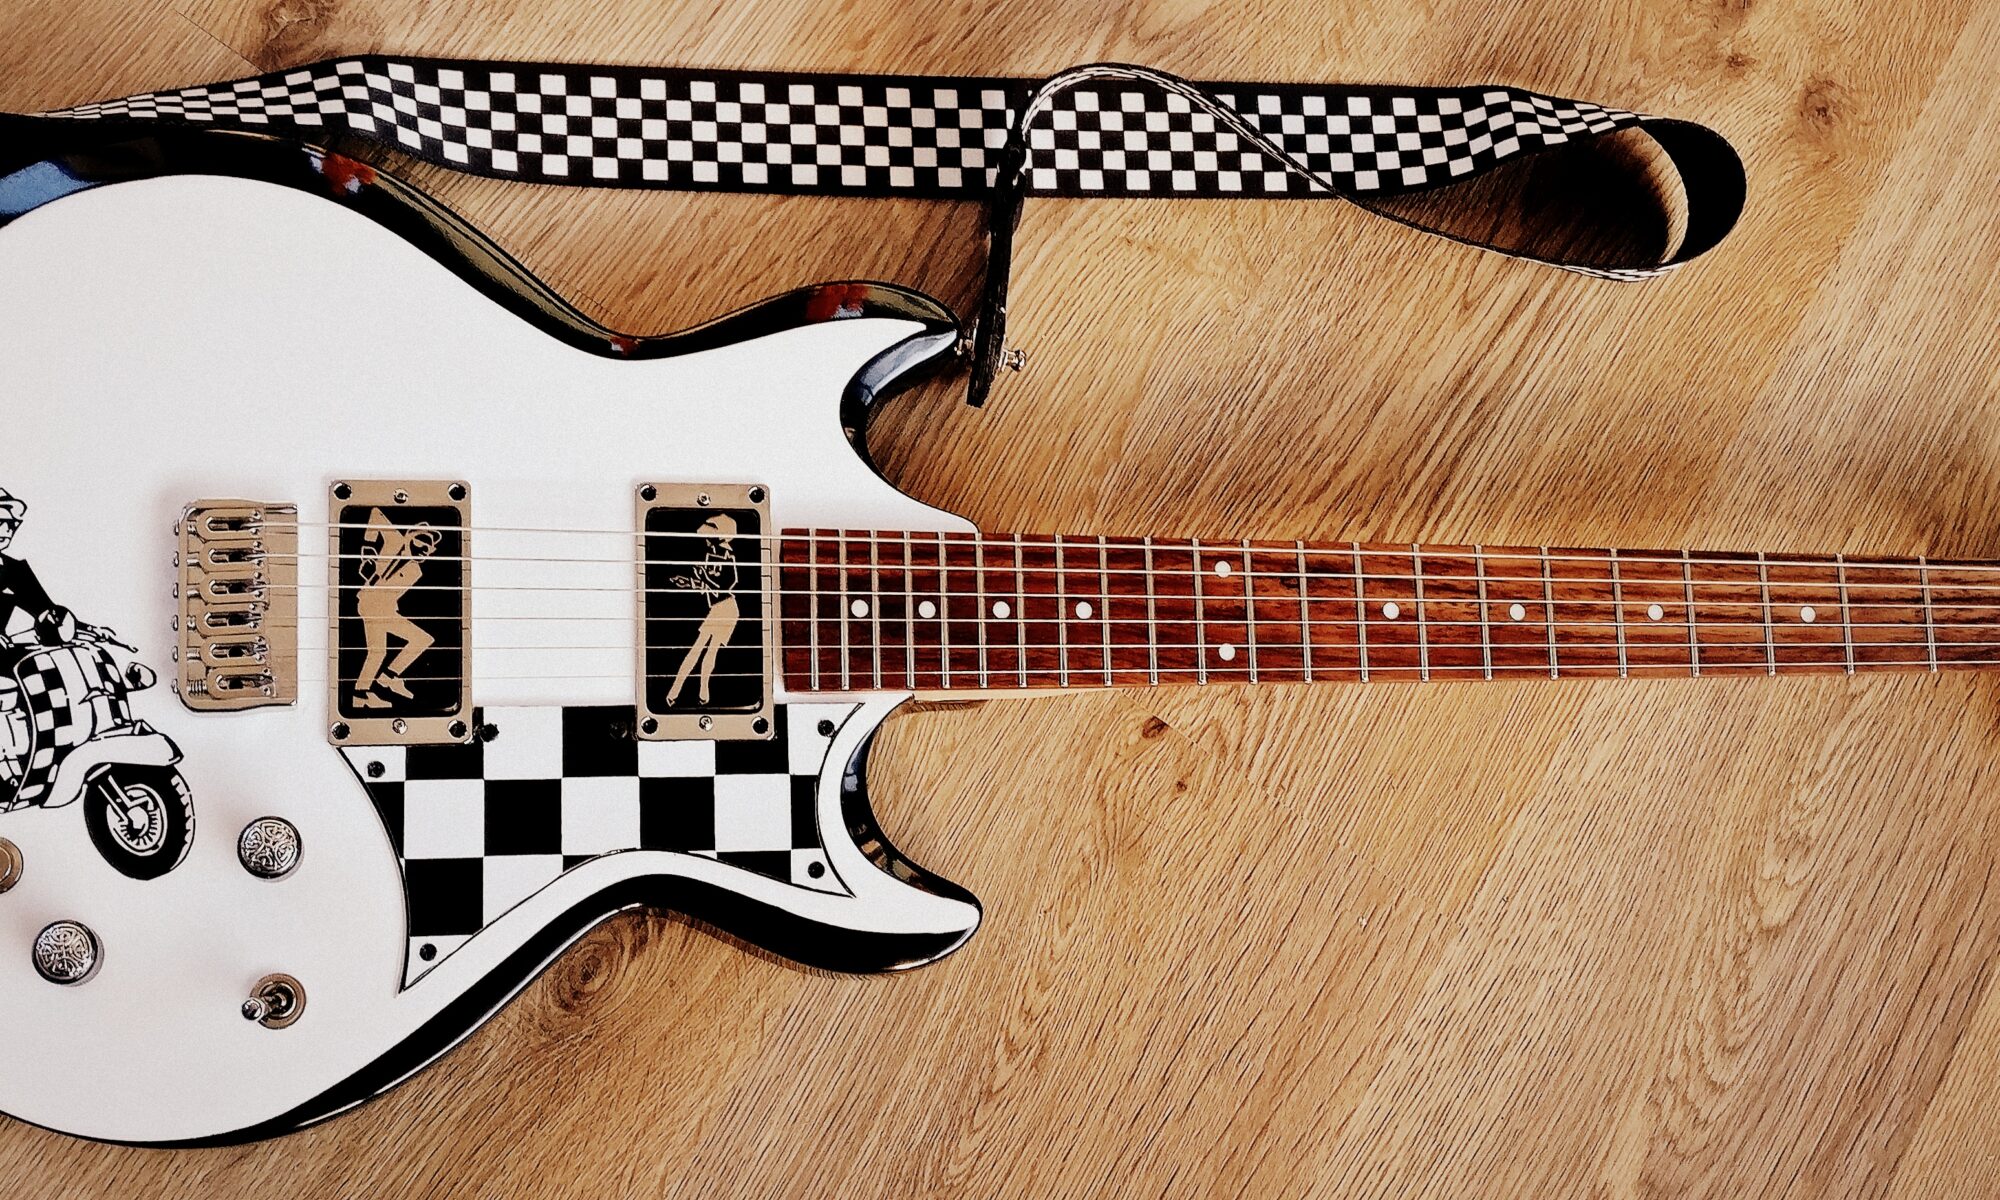
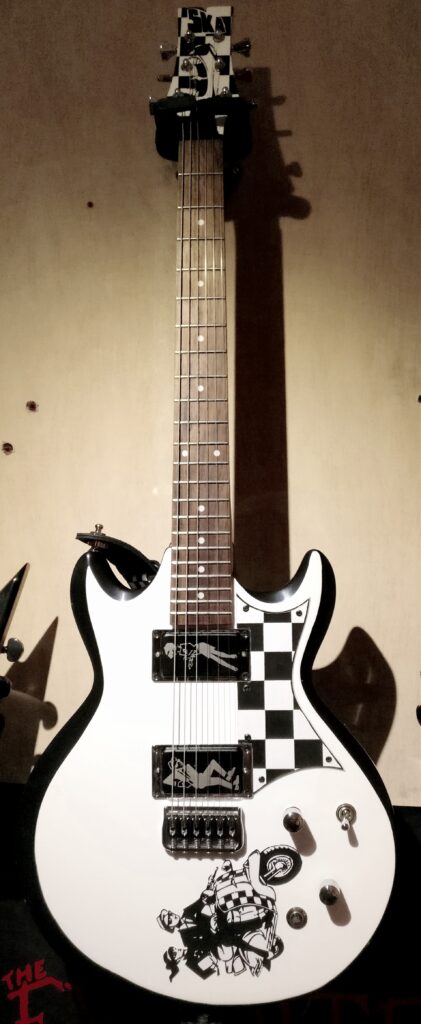
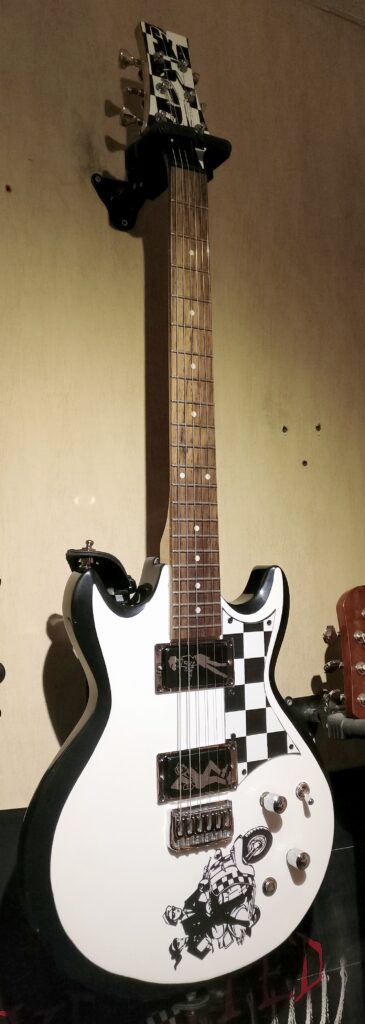
At the time of writing, this guitar is currently available to buy! Click here for details.
Contents
To quickly skip to a relevant section, please consider using the following links:
Deleting the old pickup selector slot, adding new control holes and test fitting the bridge
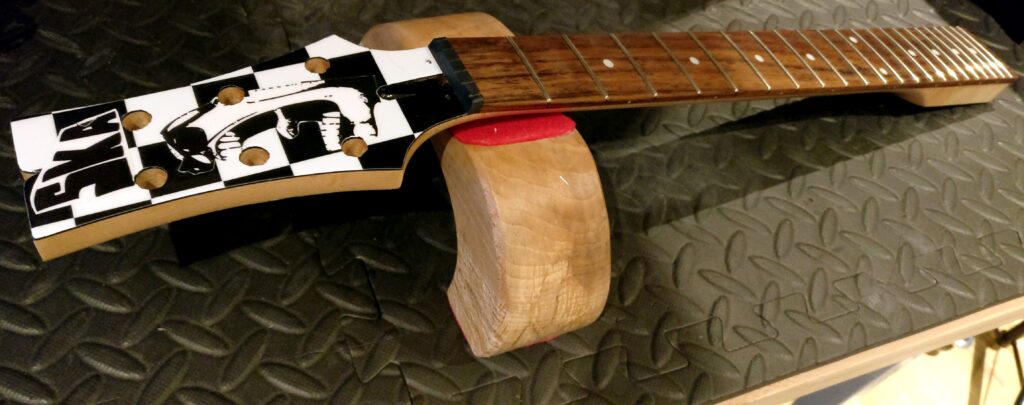
Headstock drilling for machine heads and vinyl treatment
Introduction
So at the end of a three-month project, I felt it worth documenting what I did with my Ibanez Gio GAX30. Both as a reference for myself and for those who may want to try all or some of what I did to this guitar.
What follows isn’t so much a tutorial, more a description of the various steps I undertook to produce the final result you see at the top of this post.
Disclaimer (2017): I do not in any way claim to be an expert, and did make mistakes during this build.
I’m also not affiliated with any of the manufactures or suppliers mentioned in this post. I am providing links for reference only.
The Guitar
Realising I didn’t have a real “Ska” guitar, I decided to try to find one on a budget. I quickly found that nothing really fitted: mostly quality/neck profile and finish issues. I knew that I wanted something light, a decent shape and preferably shred-able.
The final criteria immediately made me think of the go to for shred: Maverick. Sadly, they’re out of my budget, so I started looking at Ibanez and soon found that they had an entry-level range that fitted the bill: light, right shape, reasonable neck profile and finish.
Wandering over to my favourite reasonably priced guitar emporium, I turned to eBay. The going rate for this model in good condition currently is about £90. I found mine for £50: win!
Playing with Vinyl
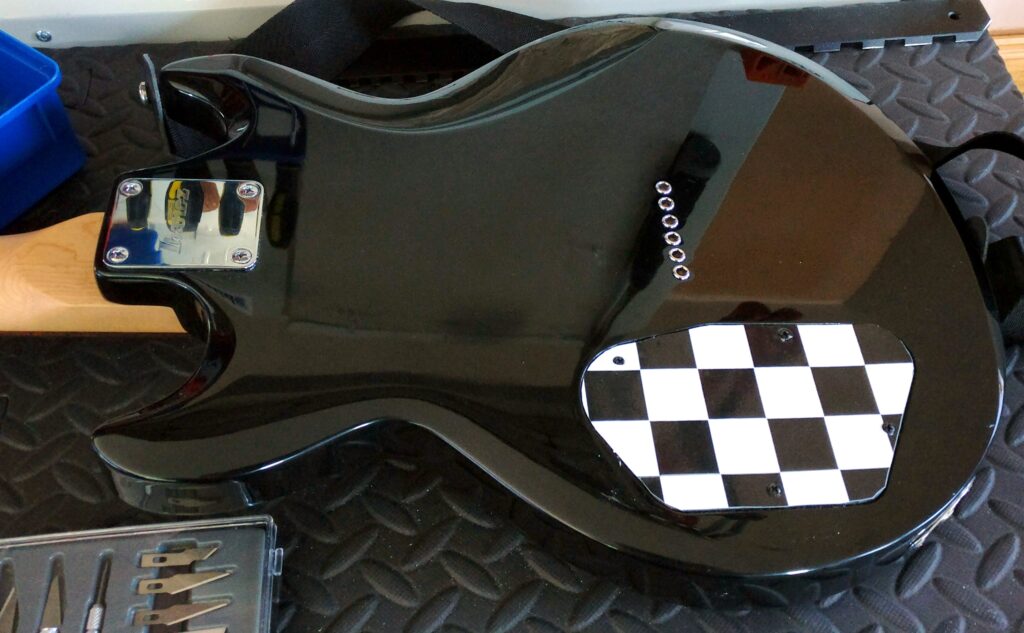
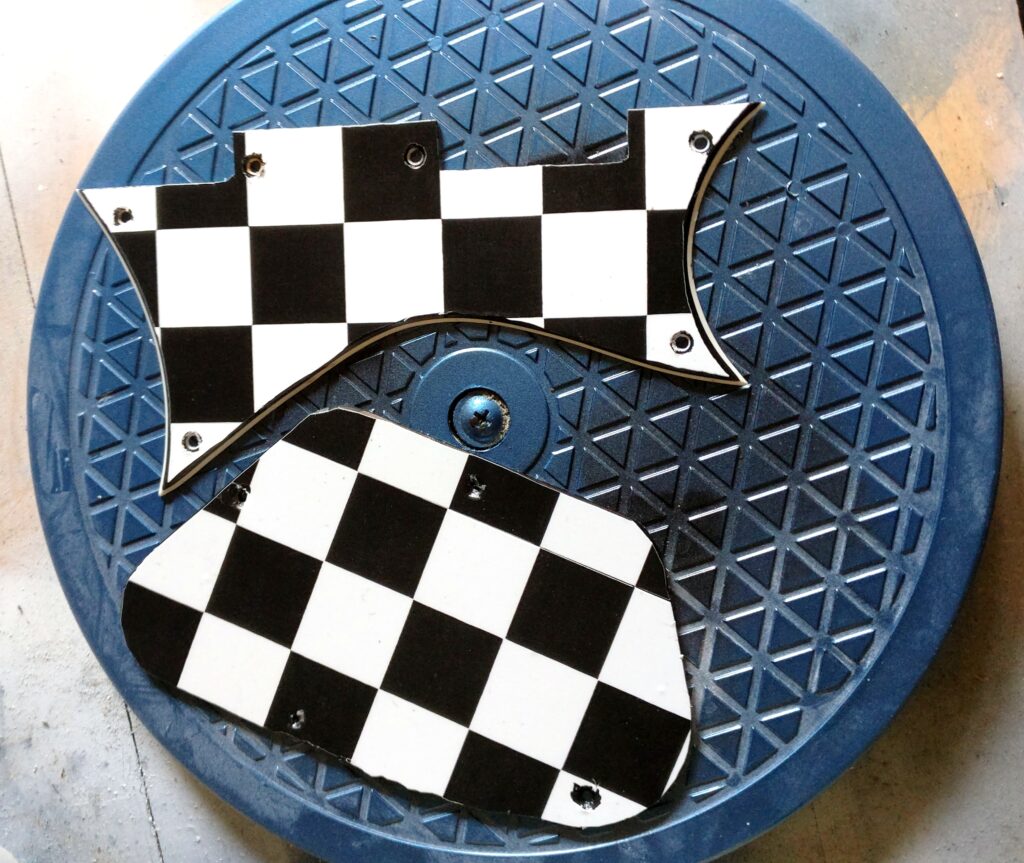
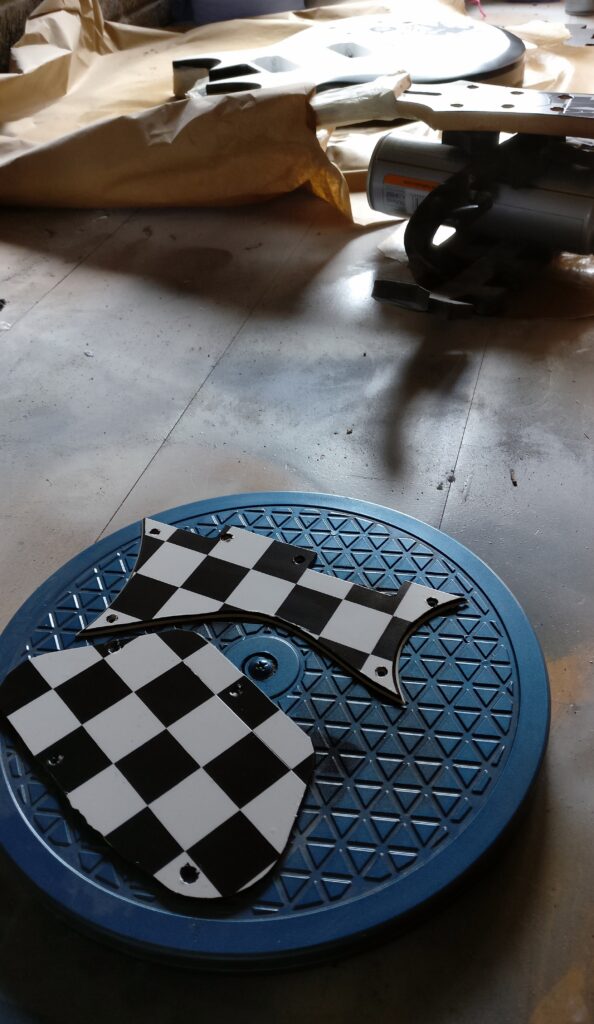
Quick wins: “let’s make it Ska now!” So, first mistake and piece of advice: hobby knives must be good for something, but it’s not cutting vinyl. The backplate was cut using a hobby knife, the pickguard was using a scalpel. I’ve not really used either in anger other than to cut stencils, but I can say that I kept the scalpel and safely disposed of the hobby knife.
New Parts
From the start, my plan was to basically just keep the body and neck and change everything else. In the end I kept the Ibanez nut, however everything else was changed:
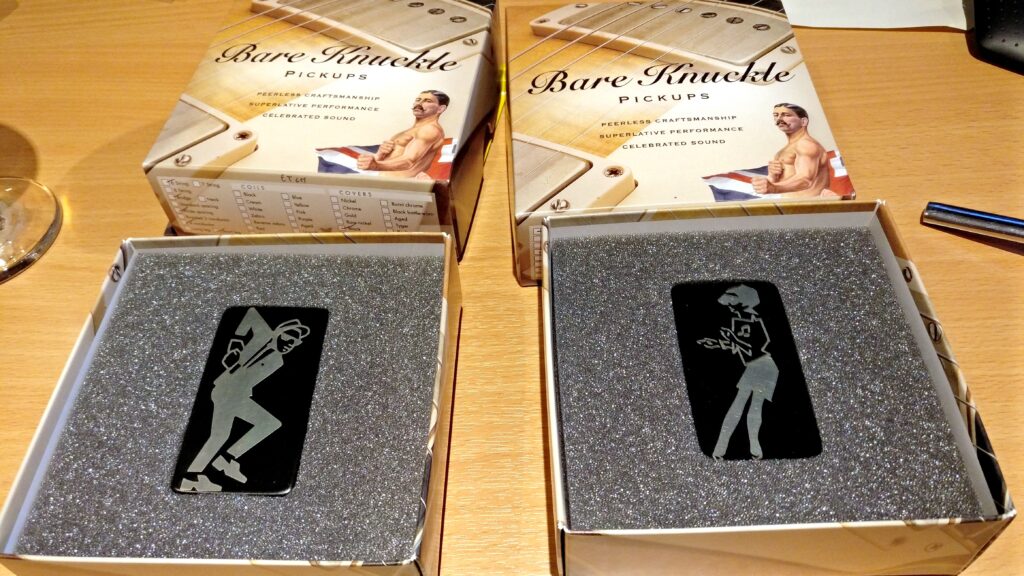
Pickups
Neither particularly shout “Ska” at you, but both are cracking pickups!
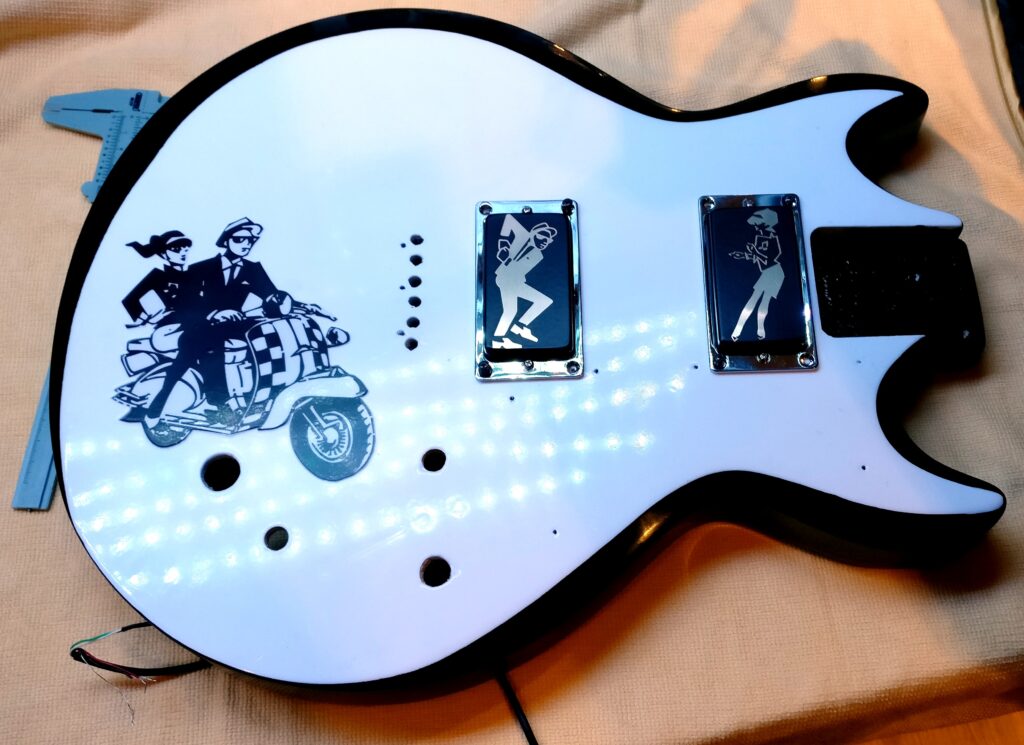
Bridge: Bare Knuckle Warpig, custom etched with “Skaman” figure
Neck: Bare Knuckle Nail bomb, custom etched with “Beat girl” figure
Electrics
Iron Age Accessories kill switch
WD Music Les Paul toggle switch
WD Music vintage braided wire (I got over-paranoid and electrical taped this stuff as the braid is conductive. Next time I’ll probably use rubber insulated wire.)
WD Music 500k push/push pot (volume and coil split)
CGE 500k pot (tone)
Sprague Orange Drop 0.022 Capacitor (Polypropylene dielectric)
Switchcraft jack
Tuners
Hipshot Grip-Lock open in chrome
Bridge
Hipshot 6 string fixed: this wasn’t a great fit for the guitar and required a shim for the neck to make it work. It looks cool and is a definite improvement, but would probably need to use a different one if I did this again.
Accessories
Obligatory black and white chequered strap from Levy’s
Chequered Vinyl “car decal” tape
Couple of vinyl stickers from RedBubble
“Revolution” neck plate
Automotive White Primer
Automotive Gloss White Paint
Teardown
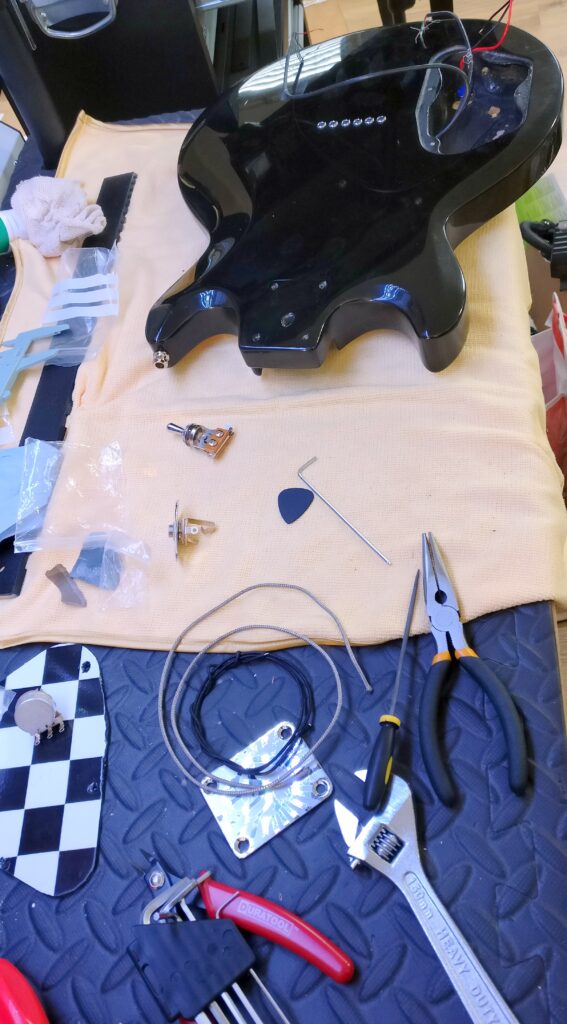
As with any guitar teardown, this was fairly painless. Screwdriver and socket wrenches: 10 mins and we’re there.
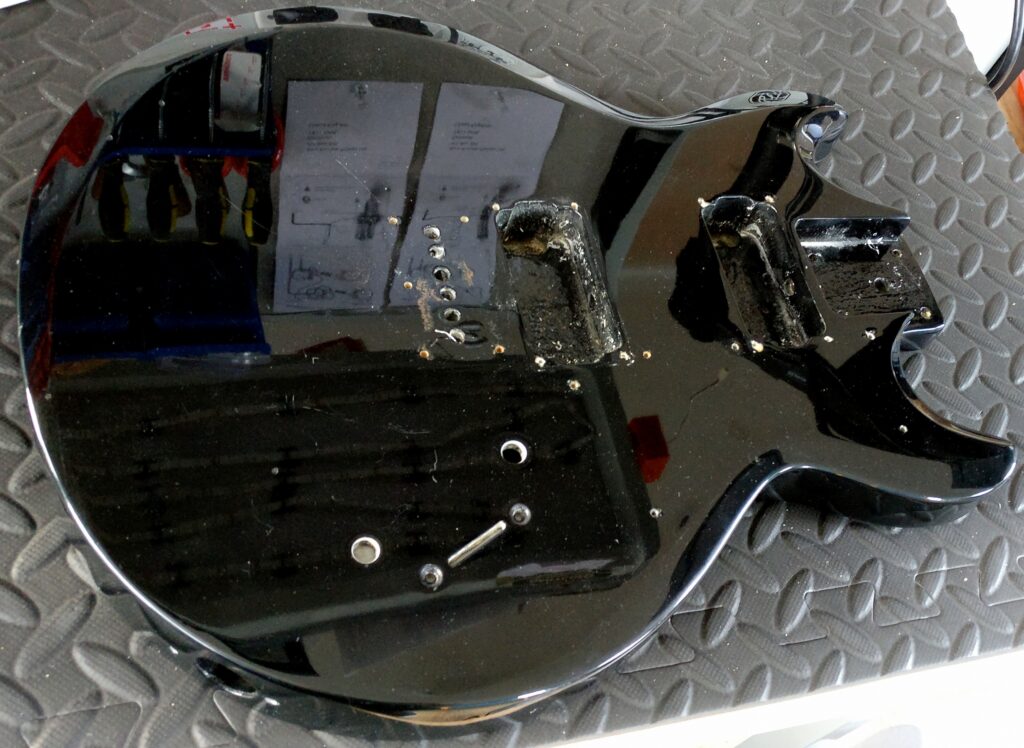
Deleting the old pickup selector slot, adding new control holes and test fitting the bridge
WARNING: This gets much worse before it gets better!
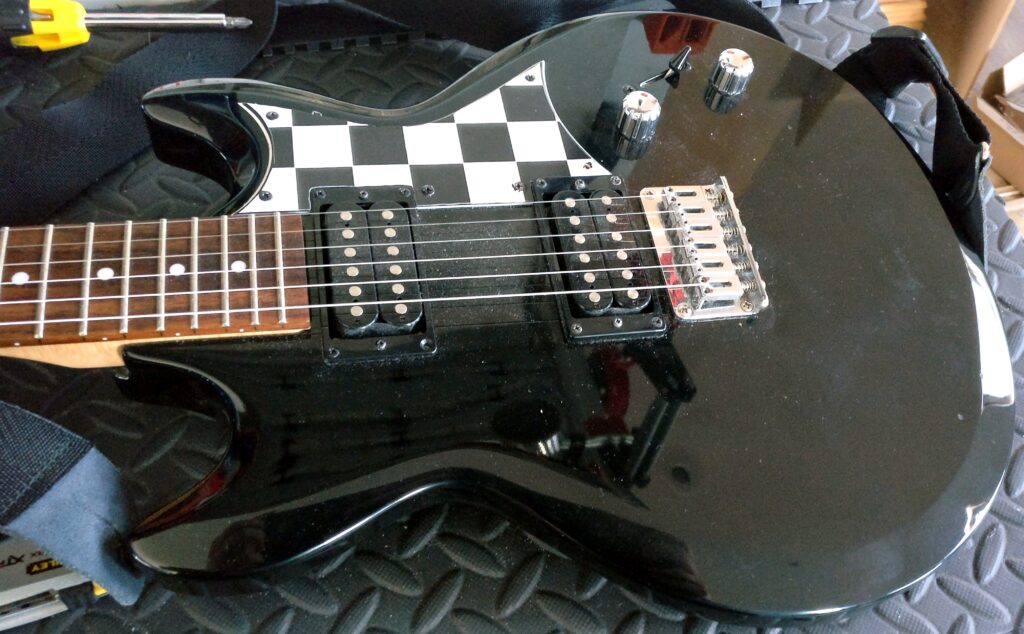
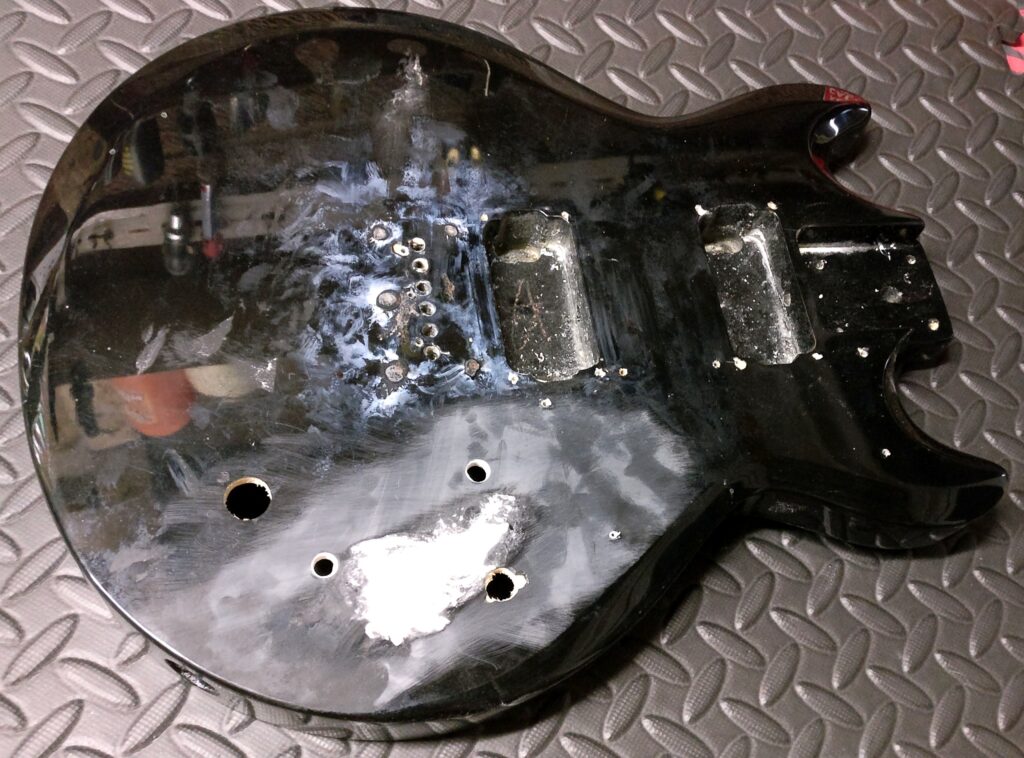
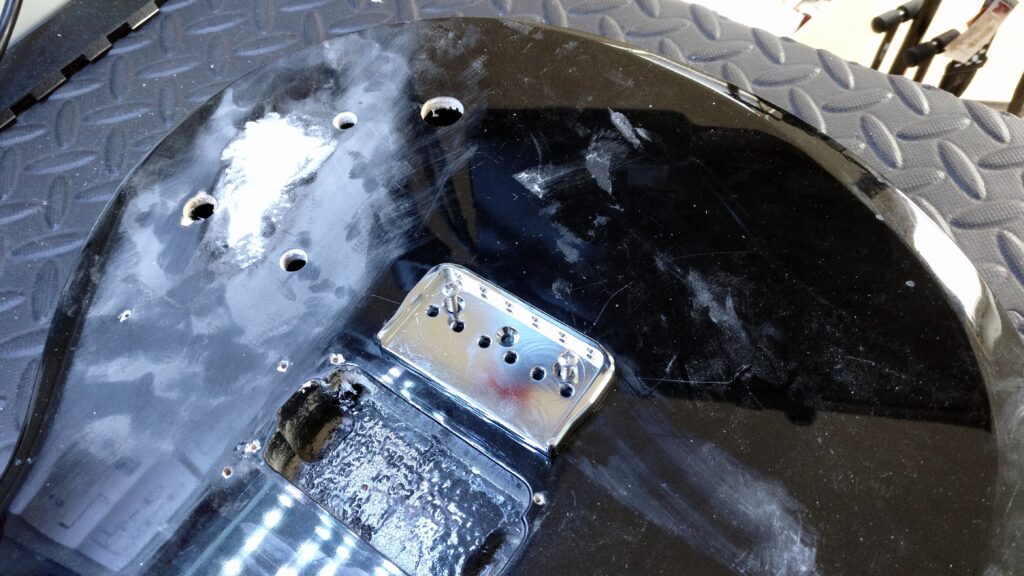
I decided to move from the three-way CRL (Strat Style) lever switch to a Les Paul style straight toggle. This meant removing the slot and screw holes where the lever switch had been.
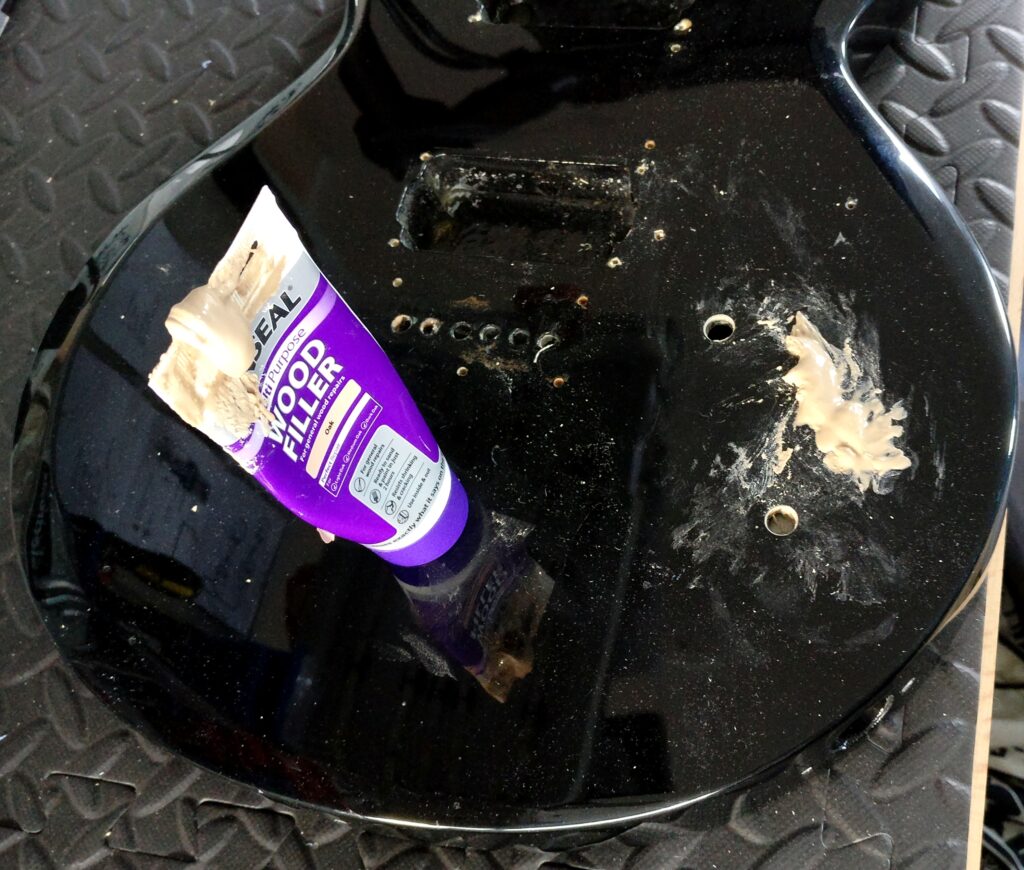
To achieve this, I bought a small pot of oak wood filler, masked the bottom of the hole and tried to fill it.
In my case, the filler exploded covering everything in filler; however, this made it much easier to apply from the back end of the tube, which also acted as a spreader.
I deliberately flooded the holes, packing the filler down to get a good fill.
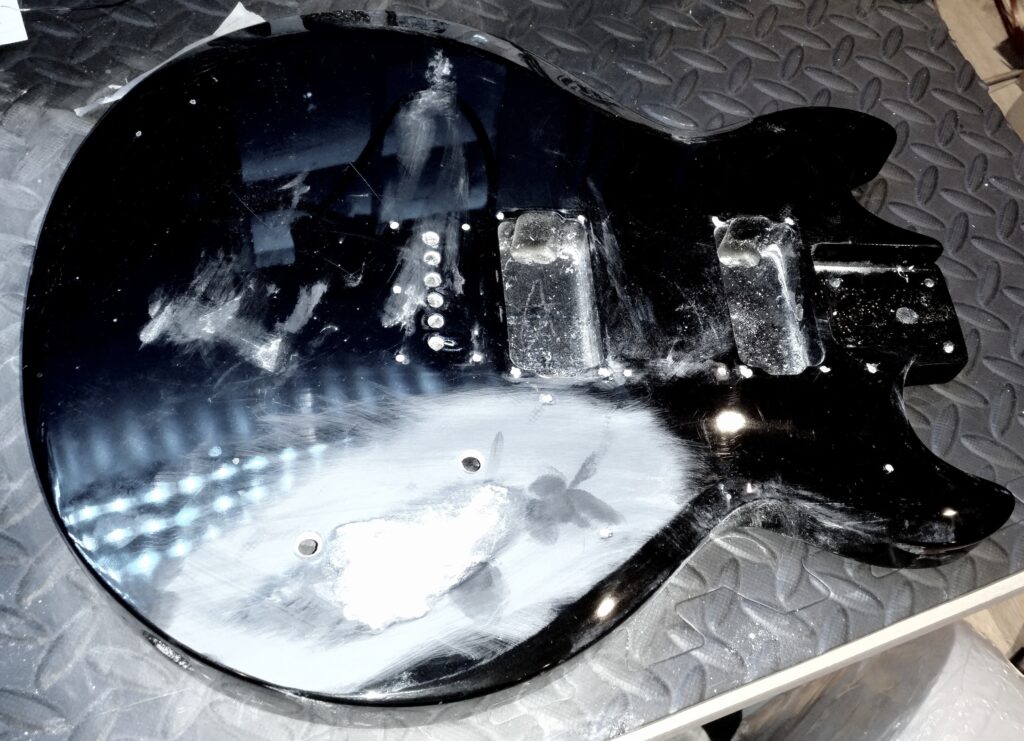
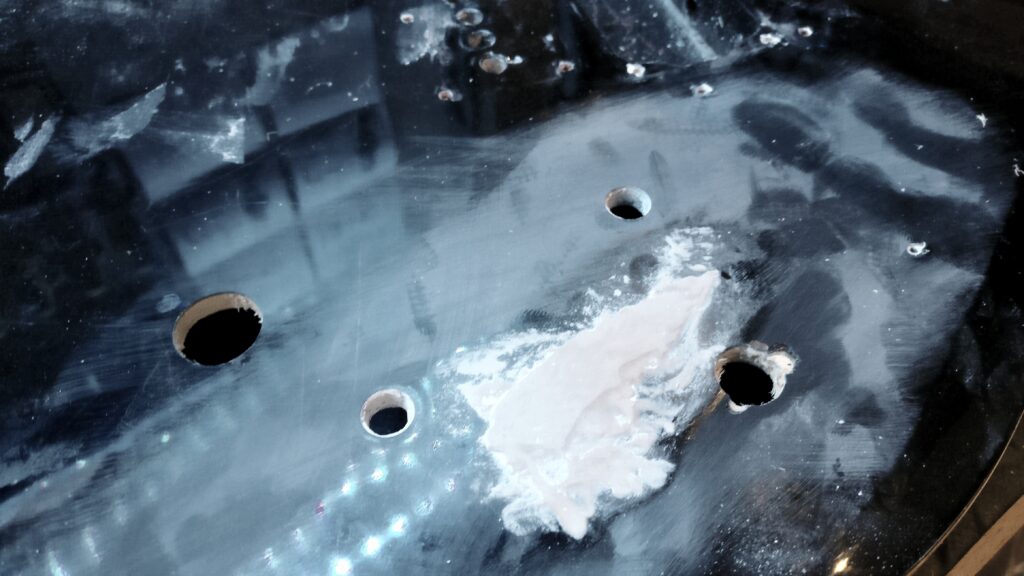
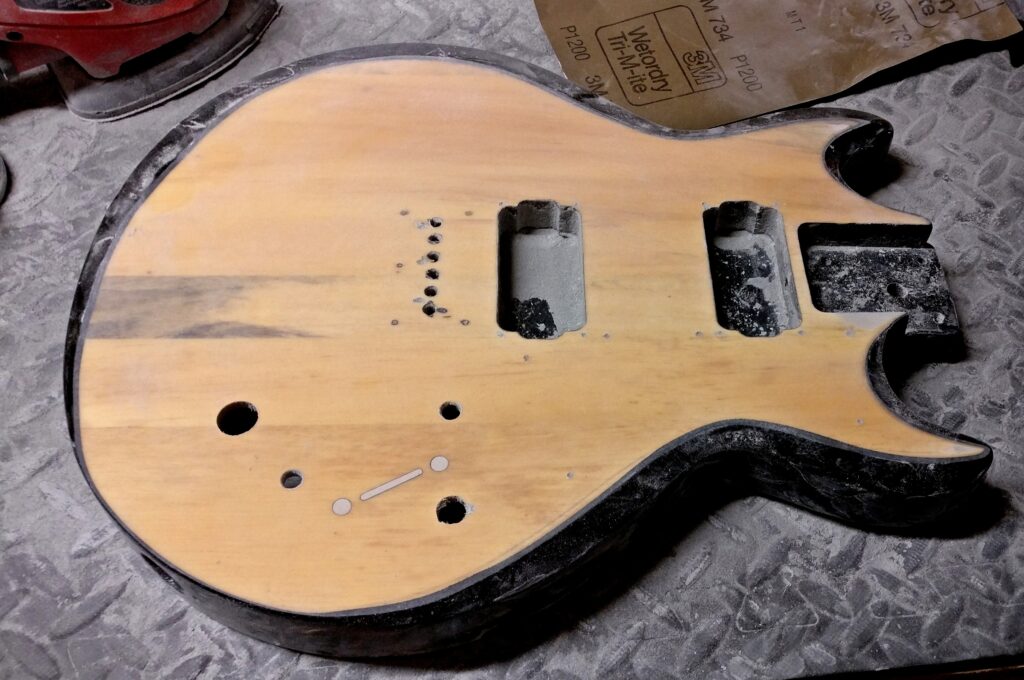
Once set, I sanded it down to try to make it look better.
Next I used a flat wood bit to drill the new kill switch hole and a regular round bit for the selector hole. To achieve this, I first drilled a pilot hole from the back to the front of the guitar, then drilled front to back with the wider bits. The flat bit didn’t seem to damage the lacquer, so that looks good for retrofits where you don’t want to refinish the body. The round bit chipped the lacquer: no issue for me, as I was about to sand it back anyway.
Note for later: Once painted, these holes can become too small. Be ready to file back to size afterwards.
At this stage, I also filled the holes for the original bridge screws using superglue: simply flooding the holes, then sanding the tops flat once cured.
Next, I lined the new bridge, attempting to line it up with the string holes. In my case, the bridge was not an ideal fit for the guitar (possibly the wrong scale?) so this alignment method meant that the bridge was about 6 mm too close to the neck to set up properly. More science and measuring next time!
Headstock drilling for machine heads and vinyl treatment
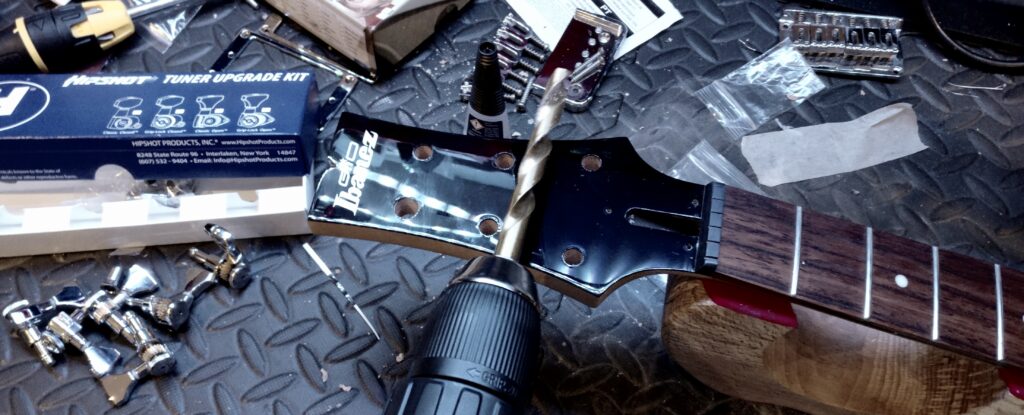
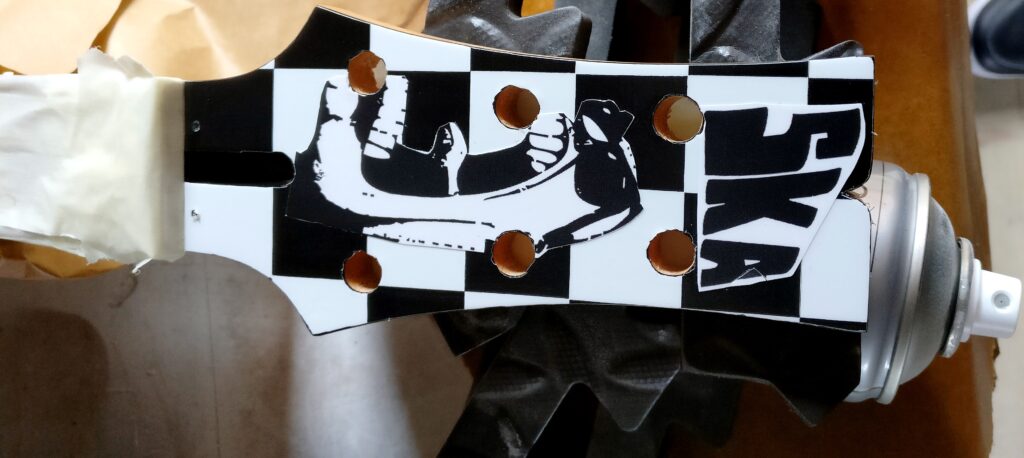
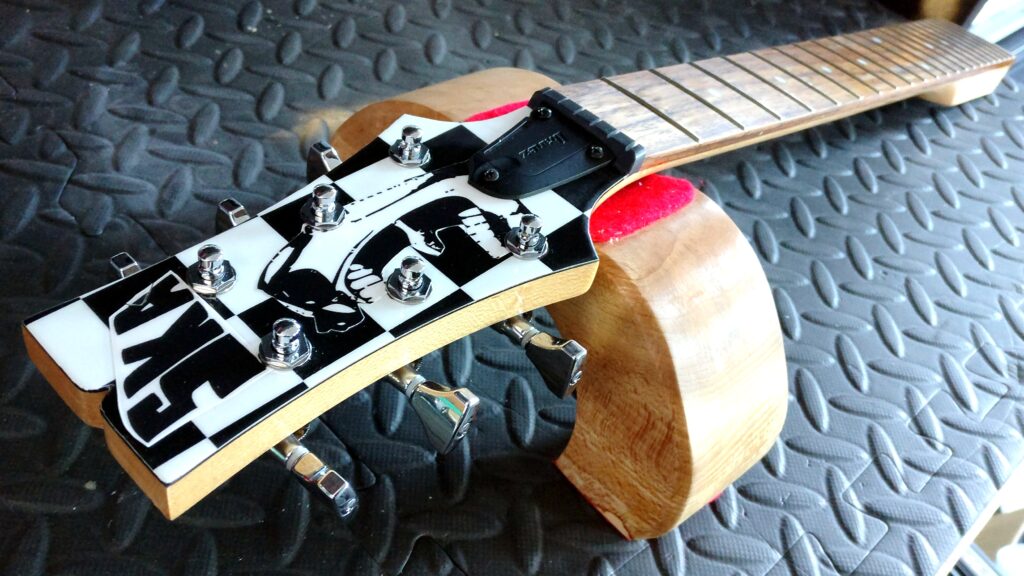
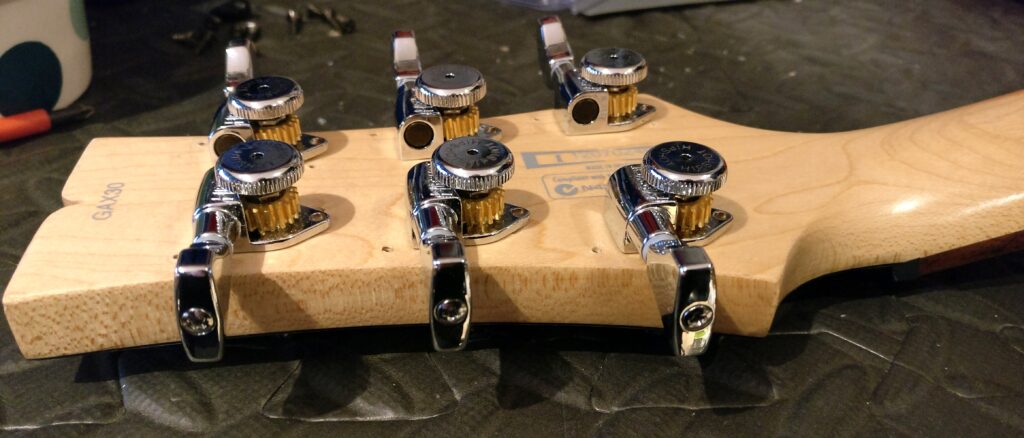
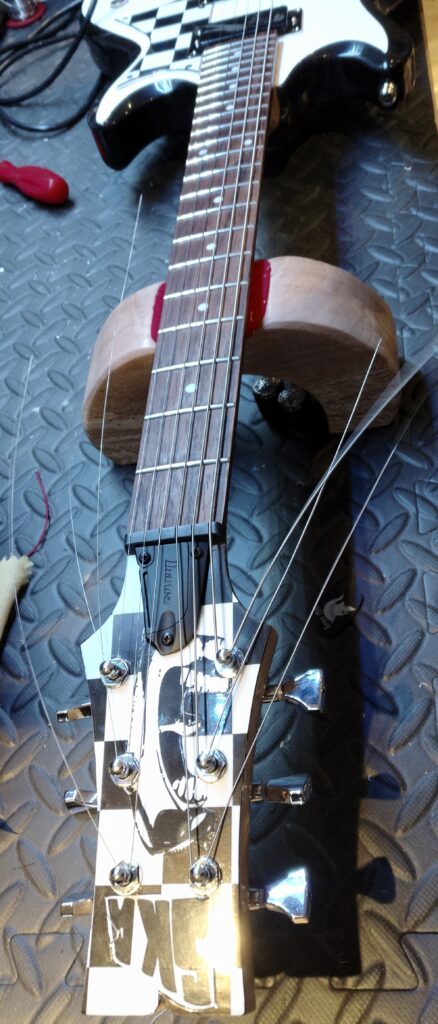
Next I widened the holes for the tuners as the Hipshot ones were a wider diameter as the OEM Ibanez ones, then back to the vinyl tape to decal the front face.
Really, I think I should have gone in stages, rather than widening by about 4 mm all in one go, but it went OK in my case. At this stage, I was still in a “meh, it’s only a £50 guitar” way of thinking.
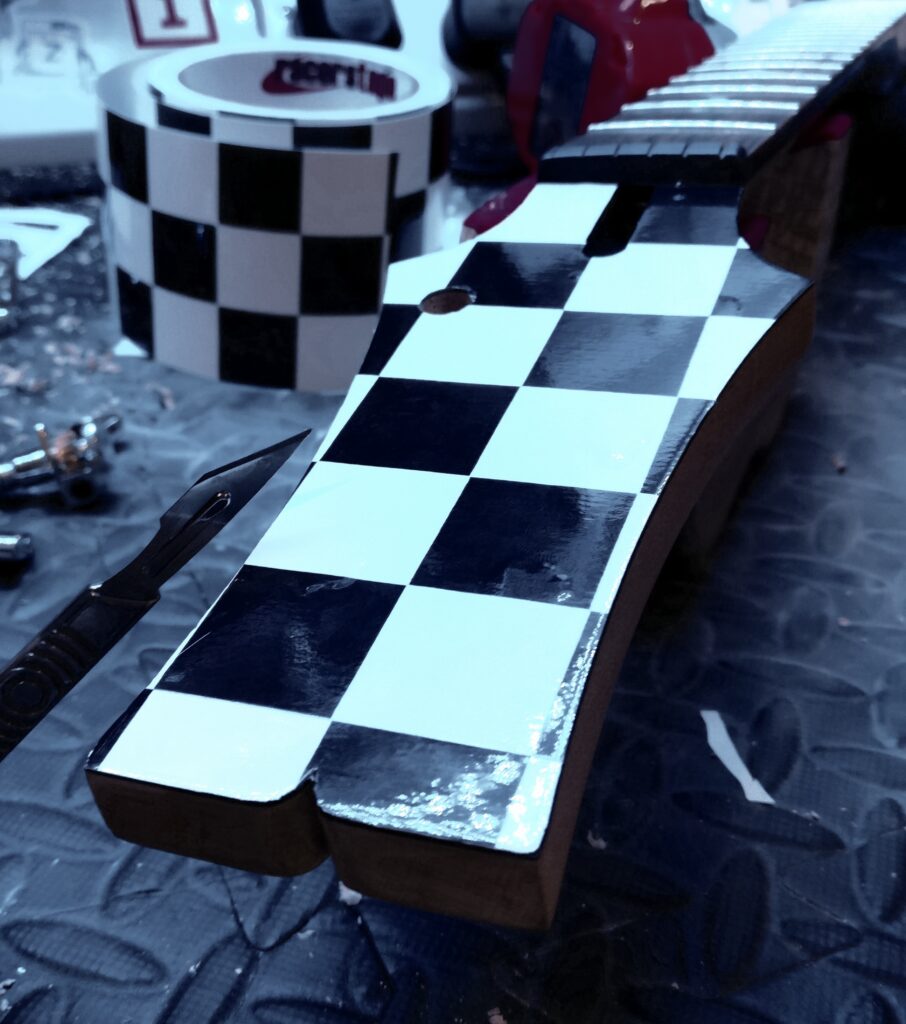
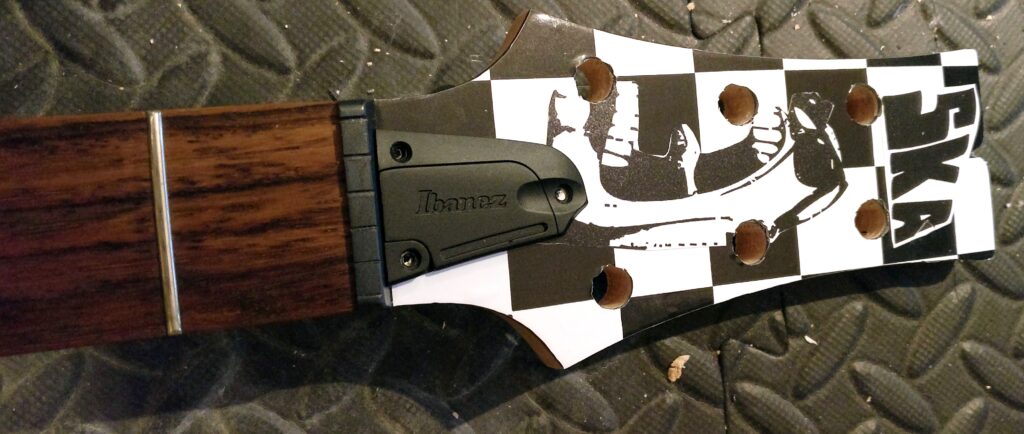
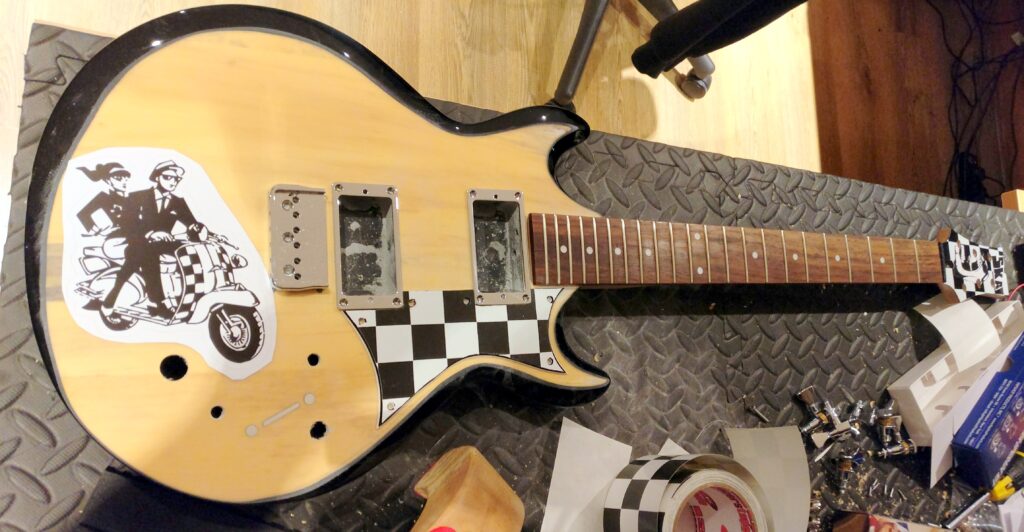
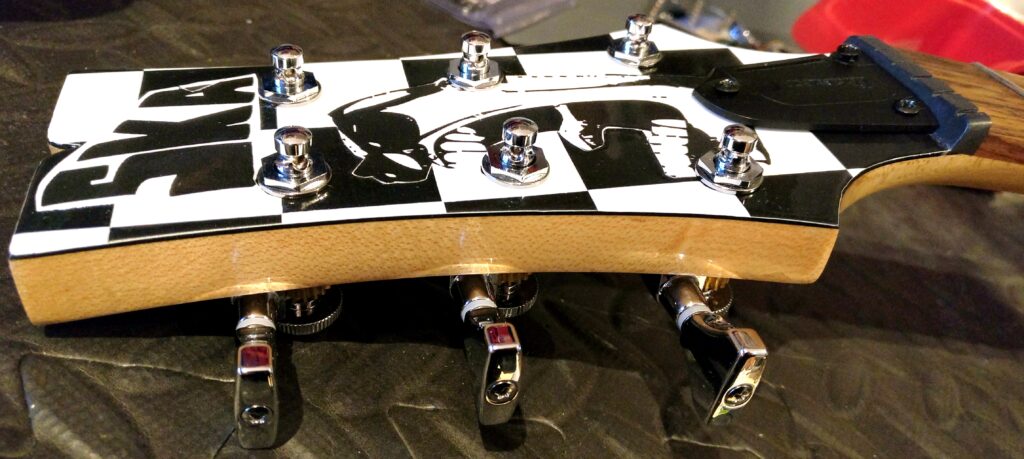
Again, I cut the vinyl tape around the headstock and the holes with a scalpel. I’m pleased with around the outside of the headstock, but some of the holes not so much. Those would soon be covered by washers anyway, though.
Lastly, I cut a SKA vinyl into two pieces to make up my headstock graphic (using an offcut from another to complete the “A” as it looked odd notched).
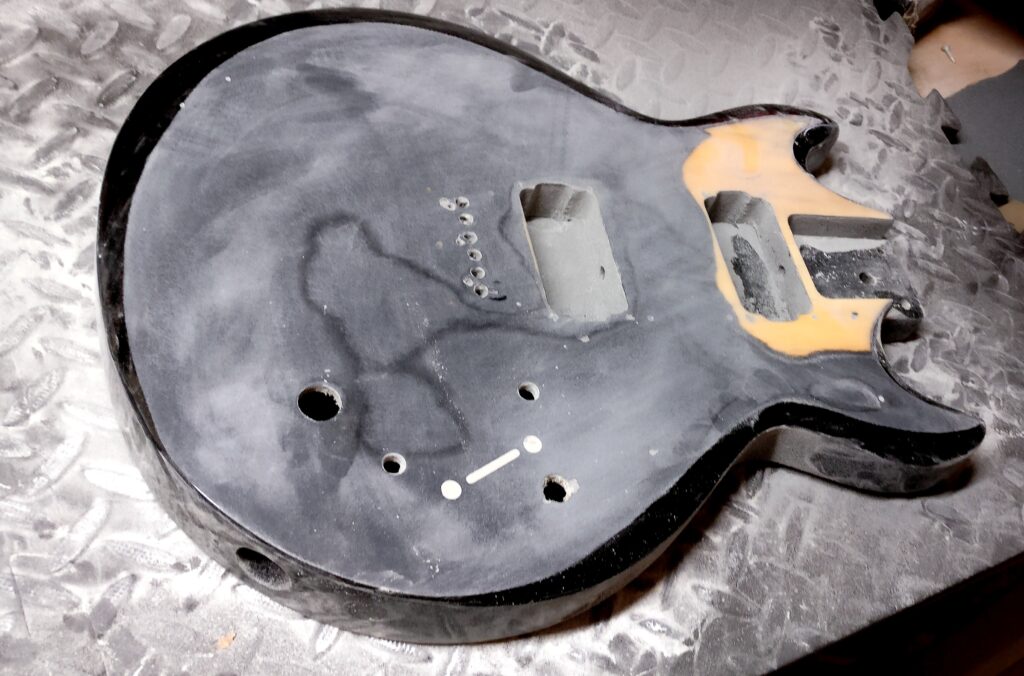
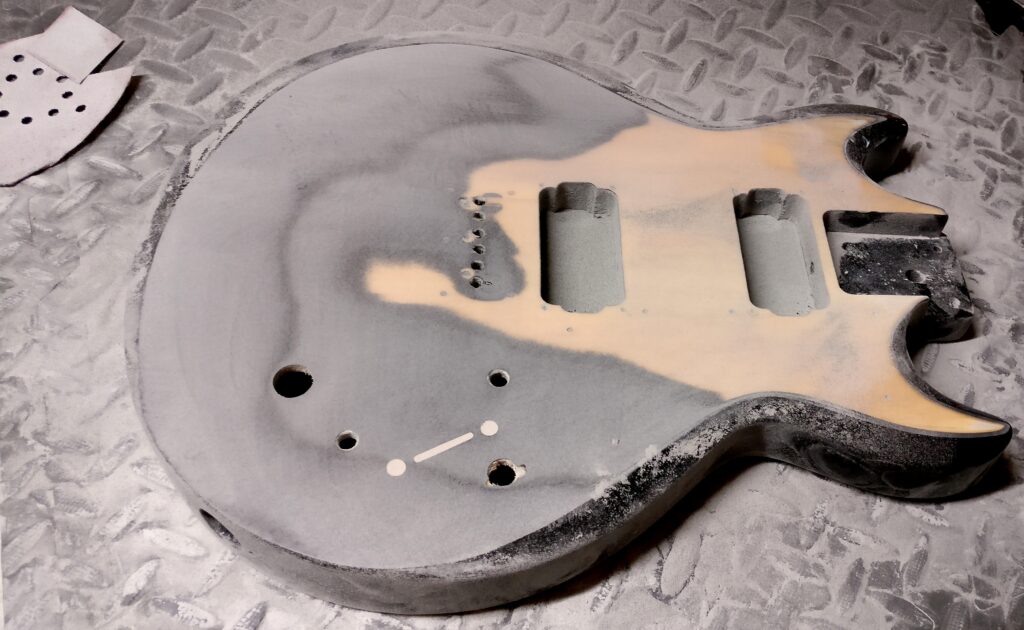
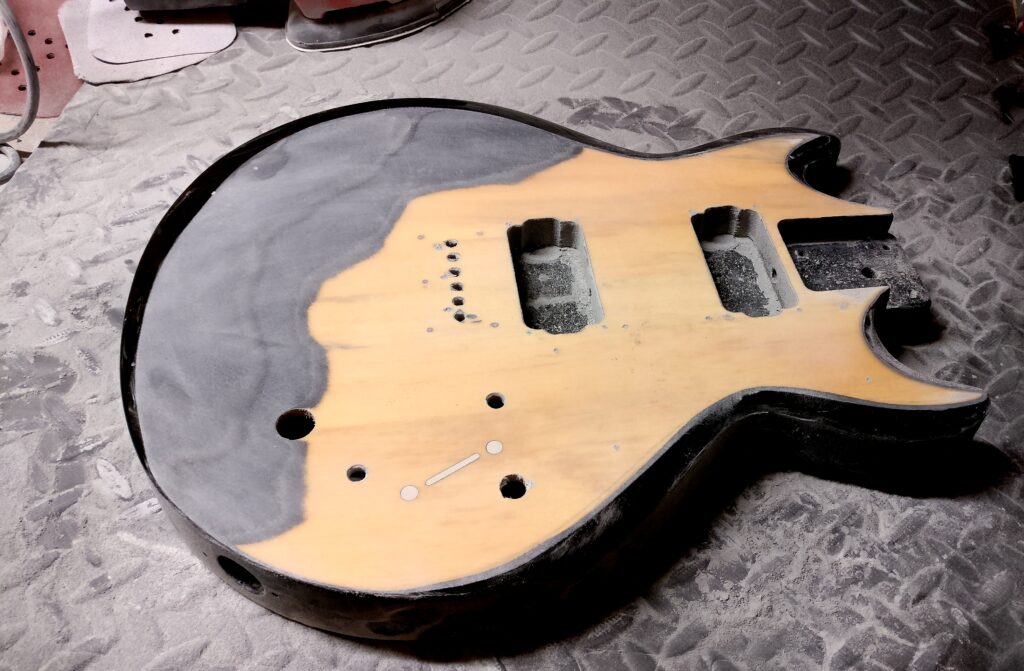
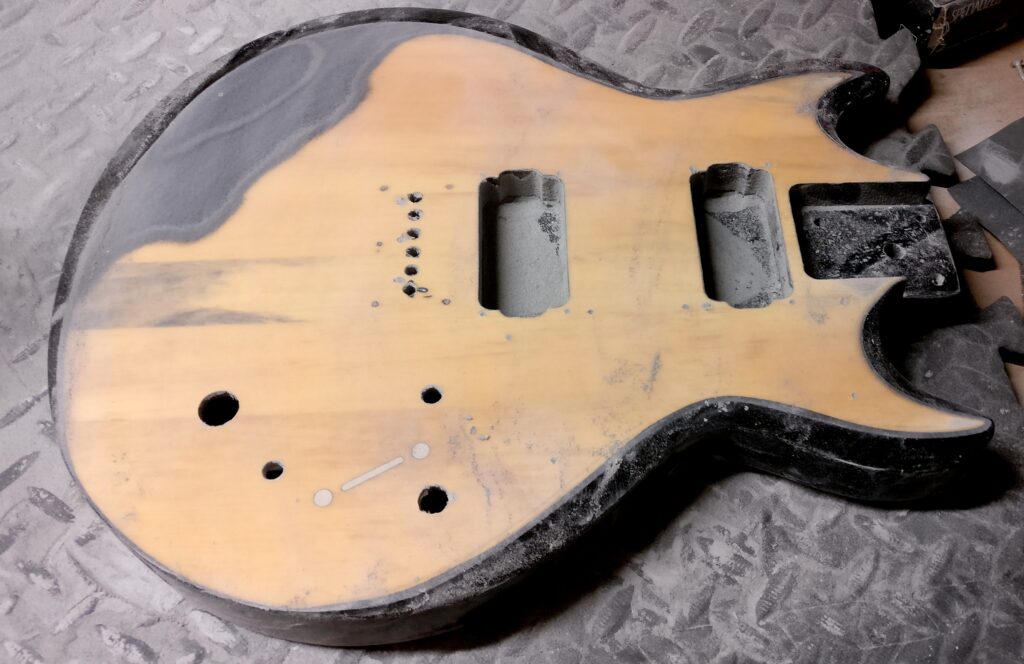
Prep
This section starts with the guitar looking in my opinion at its worst for the entire build: superglue residue everywhere and rough sanded filler with cut up lacquer mess!
Taking the power sander to it soon cured that. I’m using a Black and Decker Mouse sander, which gives an even finish, but I suspect is much slower than a belt sander, for example.
Key thing here is to keep the sander moving: a couple of times, I got hotspots focusing on one area a little too long.
For this project, I planned only to paint the face of the guitar. I occasionally lightly over-sanded onto the border, but this was solved later on with some fine sanding and re-lacquering.
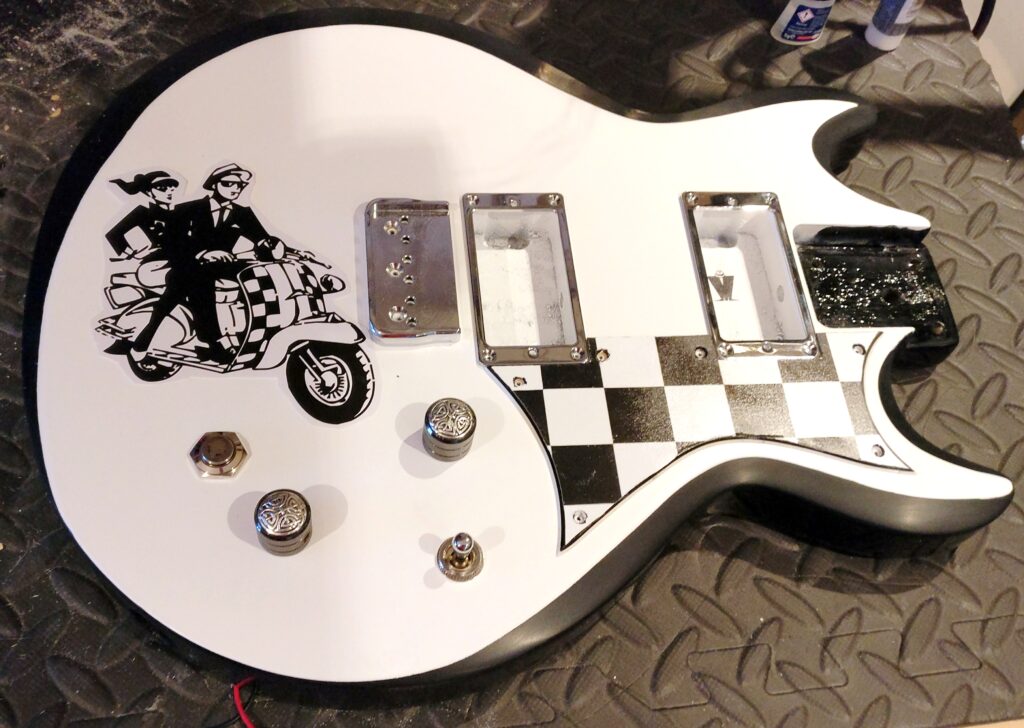
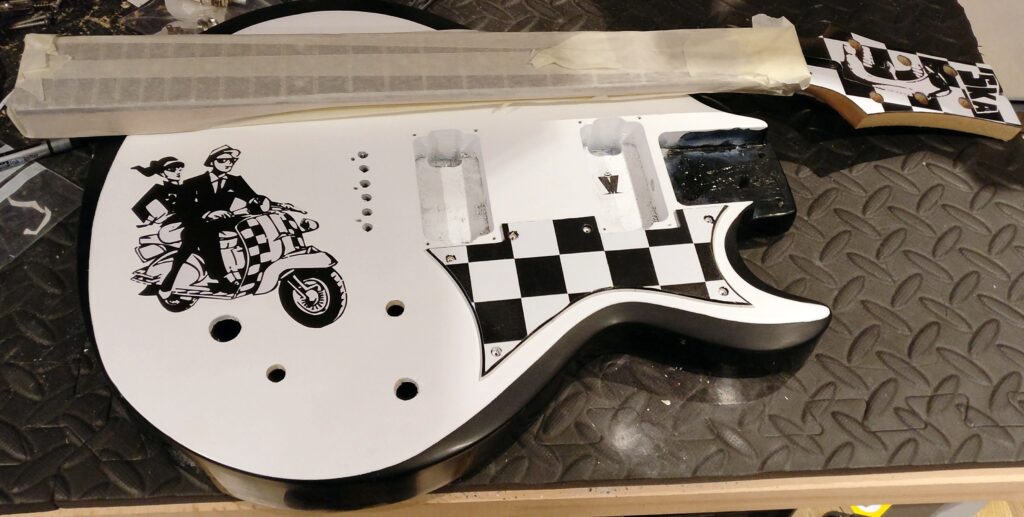
Quick vanity mock-up, then on to paint.
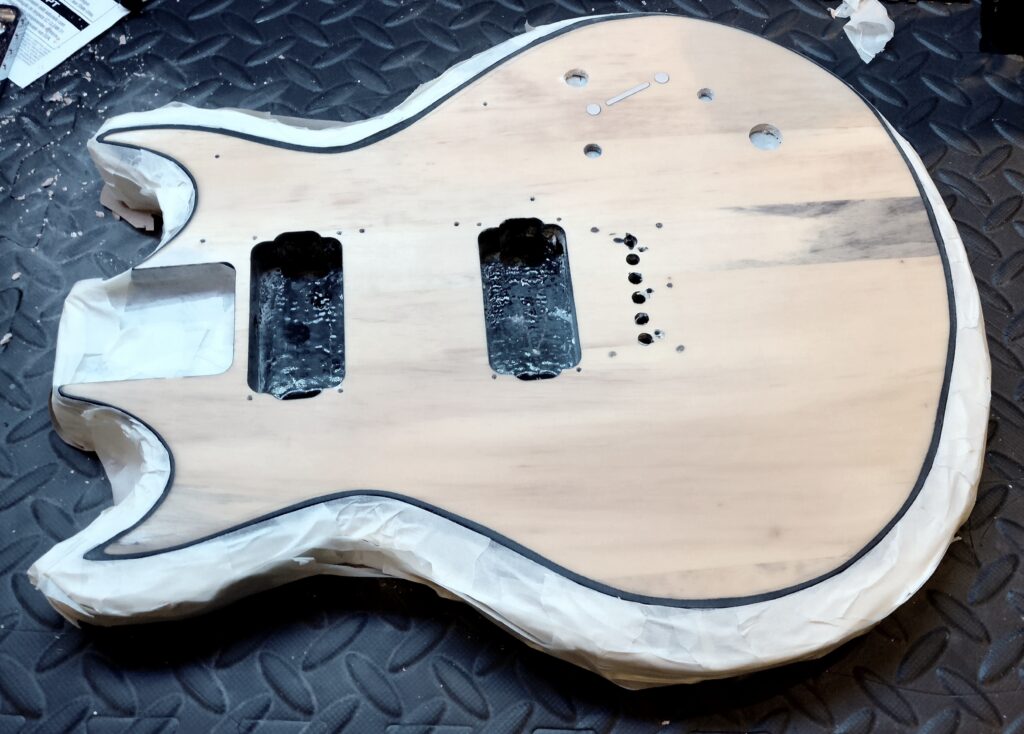
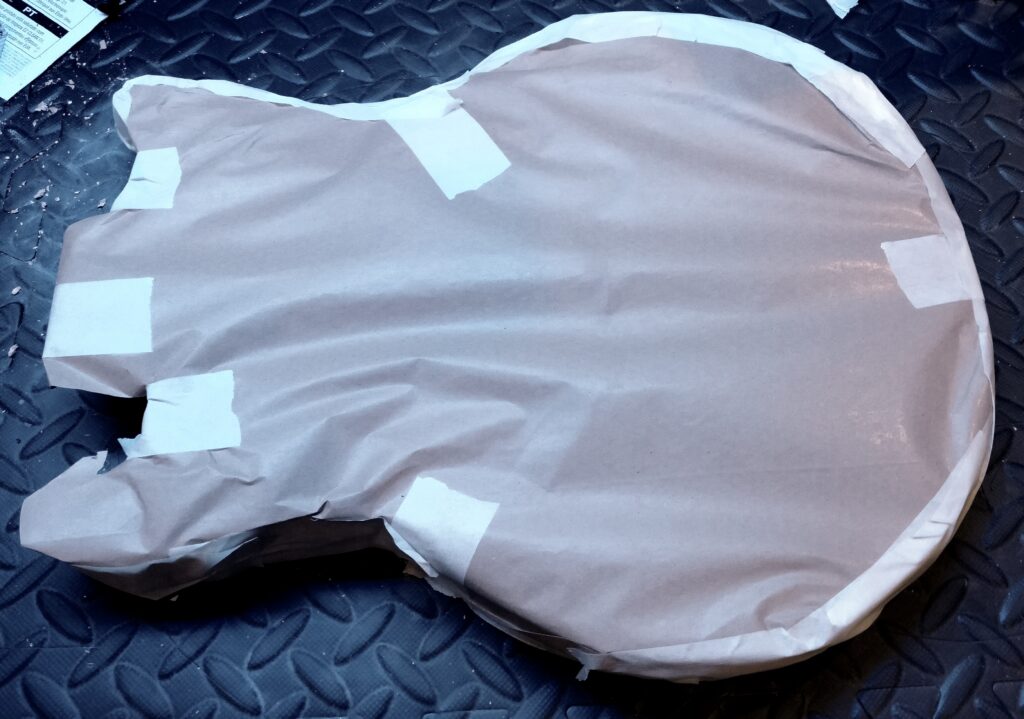
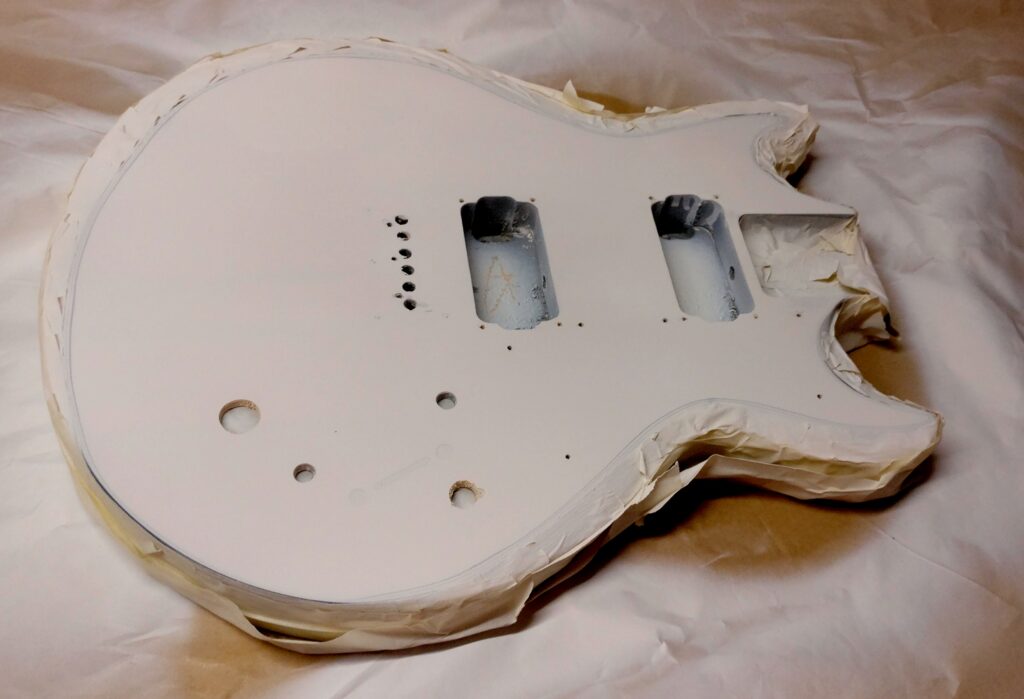
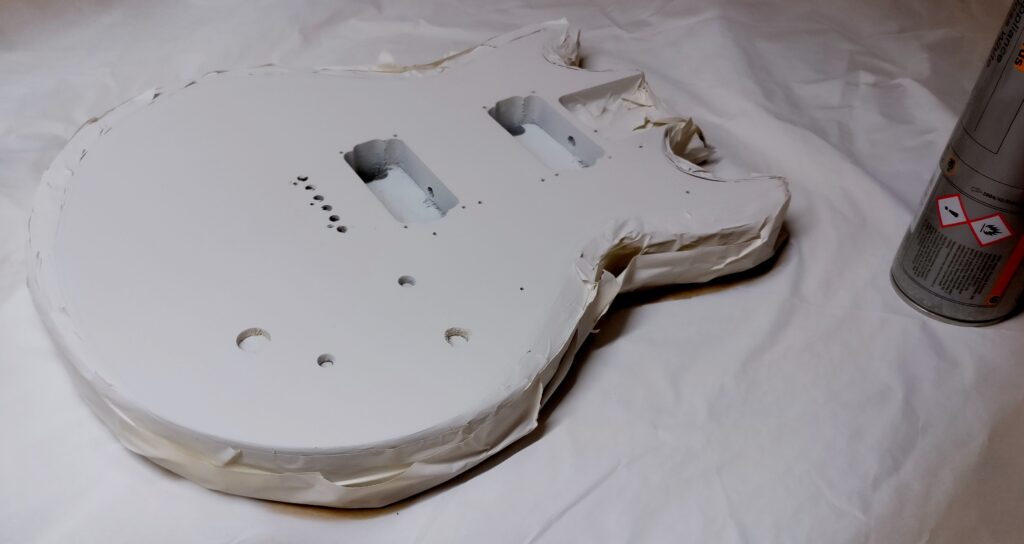
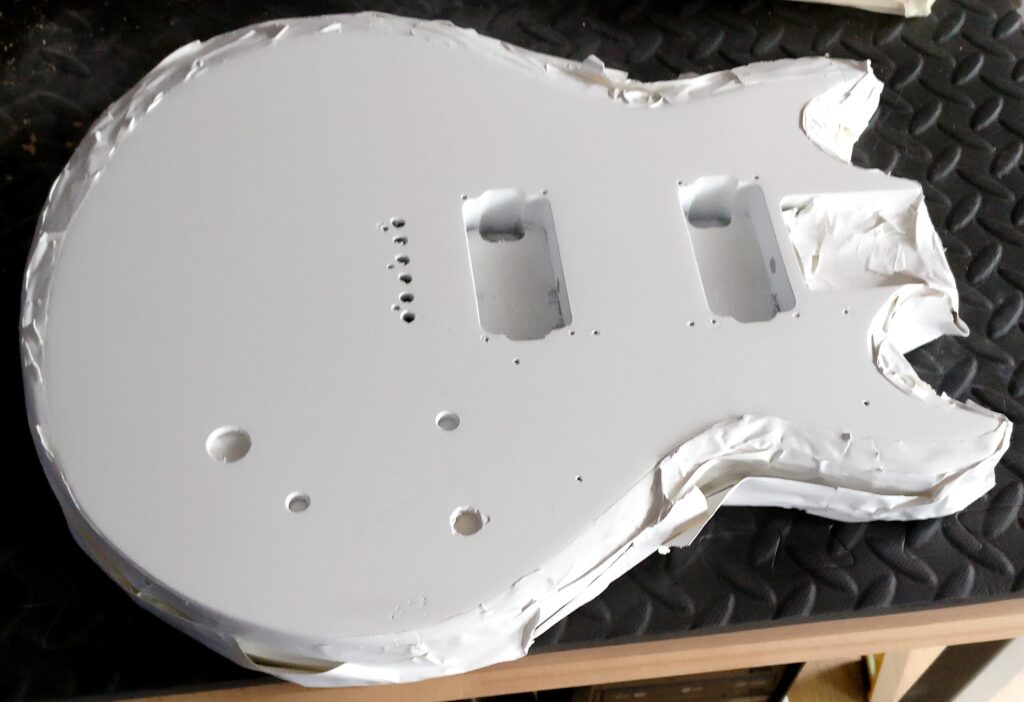
For the mask, I used masking paper from my local auto spares shop, secured with decent quality masking tape. Taping the curve was fun, I largely did it with short, straight strips in a flat spiral.
When masking, I deliberately allowed for over-spray, as I figured that it would be easier to remove the over-spray than touch up under-spray. This would be going onto shiny lacquer anyhow.
Prime and Paint
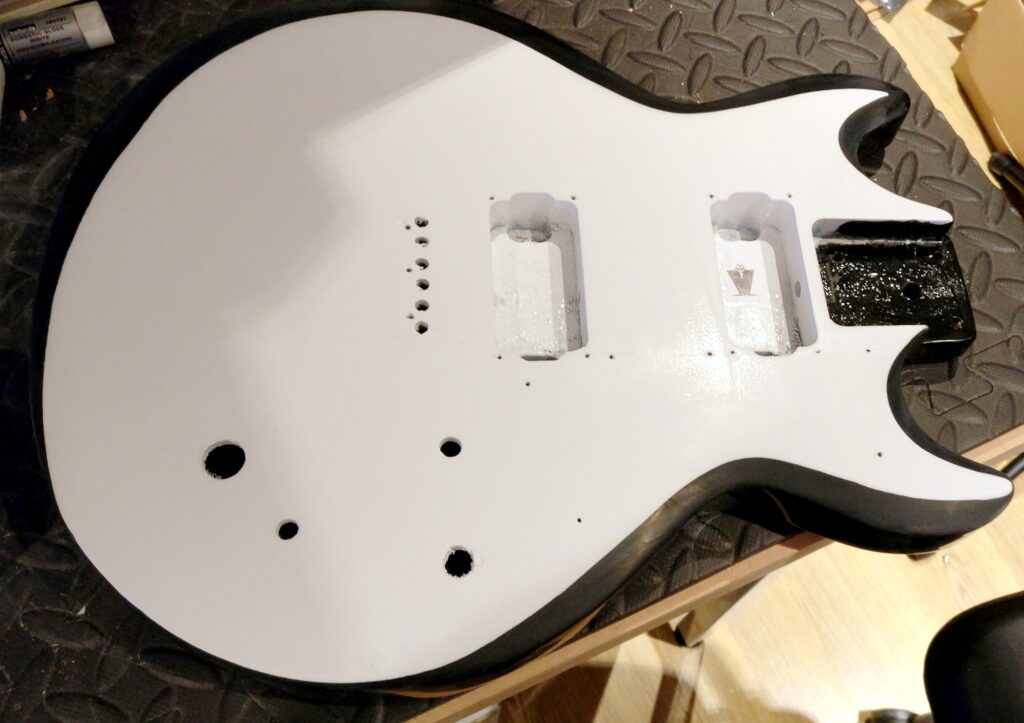
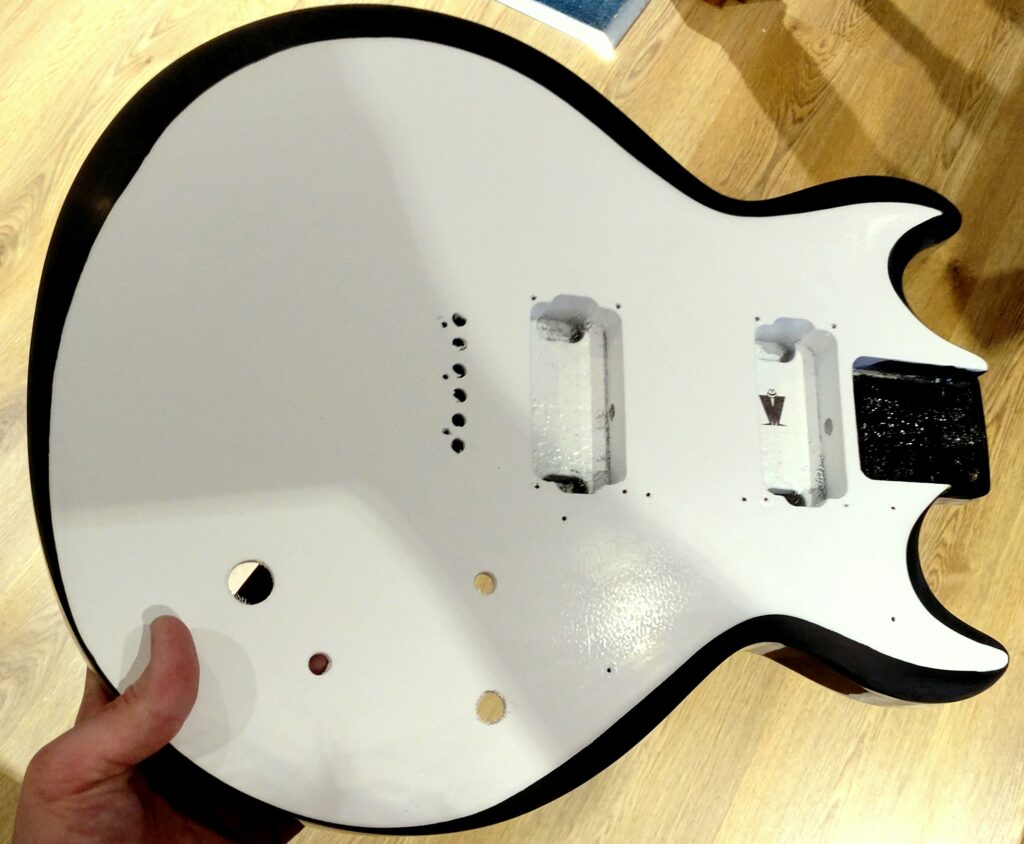
Not much to say about this apart from I used two complete large spray cans of automotive white primer and somewhere between 3 and 4 large spray cans of automotive Gloss White spray paint.
I applied both evenly using side to side motions diagonally across the body, using a similar “stop spraying just after the edge” technique to the one seen in various car painting tutorials. Make sure the paint is about room temperature (basically not cold) before spraying.
Before moving on to paint, I sanded to a smooth finish with 1200 grit sand paper after primer to get the finish as smooth as possible.
I didn’t sand between layers when painting, but did flatten before applying the decals and lacquer.
Tip 1: If you get a dribble/drop, it is easiest to quickly and gently wipe it away with your finger — paper towel likes to get stuck right into the paint and ruin everything — I learned that during a previous project.
Tip 2: I’ve not found an effective way of removing a stray hair/piece of clothing fluff from wet spray paint. The quick finger swipe technique does work sometimes, but otherwise it’s better to let it add character or paint it into the guitar to sand down later.
Detail
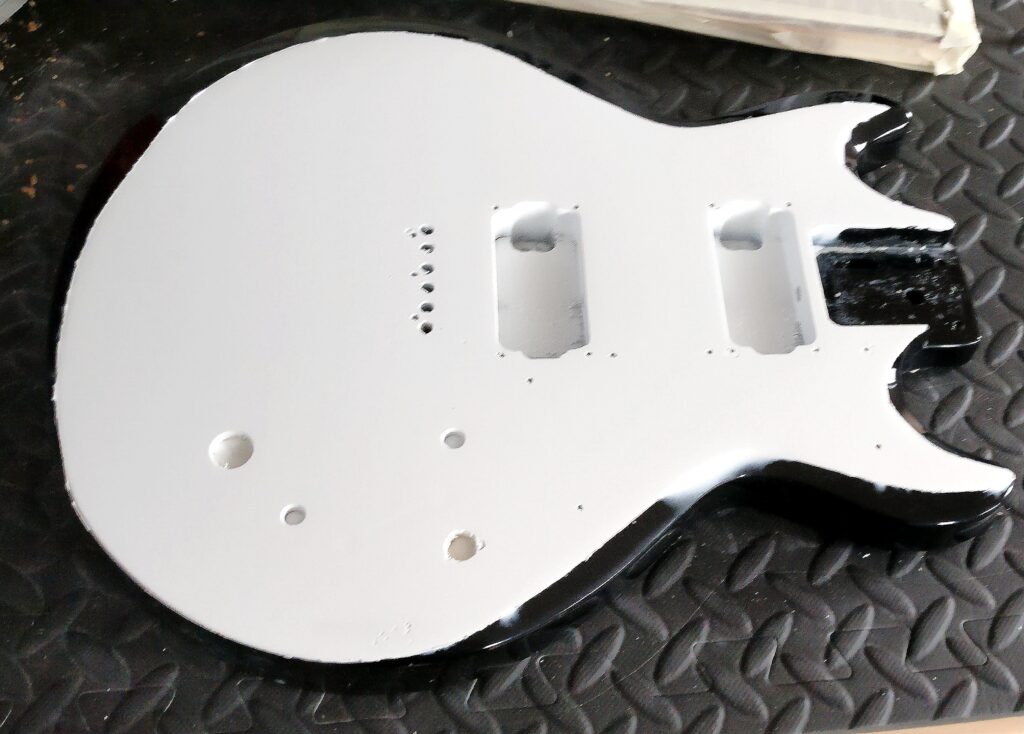
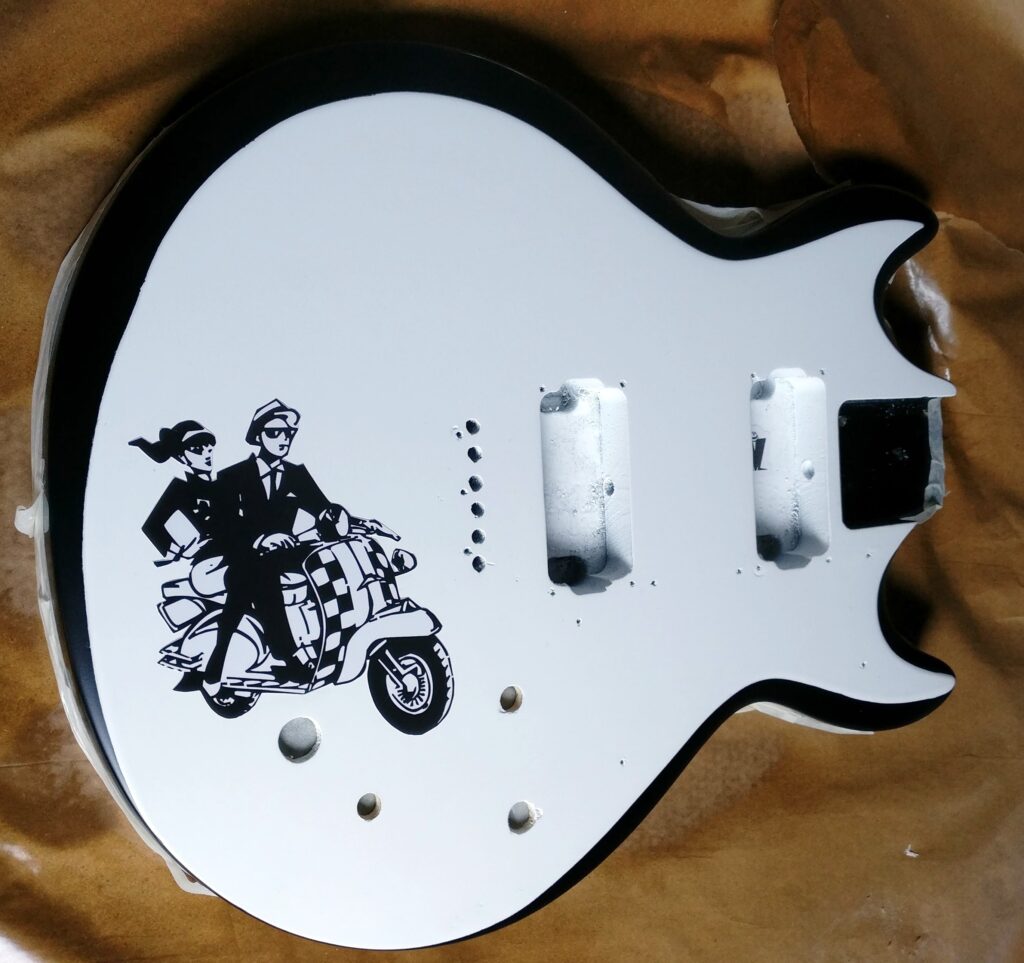
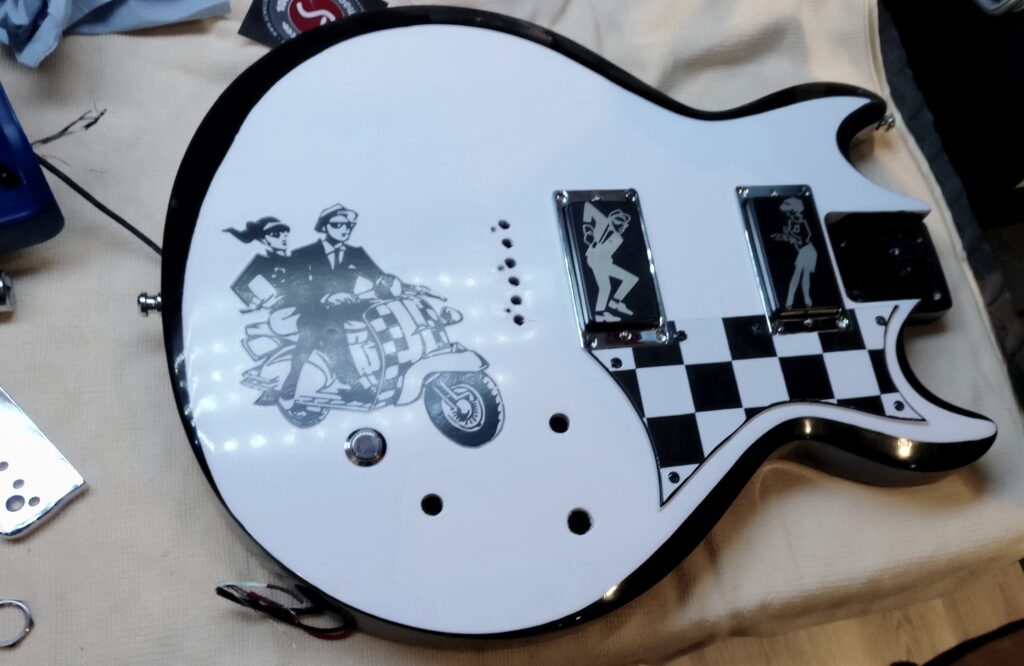
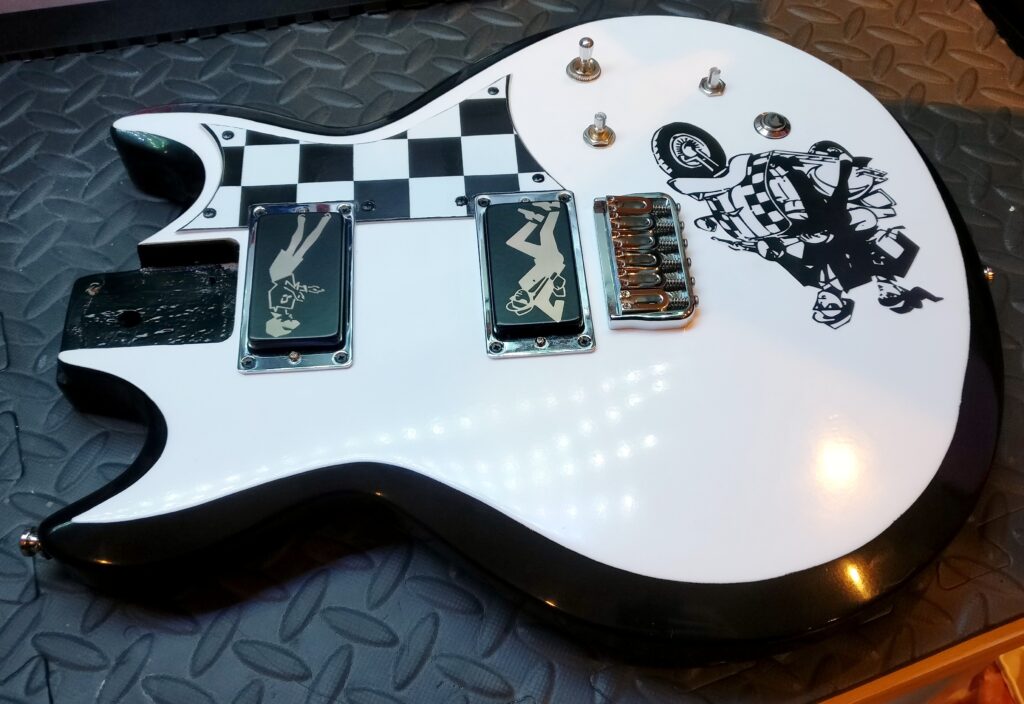
As you can see — plenty of over-spray where the masking tape lifted in the tricky inside curve bits. Removing the tape also left a hard edge around the paint. What this did mean was that I could sand at an angle and blend the join between the black and white for a smart finish.
To remove the over-spray, I tried sanding it down, but that took too long and looked like I’d hit the wood before I got a good finish. Instead, I found the best technique was to use a scalpel with the edge of the blade flat against the paint and gently move it side to side, chipping the paint away. This way I had most control and got the sharpest finish, although it’s tempting to go too far and reveal the wood. This happened on the lower horn and with countless touch ups and re-cuts the result was the best compromise.
Before applying the vinyl, I cut the excess white away from the outside, as it was a different shade to the paint and would stick out.
Again, vanity mock up before moving to clear coat.
Clear coat
As mentioned in the “Headstock drilling for machine heads and vinyl treatment” section, before applying lacquer, I sanded the paint with 1200 grit to remove the “orange peel” finish left on the surface. My understanding is that if you don’t do this after primer and again after paint, the build up of that imperfection becomes impossible to smooth (unless you use loads of lacquer).
I used clear automotive lacquer, using about 4-5 spray cans. I wanted a solid, hard-wearing finish I could sand smooth afterwards.
For this, I masked the neck, exposing only areas where I wanted/didn’t mind having a gloss finish and masked the sides and back of the guitar — again going for over-spray to blend rather than under-spray to touch up.
Before going full on with the lacquer, as advised previously, I “fogged” the lacquer on in fine coats from a larger distance — about half a metre. My understanding is that this prevents the paint from soaking into the lacquer and spoiling the finish.
Once this foundation had cured, I applied the same number of coats to all parts — headstock, body, pickguard and backplate, allowing at least 24 hours for the lacquer to dry between the later coats.
Finish
At this stage, it looks like I’m on the home straight. It has to be said that at this stage, I should have let the lacquer completely set for a few weeks before assembly. I didn’t. This had the effect of gluing parts to the body after they had been screwed in, but more on that later.
Fitted the tuners without much drama, apart from that aligning them was tricky. My previous projects have been six in line, which you can line up with a ruler. These were done by eye, I think one is out by a degree or so, but this doesn’t affect tuning or anything.
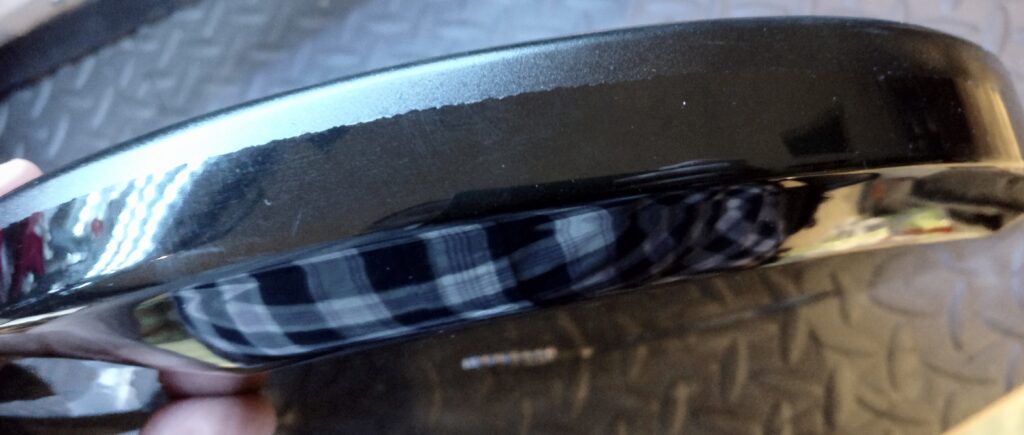
Moving on to the body. You can see the over-spray has left a matt coating on the shiny lacquer. Fine sanding with damp 1200 grit gave a satin finish and was rough cutting the over-spray. Fearing having to rub it back and lacquer again, looked on YouTube at various “how to paint your car door” videos and similar. I can’t now find the video that finally gave me the answer, or rather the missing piece of the puzzle — rubbing compound.
Applying a small amount of rubbing compound to the surface and rubbing it with some muslin gets a nice shiny finish and is excellent for blending one surface into another. I used this all round the over-spray as well as on the front to smooth out the orange peel.
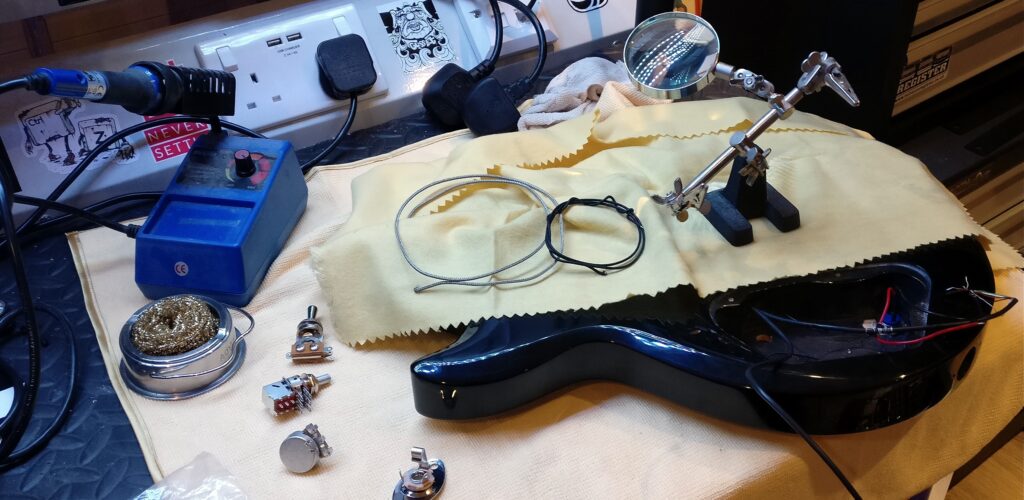
Electronics
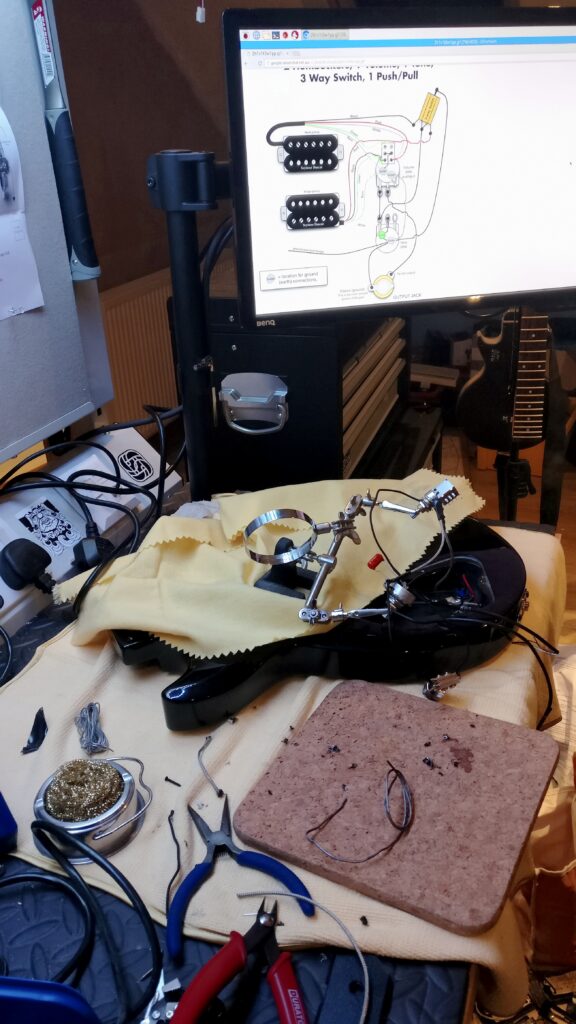
Turning to the internet, I used a “Seymour Duncan” wiring diagram for roughly the configuration I was going for. What I was aiming for was:
Two humbuckers, one volume, one tone, 3 way toggle, coil tap, kill switch.
Easy bit — kill switch just solder across the two jack contacts.
Initially, I had a load of hum because my earth wire had disconnected just as I went to test my first wiring job.
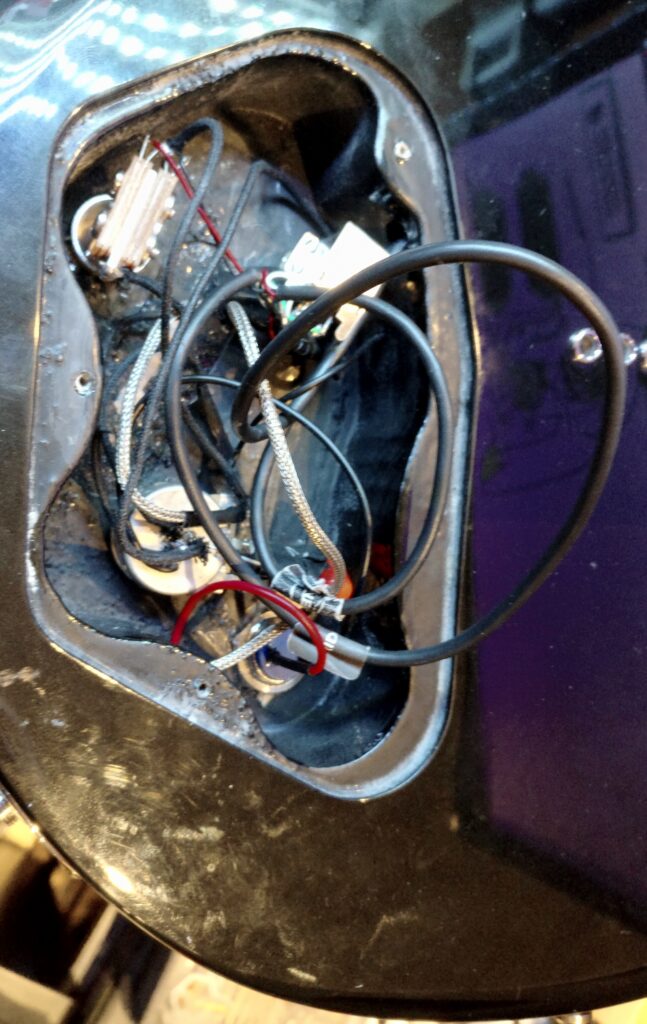
Attempt two gave me a working bridge and an out of phase neck pickup with coil tap enabled (or at least with the push/push switch in), and working pickups with the push/push switch out.
Turning to The Luthiers Club on Facebook, I got the answer:
“All standard. The six pin switch should have mid-two to earth and two closer to the pot used one each for the join red wires from the pick ups. Top two bare. This earths out one coil to produce the coil tap in the sprung out position.”
This worked a treat.
Best not to use the above photo as a reference, it’s not the finished wiring and the pickup wires hadn’t yet been shortened.
Assembly
I had been assembling and dissembling the throughout the wiring process, however this time I took photos.
Setup
Having given the guitar a rudimentary setup and found it to be playable, I took it to Anderton’s for its first professional setup. This was mostly for peace of mind and turned out to be a good move as the bridge was about 6 mm too close to the neck to allow correcting intonation.
Moving the bridge would be fiddly at the best of times, had it not become fused to the body as the lacquer set hard. With the use of a heat gun, block and hammer, the bridge was removed, the holes filled with superglue again and moved back 6 mm. A small shim was also added at the heel joint of the neck to allow for a proper setup. The alternative was routing an angled neck pocket, which, I felt, was overkill — I’m fine with the near invisible shim.
Conclusion
So now I’ve got my Ska guitar. Three months of effort and a steep learning curve have paid off, and I’m delighted with the result. Nothing off the shelf would have quite done what I was after.
I think this kind of project is great to keep you sane in a life sitting at a PC a lot of the time. I greatly enjoyed all of it (even the frustrating bits).
If doing this or something similar again, I would definitely let the lacquer completely set before assembly and wiring (the lacquer dented with the pattern of the cloth it was resting on whilst wiring, fortunately that rubbed smooth with the rubbing compound). I would also do more research into an appropriate bridge swap to ensure a good fit and proper stability.
I hope my project notes have been helpful to anyone looking to do all or some of what I have done to this guitar. It’s great fun to do, but I recommend using proper tools and safety equipment and modding a cheap guitar in case calamity happens.
