Pickguards for sale!
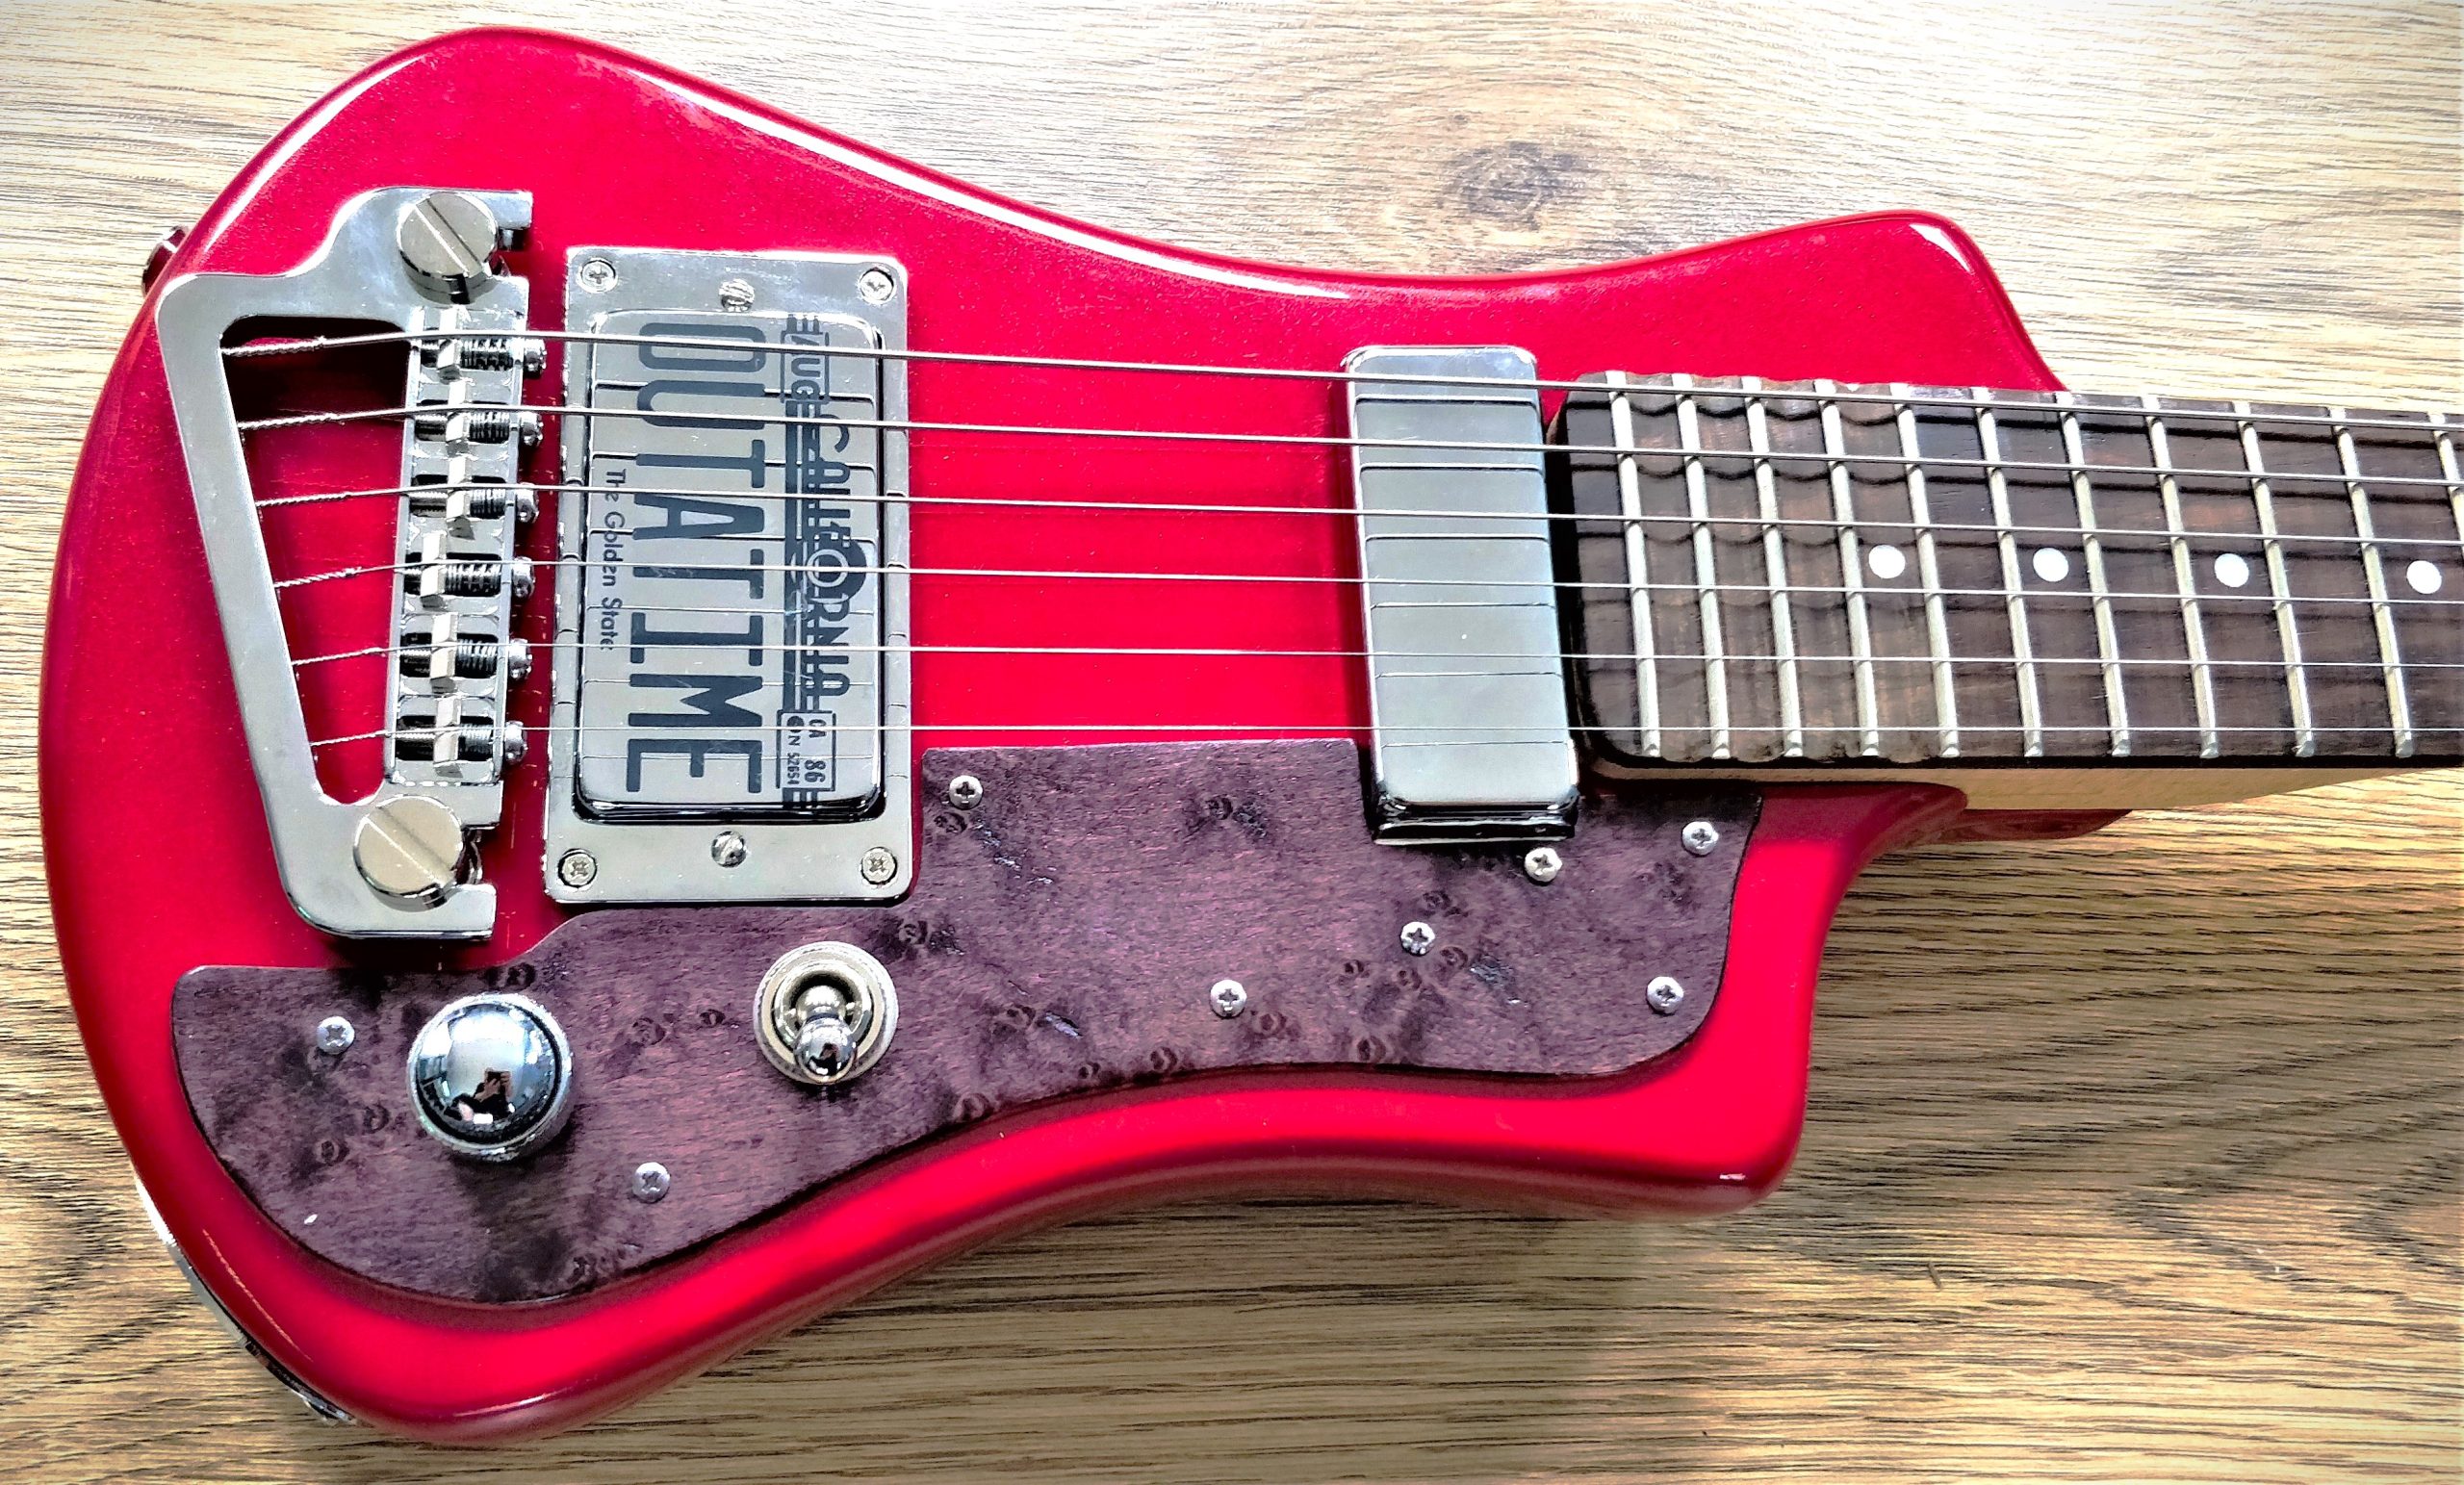
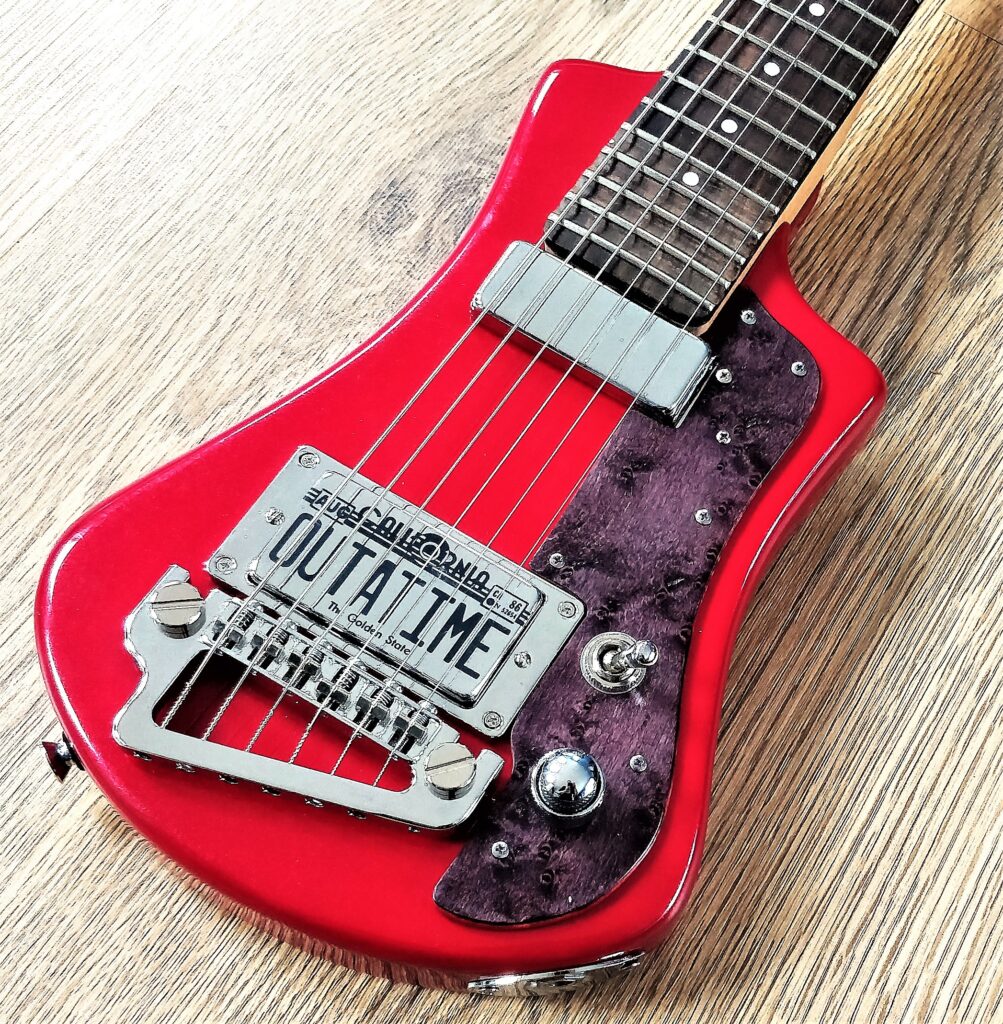
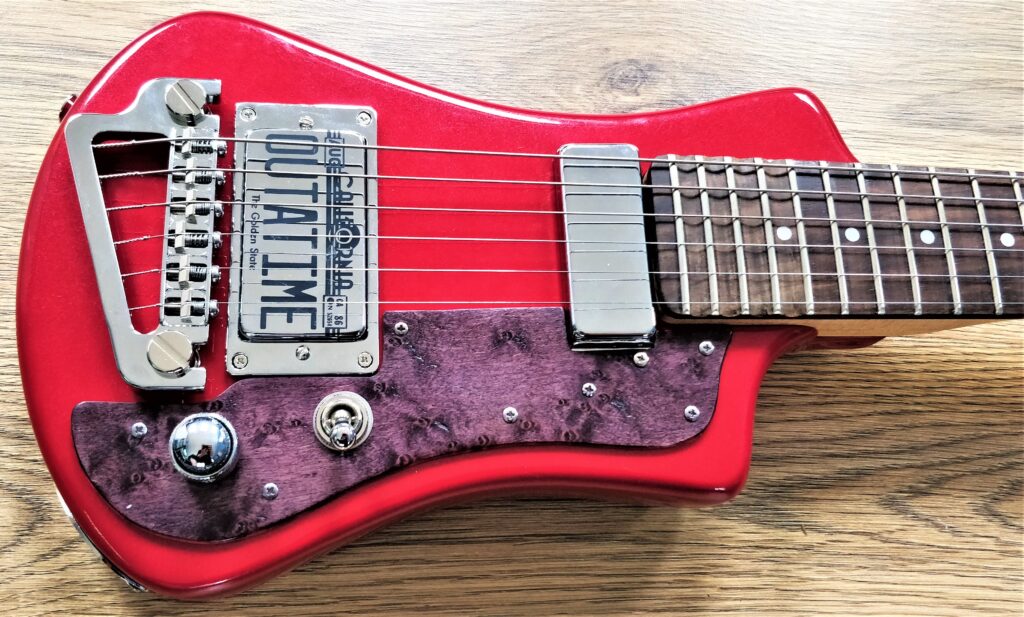
At the time of writing, the first, original size pickguard I made for this project is for sale:
A short Hofner
I first saw Rob Chapman play one of these on YouTube and when I found one for £50 on eBay, I knew it was a sign.
I played it for a while and although it was OK, it wasn’t for me… as it was. So I did some reading and planning (along with some things I’ve learned from other builds) and came up with the following list of alterations:
- Hipshot tuners (obvs)
- Adding a Kent Armstrong pickup at the neck (yes really)
- Replacing the pickup with a Bare knuckle one (still deciding which: read, trying to use something apart from a Warpig!)
- Hipshot bridge
- Upgrading the wiring to add a three-way selector and convert to a stacked volume/tone pot
- Tusq nut
- Custom, slightly larger pickguard
Teardown and neck decisions
Clearly less than usual to take off this one. I had some PRS copy inlays kicking about, but unfortunately the scale length wouldn’t really work (they’re also a bit thick, and I’m one short).
Meanwhile, quick wins: new tuners are on.
Guest appearance from the custom pickguard wood and new neck pickup there.
Custom Pickguard
Rationale
I decided to change the pickguard for two excellent reasons:
- The new neck pickup tab would stick out a bit unless I trimmed it
- I wanted to
Original pickguard as a reminder:
Shaping
For this, I bought a strip of flame maple (picture taken after I’d already cut a chunk off, it was actually quite a generous sheet)
The first attempt I managed to forget I was going for a larger one and cut to the original size. That’s become the test piece for the finish. Learning from this, I overcut the second attempt on the Dremel Moto-Saw (referring link, opens in new page):
I took this picture to show that clearly some alteration was required:
So next I turned to the Triton Spindle Sander (referring link, opens in new window) and did most of the shaping with the largest cylinder:
Mock up after the shaping:
Next I turned to the test piece to work on the cut-out for the new neck pickup. Note to those reading, a forstner bit is not for the edge of thin wood, or not when I’m using one anyway!
Fortunately, that buffed out on the tiny spindle (note over-tightening on the spindle: don’t do that, you get a spiral).
I then worked the slot out using two files to cater for the bracket notch and mocked up again (take one off to the right, used as a template):
I then made a drilling template out of cardboard. Here is the evolution of the pickguard:
Post drilling (one hole for the pickup to go):
Staining
I went for the Crimson Guitars Stunning Stains for this one.
Here’s just before applying stain. Damped the wood with some water, then sanded to 320 grit in advance.
After application
Looked in places like where you’ve overdone the felt tip at school. Quick close up before sanding back a bit after it dried:
Pretty sure the ripple is the saw marks from the veneer process. Looks pretty cool, though. Sanded lightly with 320 grit next:
Next on this test piece, I oiled both sides (stained and unstained) to see which looks better with the current guitar finish. I’m happy with the metallic red on this one.
Here’s the stained side:
And the plain side:
While the wood looks lovely oiled, it just doesn’t quite fit the rest of the style I have planned for the guitar, so stained it is.
Adjusting the body for the pickup selector
Not much to report, the one I got was too tall for the cavity, which is no surprise as the guitar never expected one.
Go go gadget forstner bit!
Looks a little untidy currently, but that’ll get cleaned up when I shield the cavity.
But a nice flush fit now:
Routing for the Kent Armstrong Pickups Slimbucker
Next I used my adorable 3 mm Veritas router plane to route a channel for the wiring for the new neck pickup. I went for this one to avoid digging out a full pickup cavity for a neck pickup. I’m also curious to see how this pickup sounds on this guitar.
For the whole process, I used the cut to cut technique. This involves pre-cutting the outer edges of the route with a scalpel. This helps avoid chipping the paint and also slightly guides the blade. Don’t rely too much on this, it’s not exactly training wheels.
The wiring channel looks like this:
A bit more cut to cut now using a Crimson Guitars inlay chisel to cut some space for the terminals for the pickup:
So we’ll leave that there for now and turn our attention to the neck.
Scalloping the top four
Because I say so, that’s why.
Not sure whether my technique is the best, I’ve since got hold of some fantastic router bits (affiliate link) for my Dremel and a router attachment from Stewmac, which will probably do a much faster, neater job.
My technique is to take each fret one by one, masking the fret wire each time.
Next, I took my narrowest round file (shown in the first picture) and carefully filed midway between the two fret wires. I did this entirely by eye, before then taking a fatter round file, the width of the wood between the frets and finishing the job. I then buffed with 1200 grit followed by kitchen towel.
Above, you can see how they look before any buffing. I was careful not to grind away the frets in the process, which is why there’s a slight “shelf” either side. This also gives a bit of stability, but I got a little closer to the final finish.
Bare Knuckle “Rebel Yell” bridge pickup
At this point, I’d like to talk about the bridge pickup. I wanted this to be very “80s hair metal” sounding, and this seemed to fit the bill in the samples/people’s YouTube clips.
Kent Armstrong Slimbucker Neck Pickup Final Fit
You may notice, in this section, the pickup clearance changes randomly. This is because I was attempting to use a pickguard mount, floating pickup for retrofitting to arch-top jazz guitars for this project. The original Slimbucker had a bit too much clearance to work with, so after a quick chat with them, we traded pickups for a flat based Slimbucker, that was slightly lower profile as well.
Here’s the original for reference:
Even with the new lower profile pickup, there still needed to be a relief for the tab somewhere. I decided that could live under the pickguard (as it’s meant for pickguard mount and I have spare bird’s-eye maple kicking around).
Doing this with a chisel annoyingly ended up in blood: lesson learned on chisel usage: so it was back to the Dremel and router attachment with a makeshift sledge to get the extra clearance.
You can see in the above picture I used scrapers and a backplate to make my sledge. The rough routing in the pickguard was due to how slippery this arrangement was despite clamping. A different bit and/or sledge should be used, really.
A closer look at the final route before sanding:
I think using cut to cut and a router attachment with the right clearance would make this neater next time.
Pickguard mock-up
This revealed a clearance issue and an inconsistency in the lines once the pickup was mounted. A few seconds with the Triton Spindle Sander (affiliate link) soon sorted that!
Pickguard Finish
I’ve decided to experiment with a red/black finish. I’ve stained initially with Crimson Guitars Cherry red before following up on the front face only with black. The pickguard was sanded to 320 grit and cleaned with white spirit (allowing to dry) before staining.
One coat of red:
One coat of black:
Taking a step back, that was a lot more red than I was going for, so I sanded it back somewhat before making a couple of passes with the black mixed with some diluted red.
Rubbed down:
First pass with the mixed black:
Second pass:
That’s much closer to what I’m looking for. Next, I lacquered this one to give it some structure and resistance against the probable beating it’ll have to withstand over the future.
So here’s the final piece after a couple more coats:
I fogged the first coat of lacquer from about 40 cm to put the first light coat on, then ran over with two light coats to get this finish:
Finally, after a few more coats, I got this:
This actually dried with quite a cool look (see the final pictures), so I didn’t bother buffing and fine sanding.
Shielding
Something I’ve been meaning to have a crack at on my guitars is shielding. I’ve got shielding paint and tape in stock, but rather than try to remove the existing paint etc from the routes in the guitar, I thought the tape would work better.
The method I went for was cutting strips to size, running my finger around the edges of the cavities to make creases for me to cut along. Then made sure to overlap all the pieces to ensure all the tape is connected.
Wiring
This style of wiring was a first for me. I didn’t enlarge the control cavity (apart from making it slightly deeper) and I used a stacked pot for the first time.
Once I was happy the controls still fitted, I trimmed the pickup wires to length (in fairness, they were still a bit long afterwards, but I wanted room to move if I needed to re-wire anything).
I’m not showing my initial wiring photos, as it turned out the merge of Seymour Duncan and Bare knuckle wiring diagrams had sent me down the wrong path. A quick email to Bare knuckle and they gave me a new diagram for this build (provided here with permission from Bare Knuckle. Cheers guys!):
I’d initially tried to test the pickups with a screwdriver, but got confusing results. In the end, I put the neck and a string on to test the pickups.
The bridge worked fine, but with the pickup selector in the up position, volume, and tone working fine. The neck sounded awful, popping and banging whatever I did. It turned out the neck pickup was shorting on the shielding, ironically. A bit of electrical tape here and there, swapped the pickup wires on the selector, and it was good to go.
I found that testing the pickups with a tuning fork was far more effective than touching them with a screwdriver.
Initial Completion
I’m so happy with how it turned out. The guitar was OK, but not that inspiring when I got it, now it’s a guitar I’m proud of.
Post setup advisories
After the guitar’s initial setup, it was noted that the pickups both needed to be a lot closer to the strings. This meant that the pickup ring for the bridge looked a bit odd and the neck pickup needed to be mounted over the pickguard.
Neither of these were ideal, so I got a taller pickup ring for the bridge pickup and set about cloning the pickguard to raise the neck pickup
Pickguard riser
To raise the neck pickup, I followed the steps I took to create the pickguard:
To ensure the holes matched up, I used the superglue and masking tape trick to attach both parts together, then used the drill press to drill each hole.
Then I set about staining the side. I thought I’d go for a two-tone look to the pickguard, so this one went black. I got a bit OCD with the colouring, so the whole thing’s black:
Next I lacquered both pickguard parts. The original pickguard had got slightly damaged during the setup, so I repaired that before wet sanding. I wasn’t happy with the finish, so it got lacquered too.
Then to match the edges as much as possible, I used cocktail sticks as index pins and lacquered the top and sides:
For three-dimensional drying, I used cocktail sticks in some foam:
This was on the workbench, so they couldn’t stay there. Thus, the portable 3D dryer was born:
Bridge Pickup Ring
Not much to write home about, just a taller one
Re-assembly and actual completion
First, I stuck some single sided automotive foam on the back of the neck pickup so that it didn’t move about once in place.
Finally, I put the two parts of the pickguard together and assembled the guitar with the neck pickup tab between the two:
Pretty happy with the finish on the pickguard now. That’s completely as it came out of the can, no buffing or anything.


