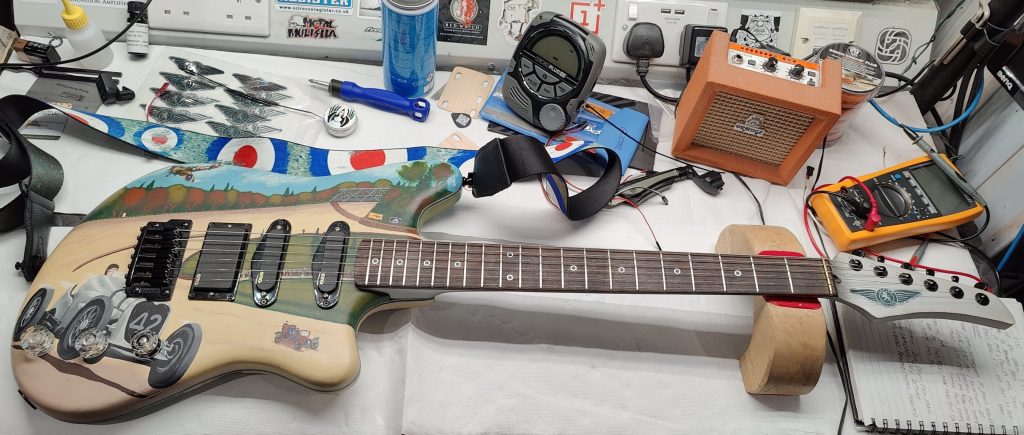
This is a post I’ve been looking forward to writing for a very long time.
For those who’ve not been following this story, this is my first guitar, a Westfield Strat copy, complete with a plywood body nailed together in some places.
For reference, initially I named this project “plywoodstrat” and gave it a matching hashtag for Instagram; however, I later settled on the Napier Railton theme, hence the double title.
Before
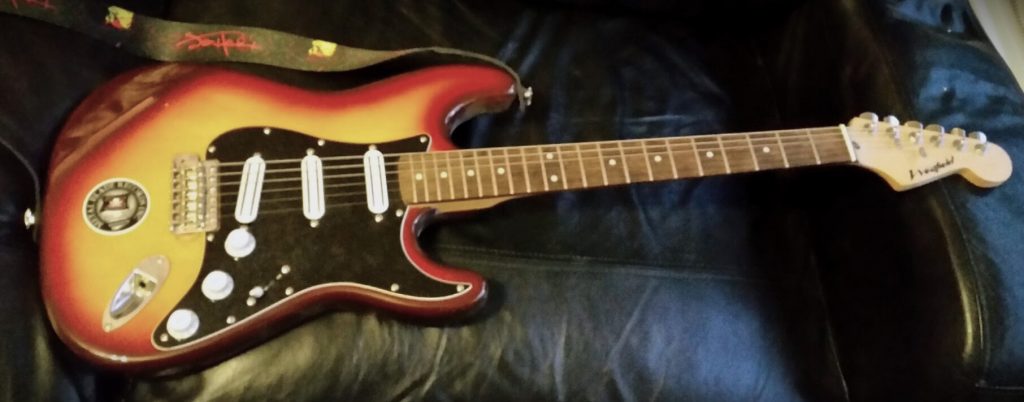
Initially, the guitar looked like this. This is the actual picture from the eBay listing when I bought it new around 2005.
Having learned to play on it and broken a few tremolo arms (and mashed one of the pots in the process) I decided to give it some upgrades, aiming to make a sort of SRV Strat copy, including lefty trem to avoid further mashing.
Superstrat time?
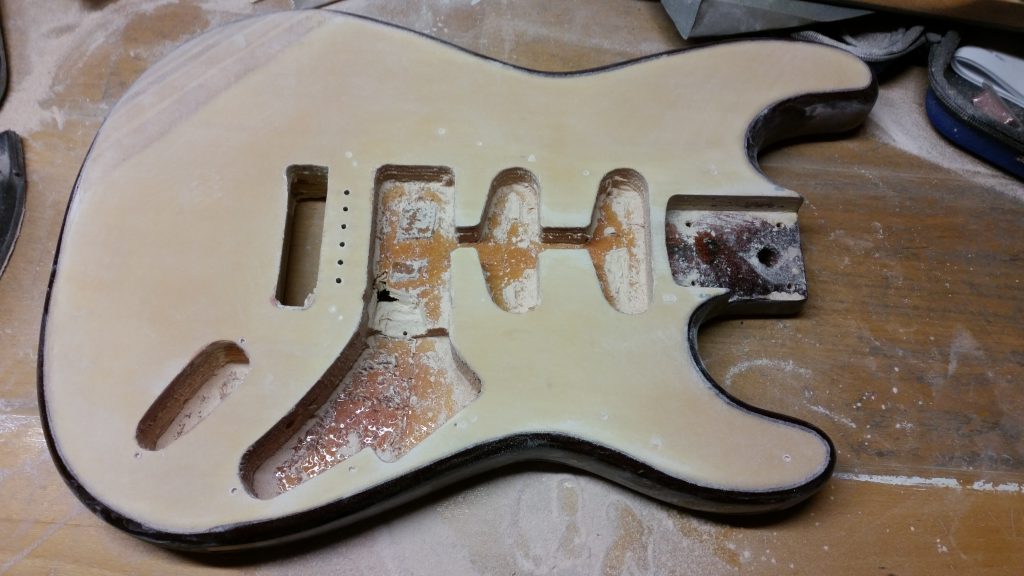
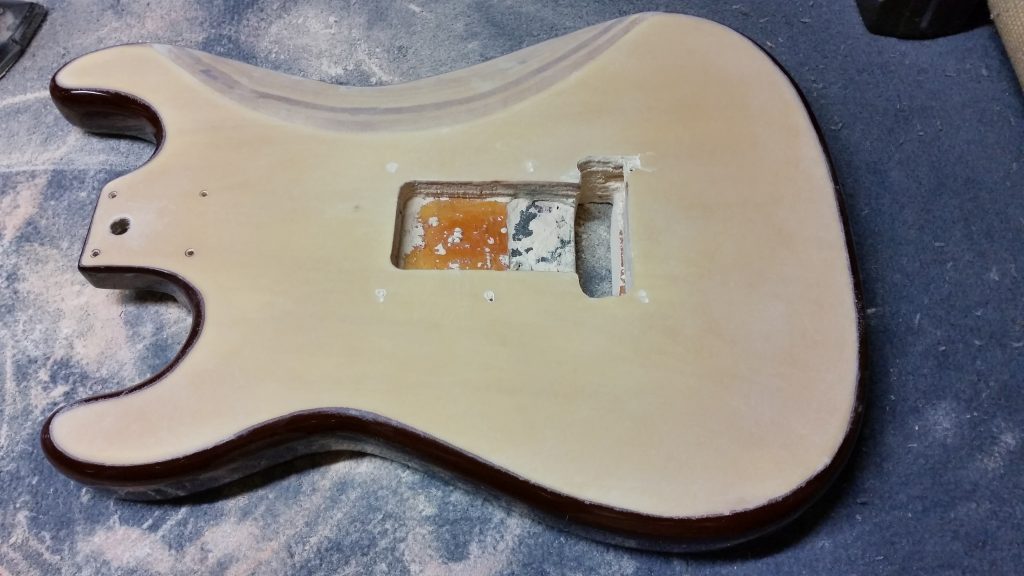
A few years later, I stripped back the finish ready to turn it into an 80s style Superstrat and recarved the neck to a slim D profile.
Seeing the plywood under the colour put me off, I commissioned a custom white Strat and shelved this.
A revival
A bit more recently (around 2020) with a better equipped workshop and two Crimson Guitars courses under my belt, I decided to make this into a guitar again.
I decided that I’d like to completely change the shape of the guitar and convert it to hardtail, adding as much “real wood” as possible in the process.
Filling the cavities
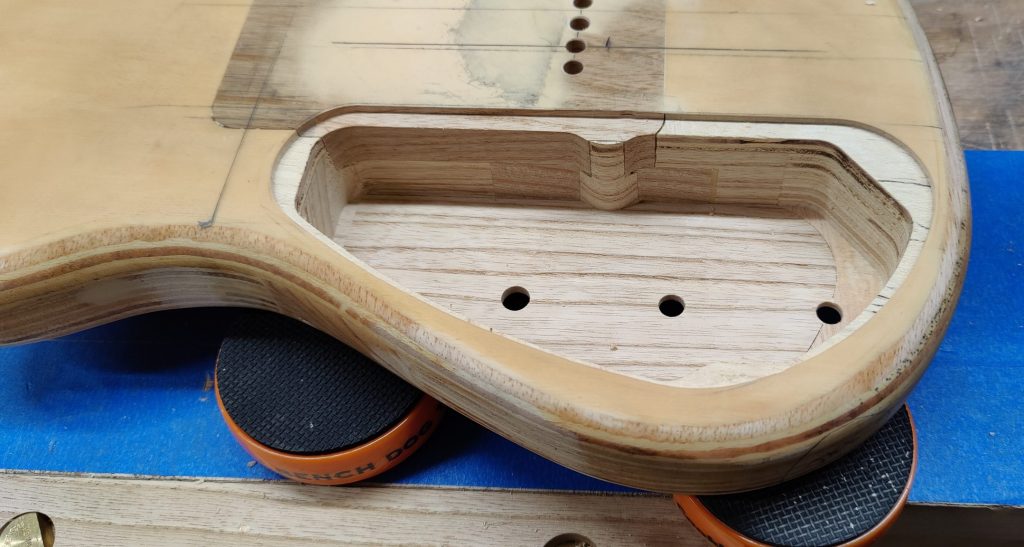
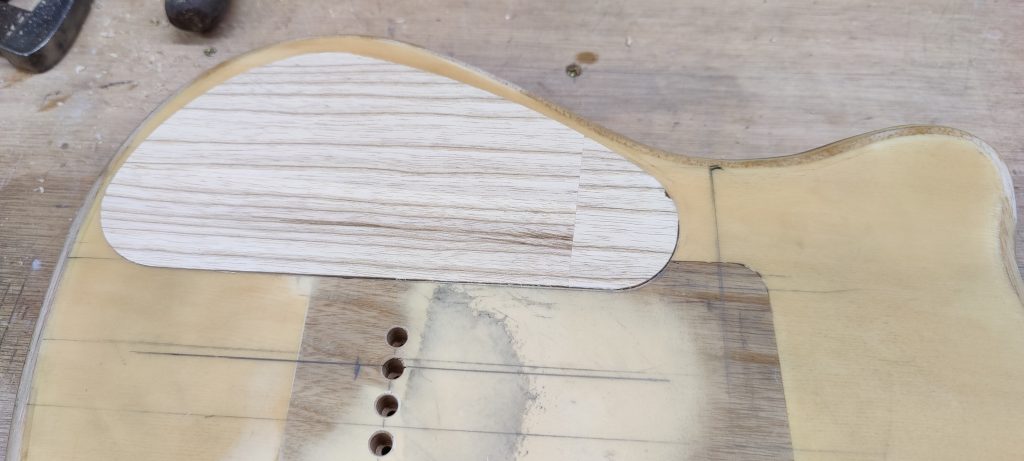
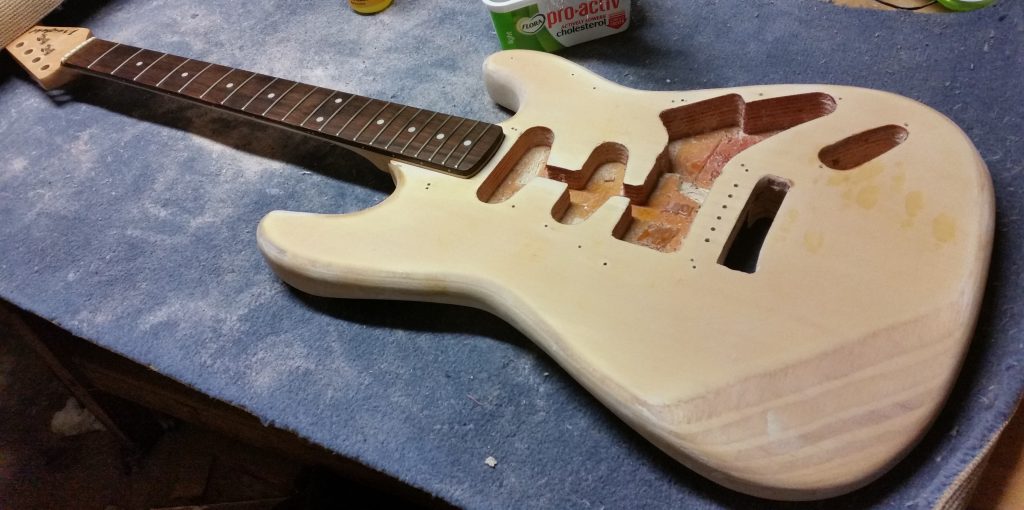
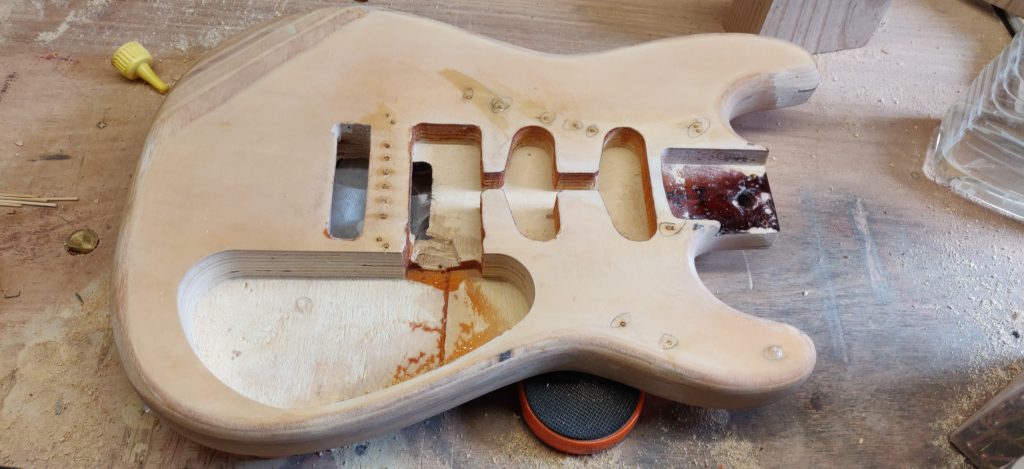
I started by filling the cavities with ash using a mixture of cavity cover shapes, as I had the routing templates available, and some carefully cut infill pieces where this seemed overkill.
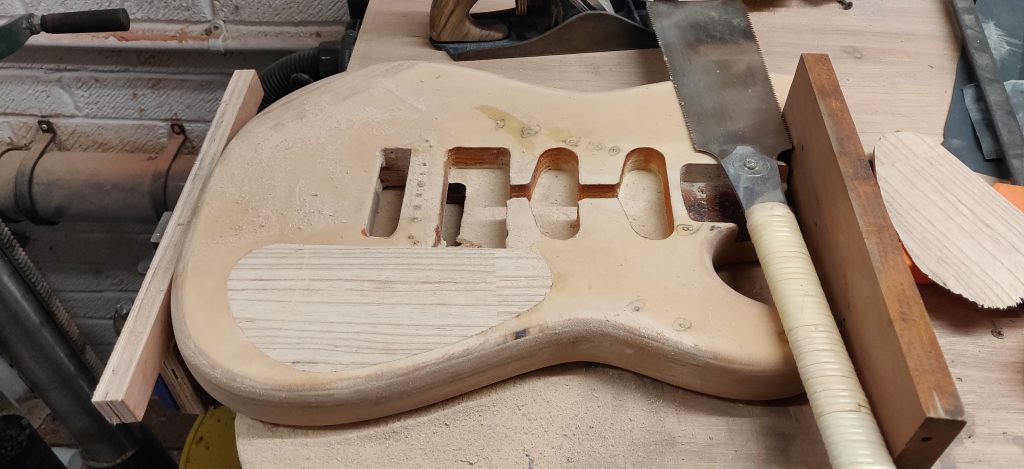
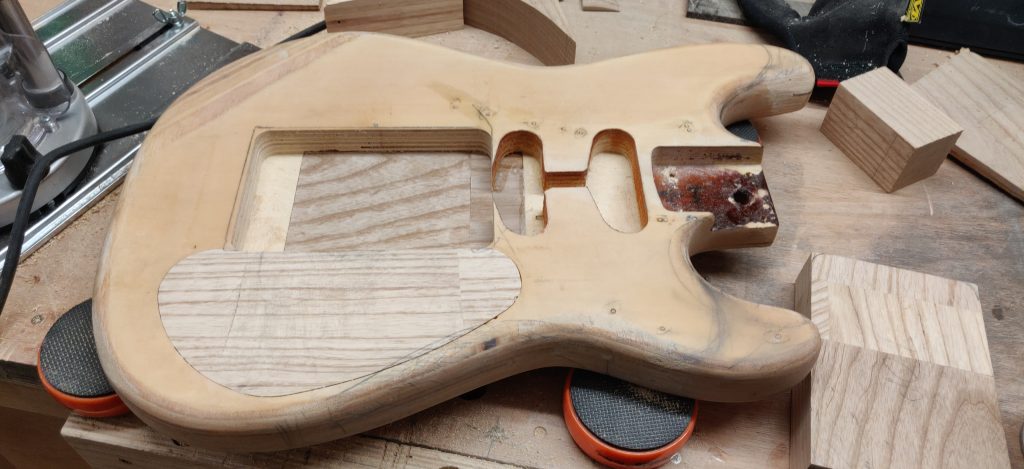
First I filled the control cavity with some ash.
And flush cut it with the ryoba.
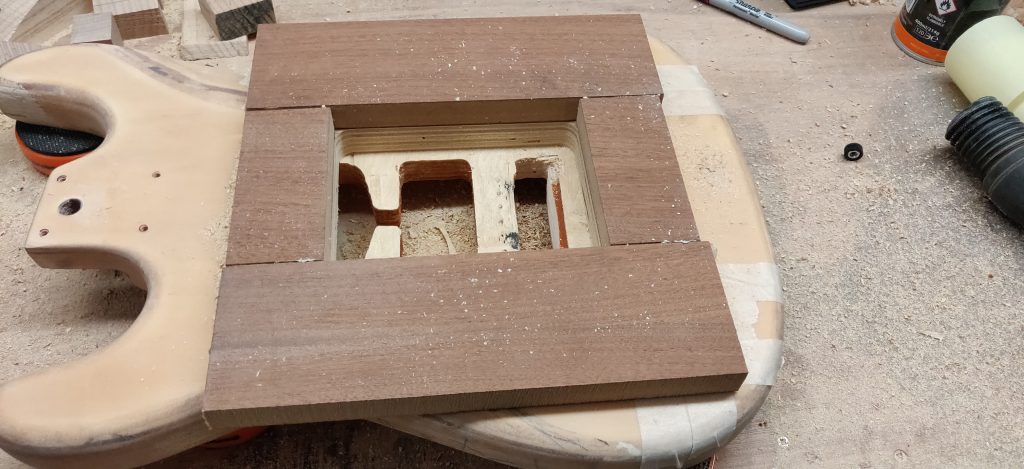
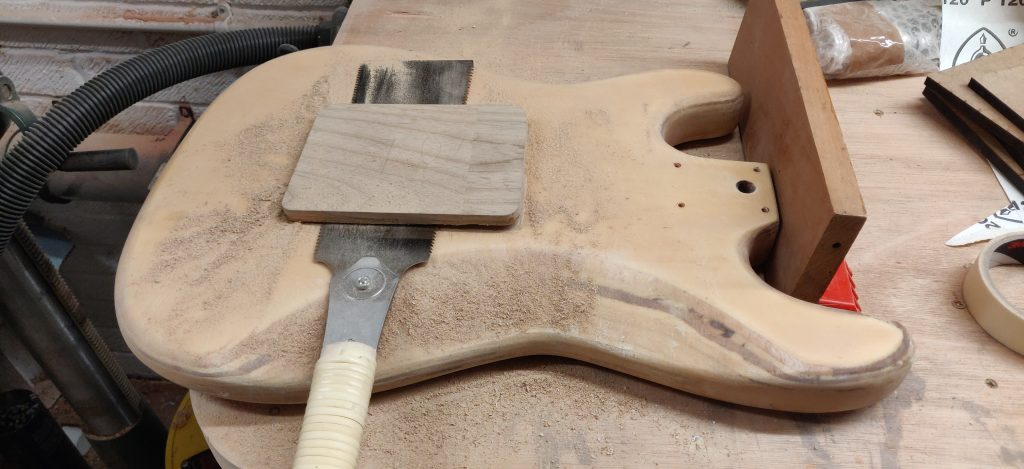
Next, I filled the trem cavity in the same way.
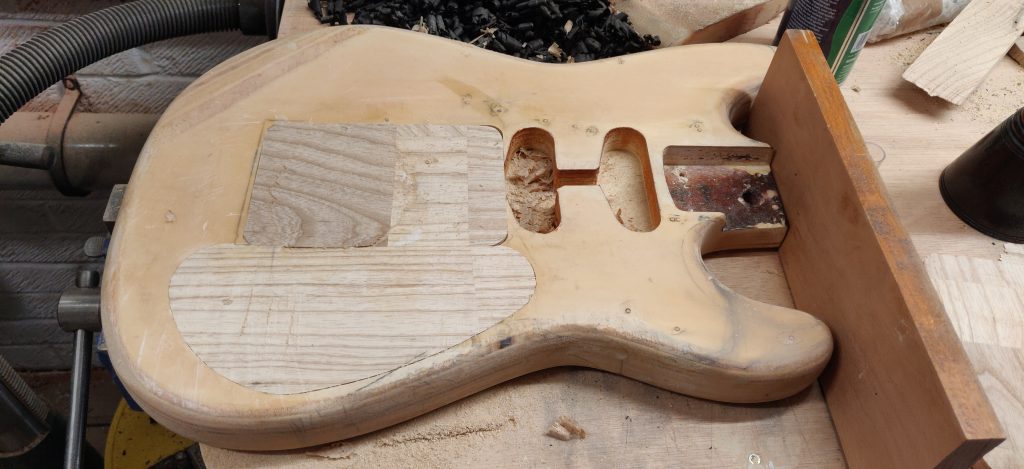
And again for the bridge pickup and upper trem cavity.
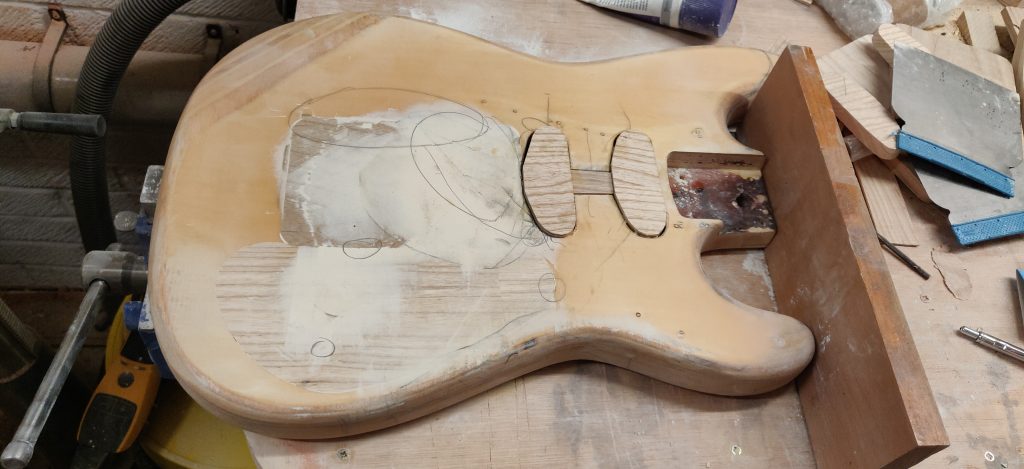
You’ll notice some small gaps there. I added a lot of extra material and filler around this stage, but I’ll spare you the pictures.
Next, I filled the middle and neck pickup cavities.
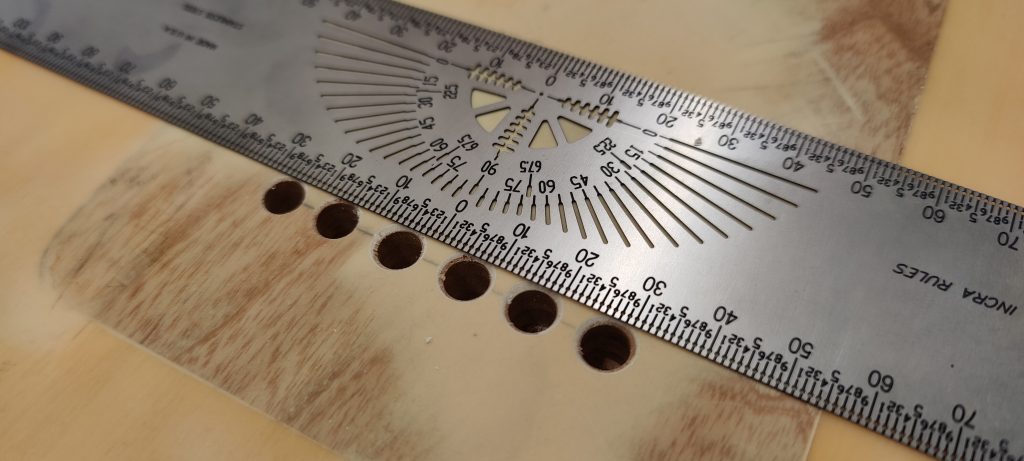
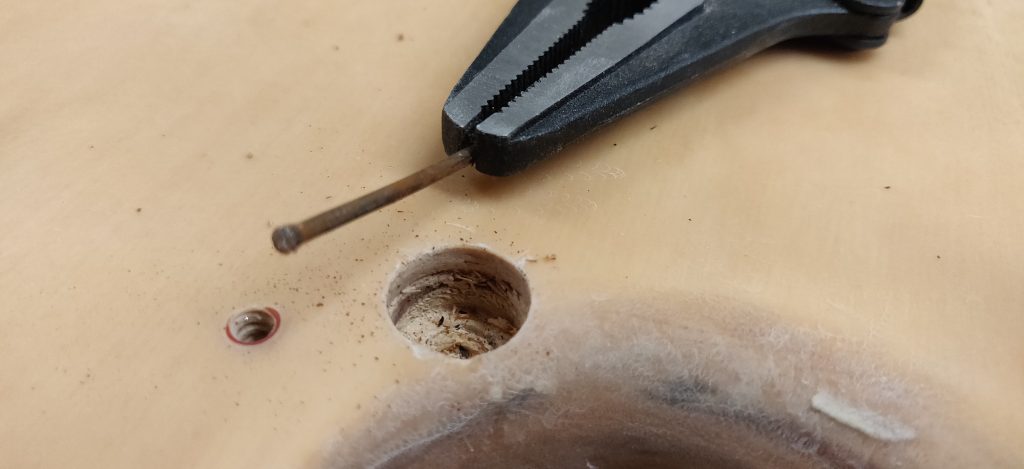
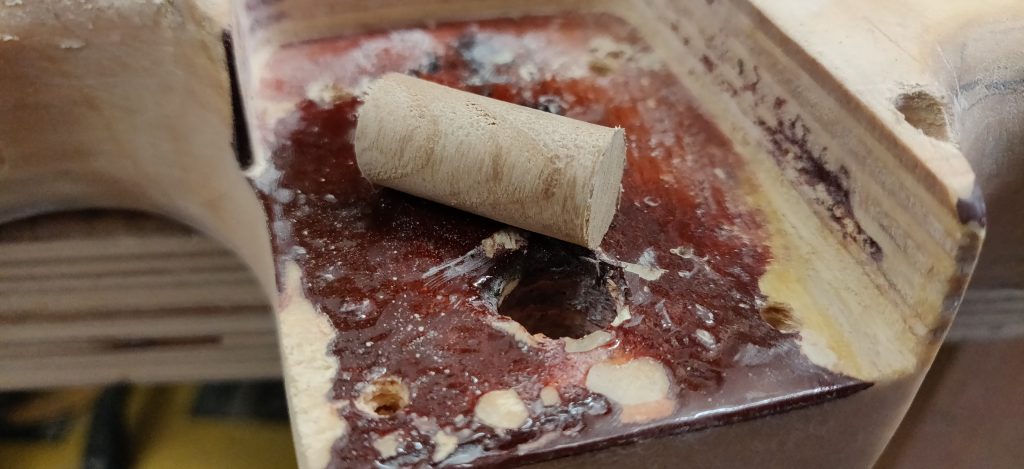
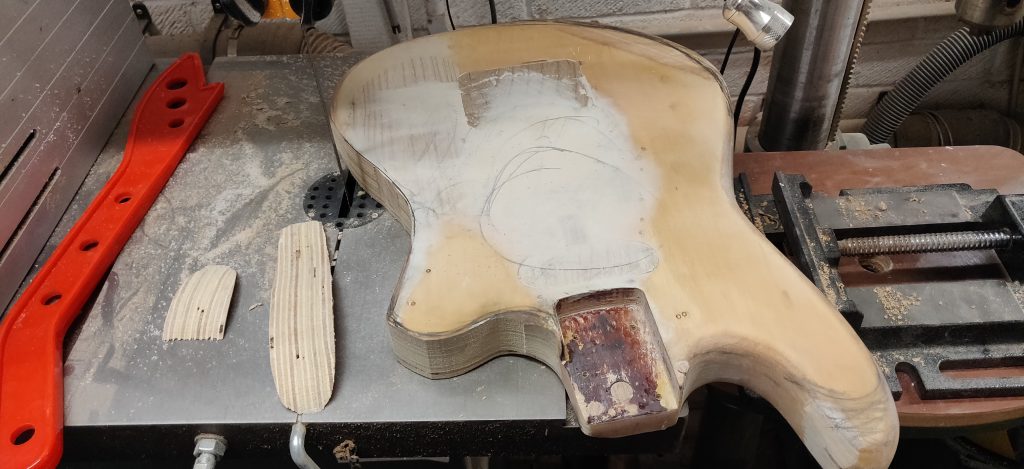
Next, it was time to remove the nails holding the body together around the neck pocket. Initially, I used a plug cutter to provide sufficient clearance, having failed to drill it out.
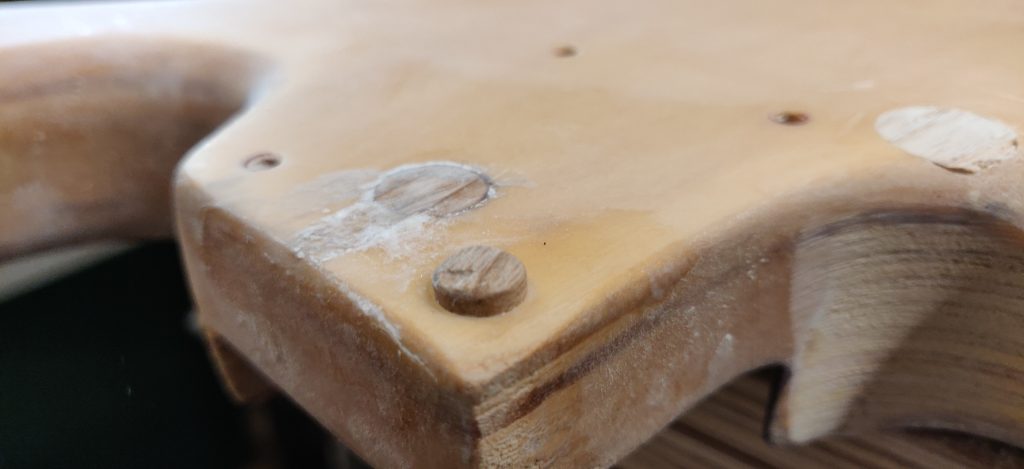
For the others, I switched to using a 6 mm piece of aluminium tubing I’d cut serrations into, which removed a bit less material, then made ash plugs for the holes.
I also filled the hole in the neck pocket used at the factory to hang the body while spraying. While I was making ash plugs, I drilled out the strap pinholes and plugged them as well for a sturdier join when the guitar was back together. I also filled one of the neck pocket screw holes, as I wanted to reshape the heel area to allow for more access.
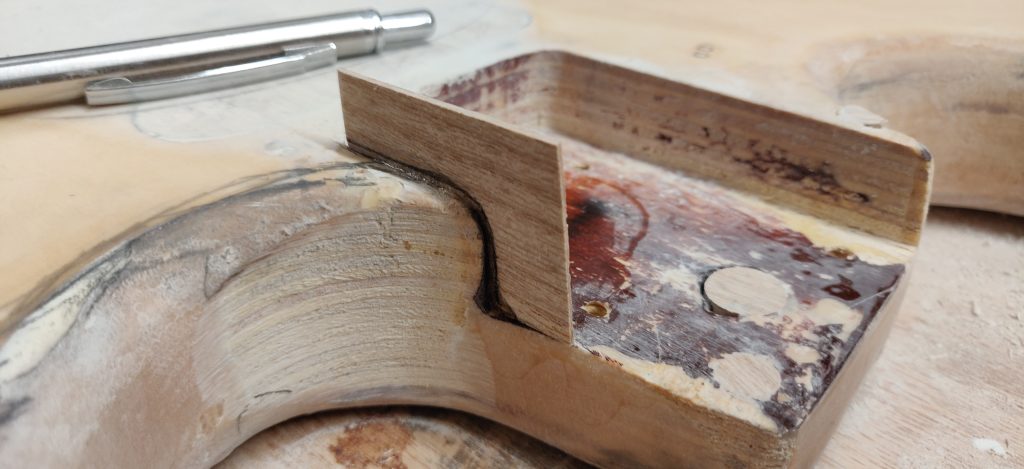
The neck pocket itself also needed bringing in slightly, as the fit for the neck wasn’t great.
Once glued and trimmed, the neck had a nice, tight fit.
A new shape
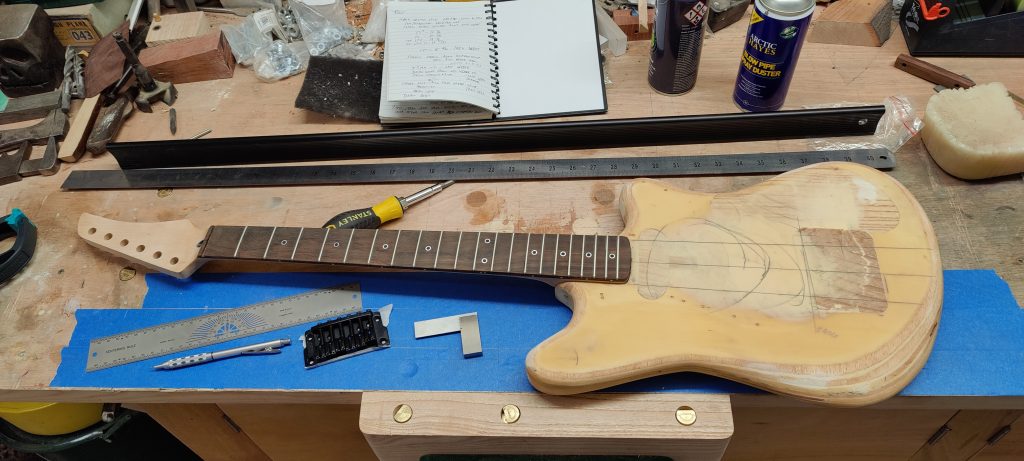
With the guitar body effectively just a blank, I started sketching ideas for a new shape. I was aiming for an offset shape reminiscent of the Jassmaster.
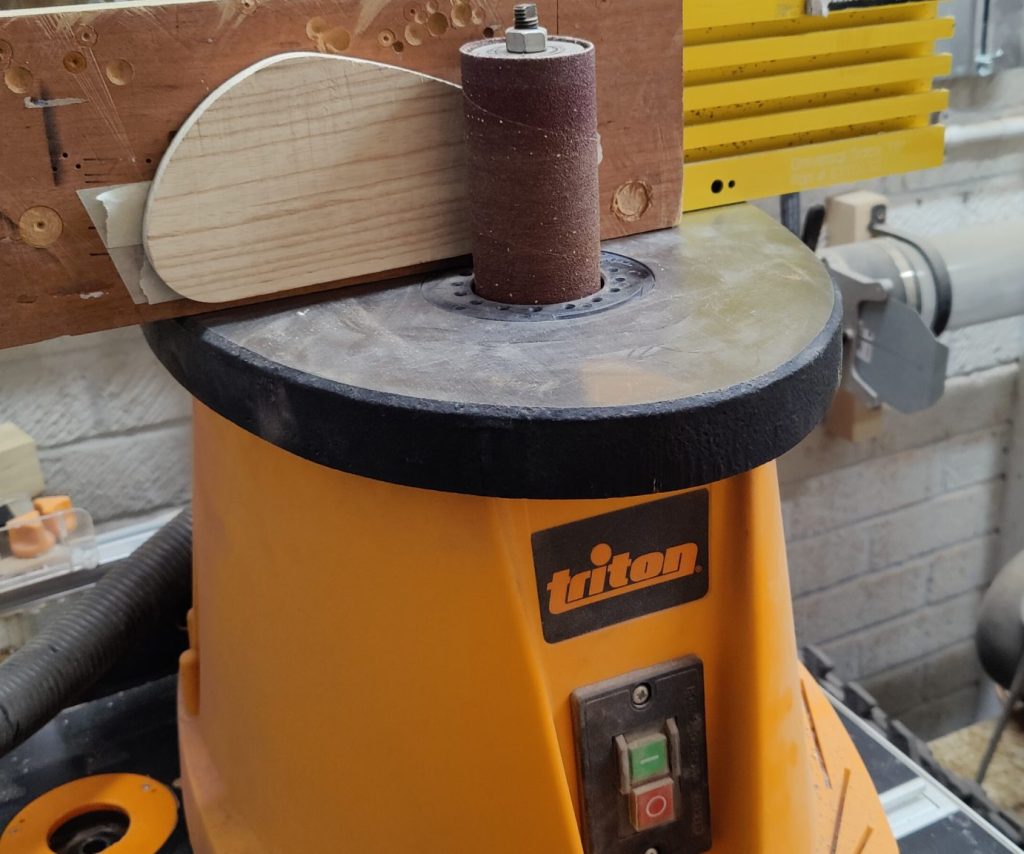
After some cutting and refinement on the Triton spindle sander, I ended up with this shape:
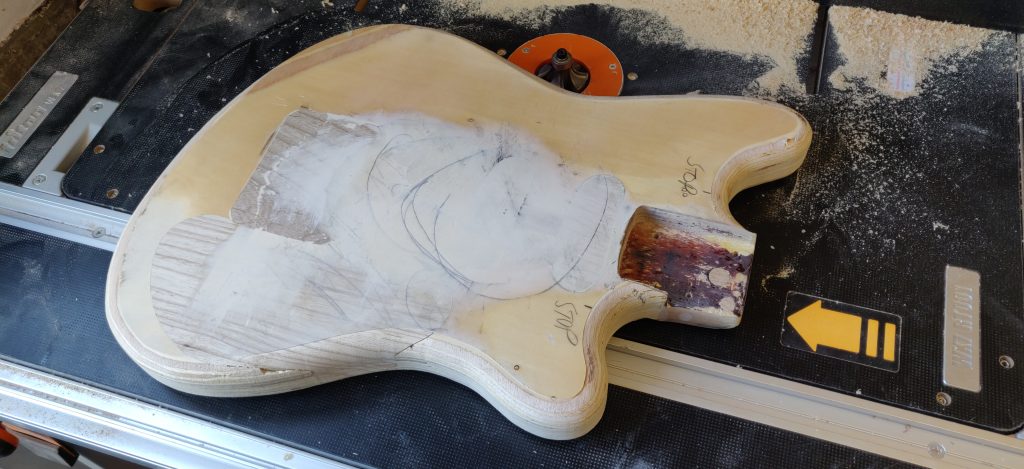
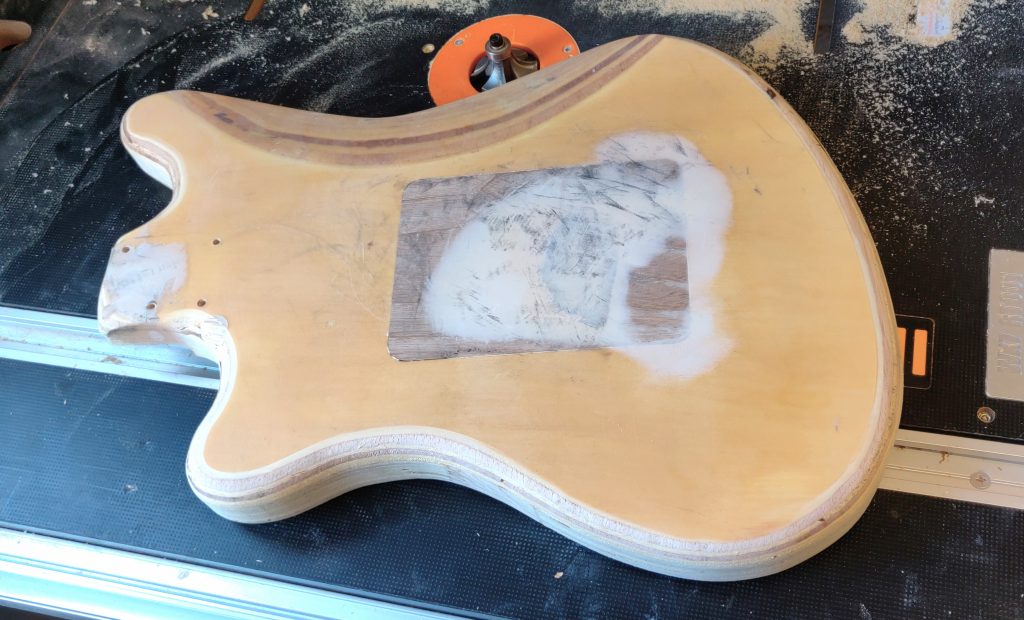
I then re-added a roundover on the router table to get a better look at the new shape.
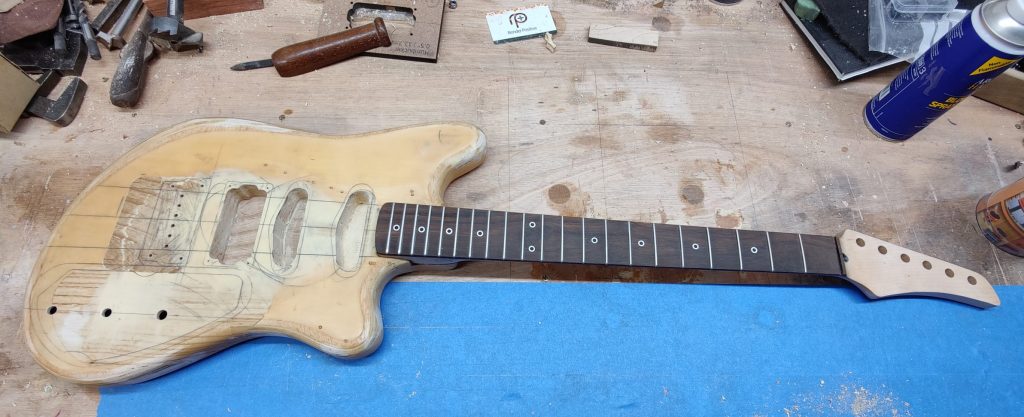
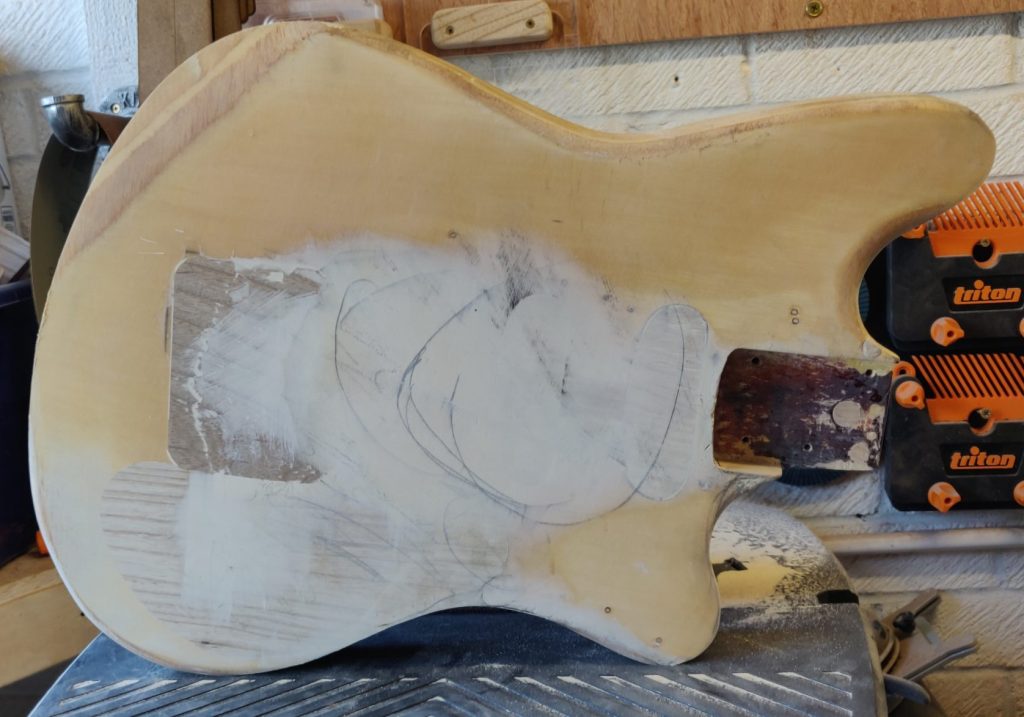
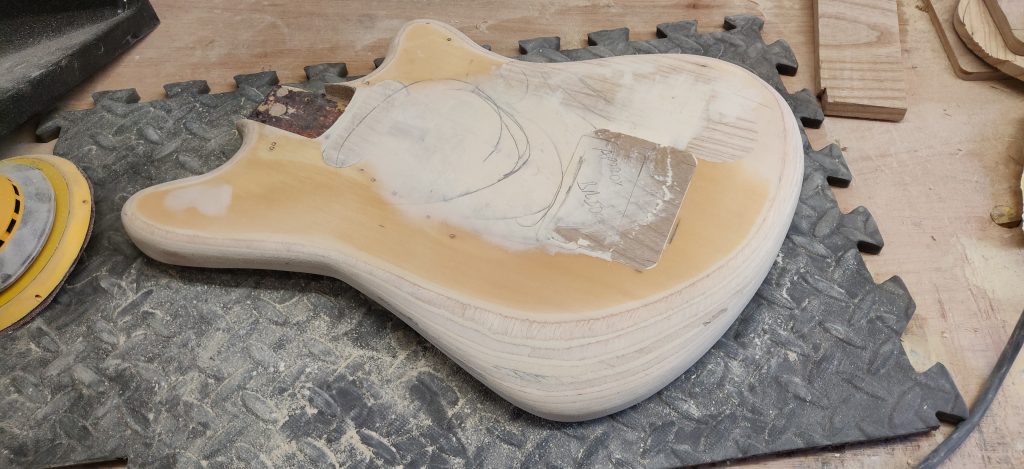
At this point, yet more material needed adding, largely to fill the voids in the plywood. Then I added a new arm bevel and belly carve.
With these features established, I refined the shape to make it suit my vision.
Neck modification/repairs
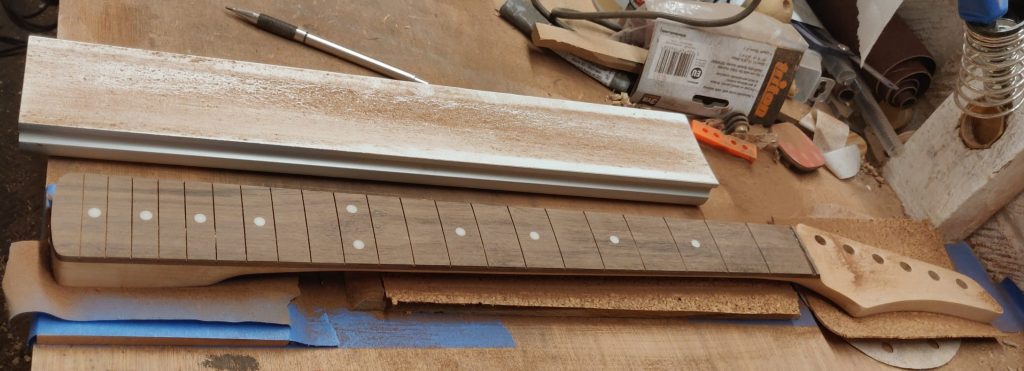
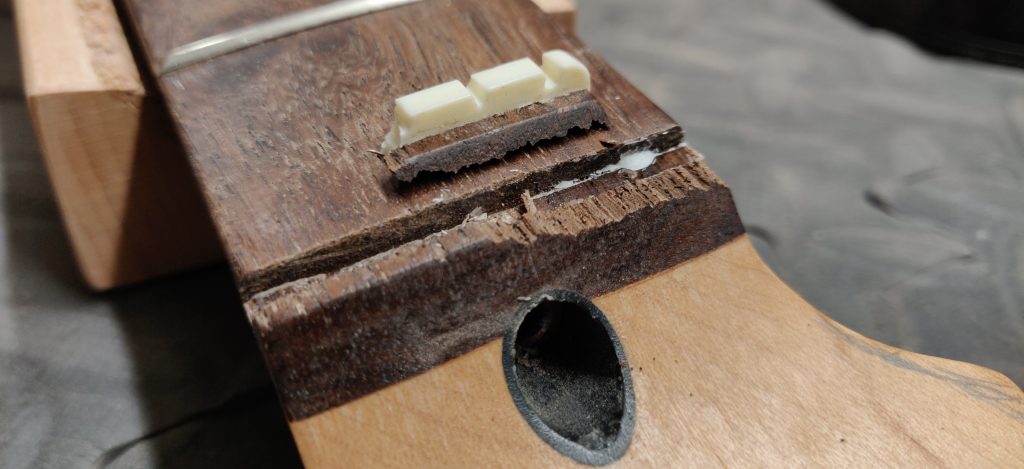
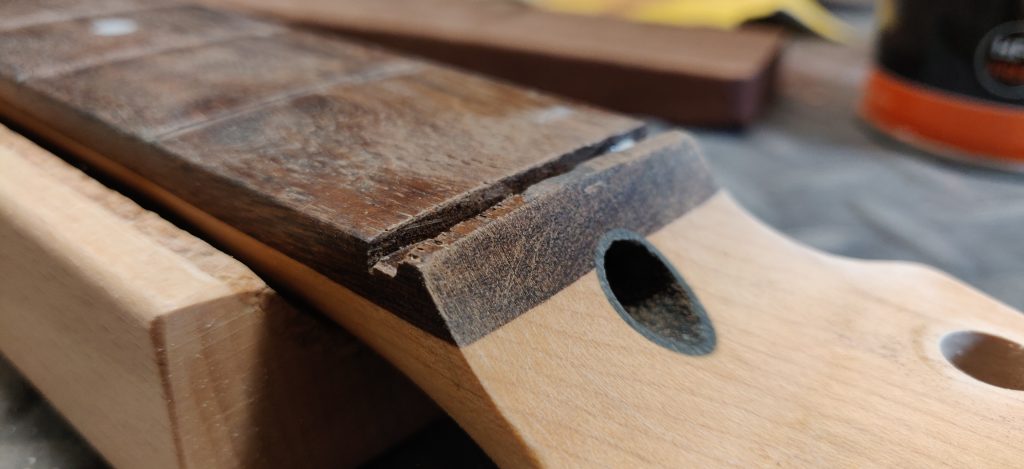
With the body “done”, I moved on to tweaking the neck to suit. First I removed the nut ready to replace it with a brass one. Unfortunately, it had been glued in with a bit too much glue, so I needed to rebuild the end of the fretboard slightly.
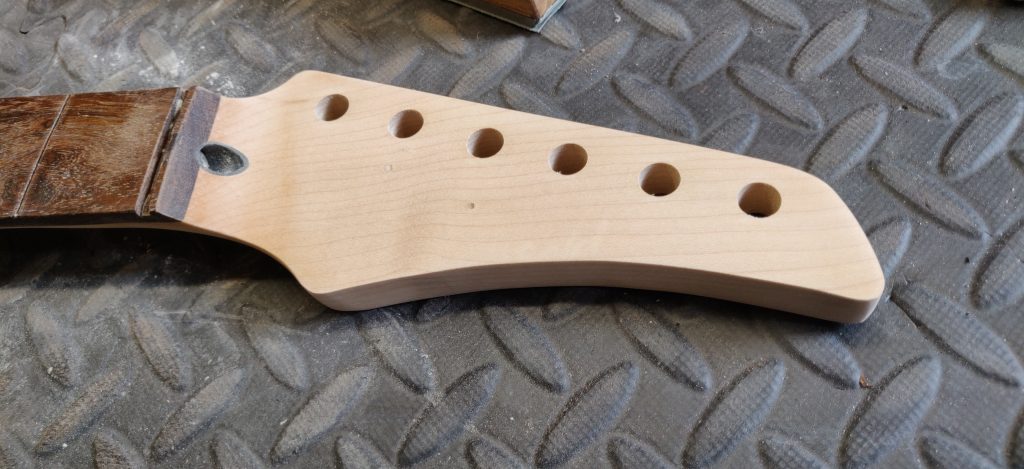
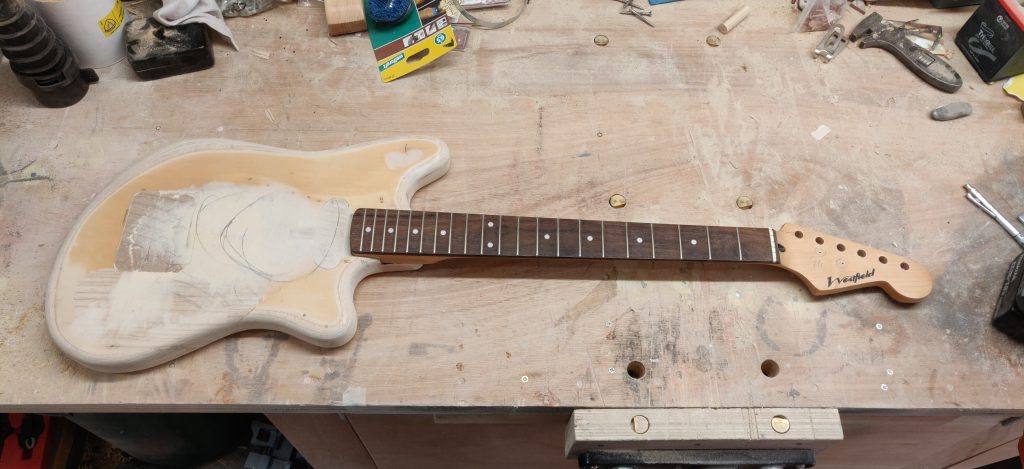
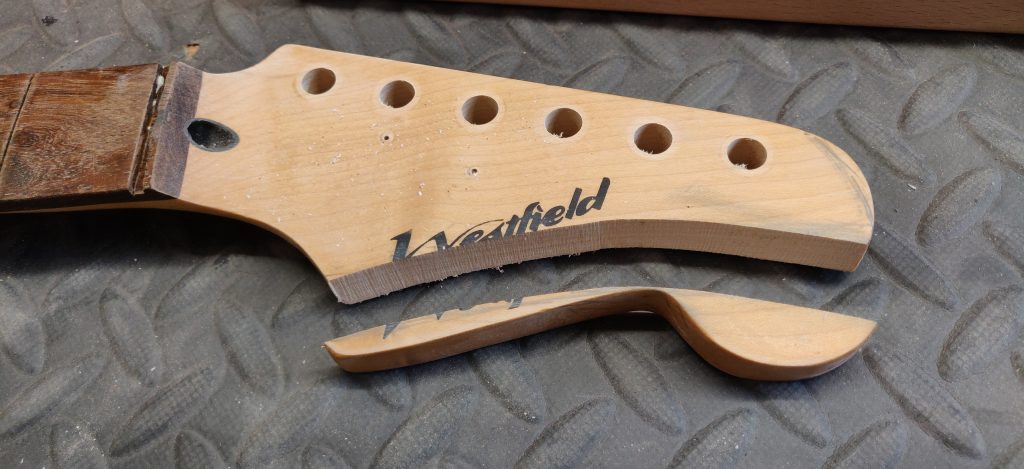
With that out of the way, I reshaped the headstock.
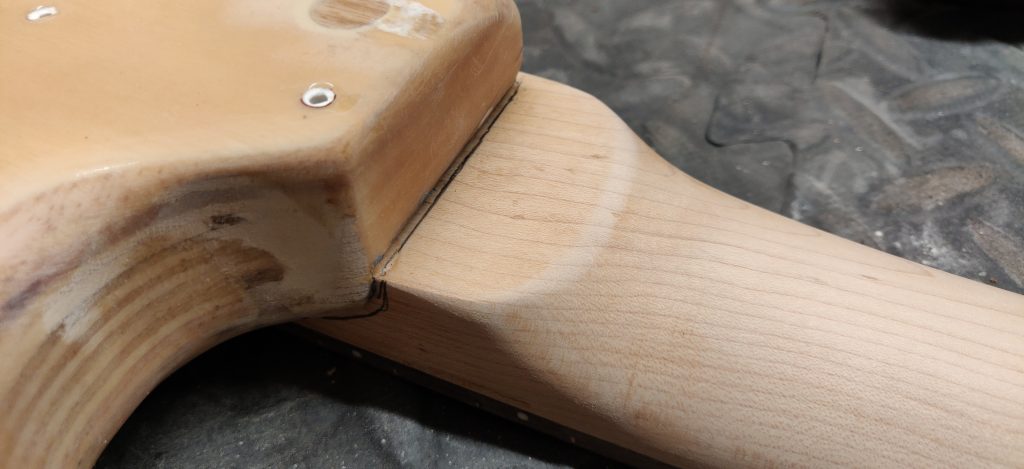
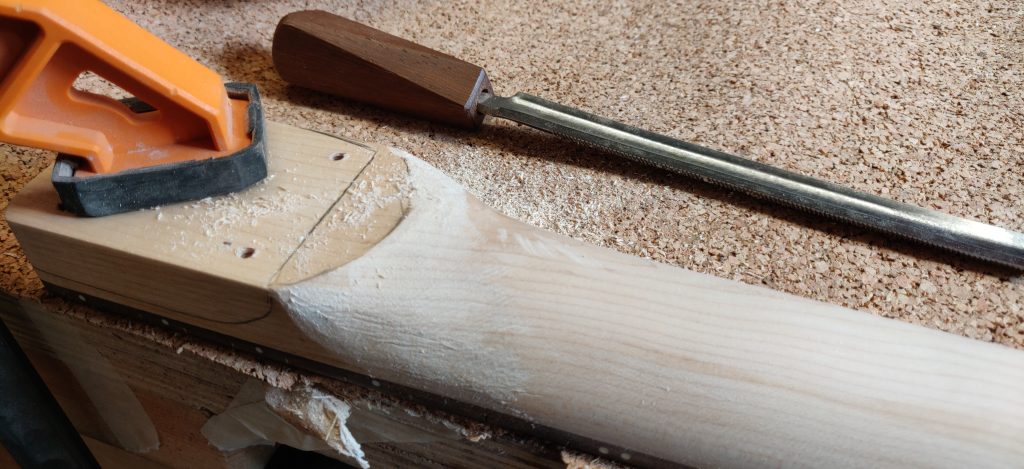
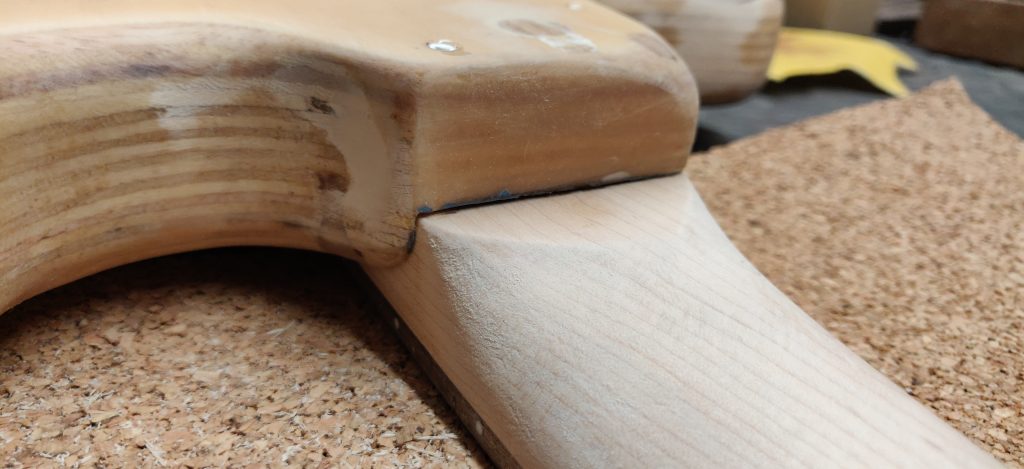
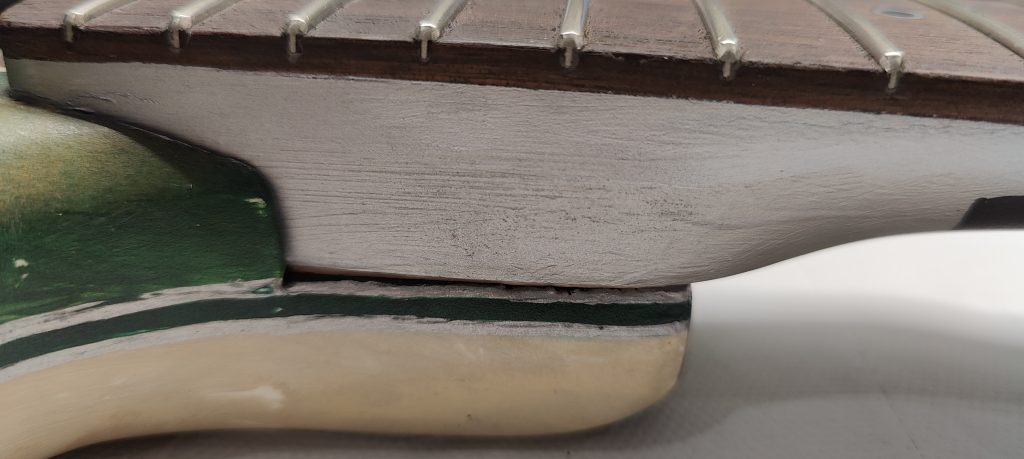
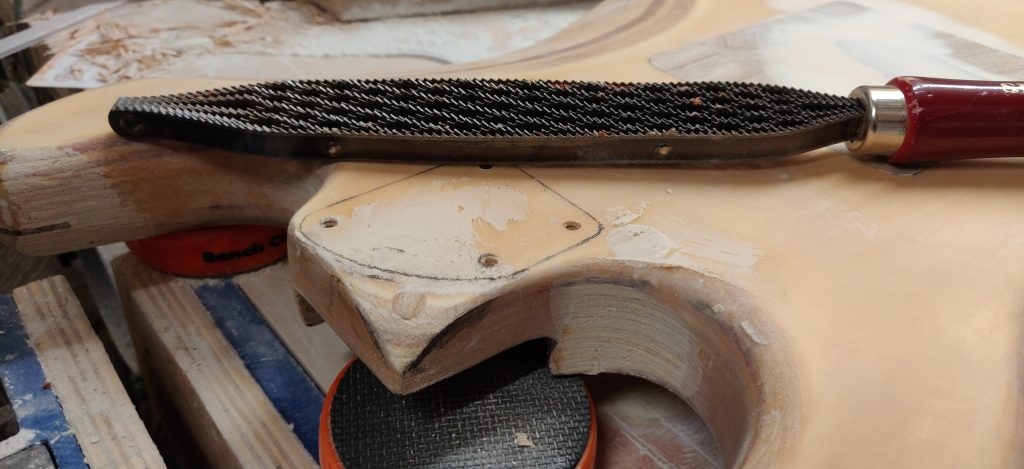
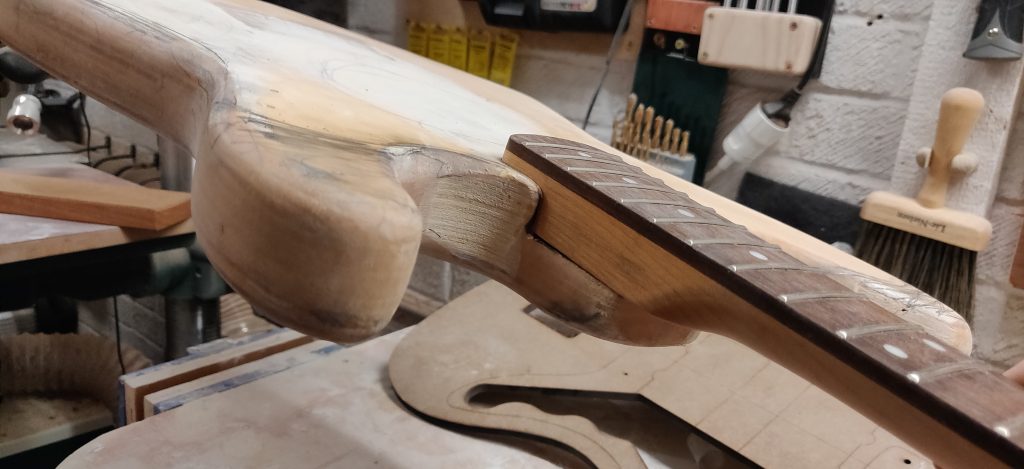
Having reshaped the headstock, I moved to the heel to trim that back slightly.
Fretboard, inlays and frets
The 12-inch radius and cheese wire frets weren’t for me, so I pulled the frets, re-radiussed to 16 inch
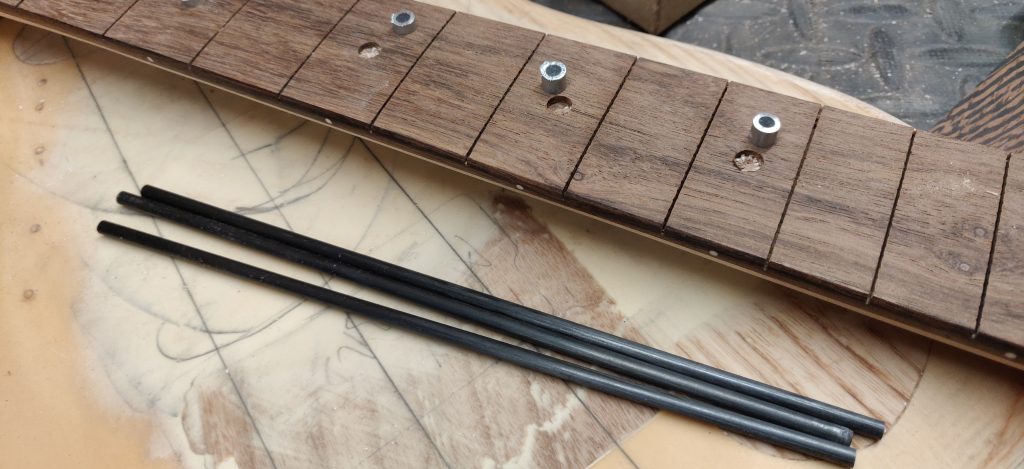
And decided to add some new aluminium and carbon fibre inlays:
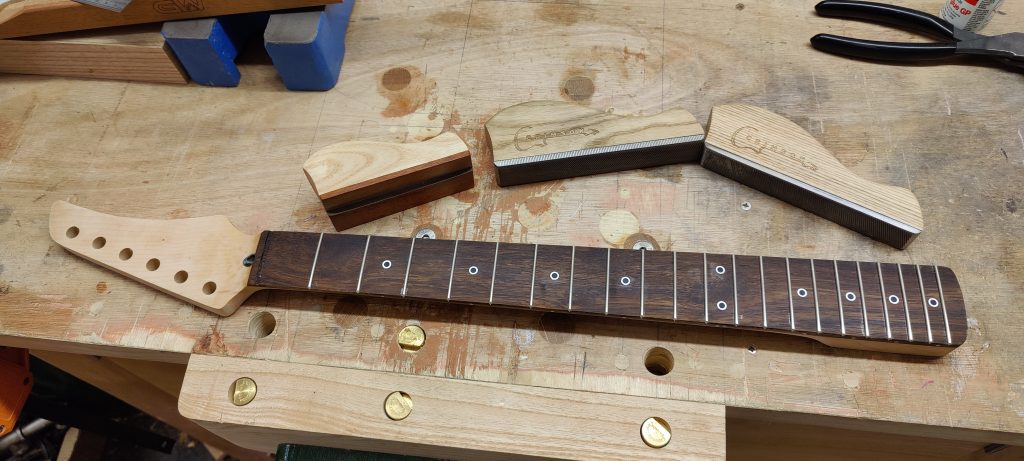
Finally, I then installed new frets (Jescar nickel silver)
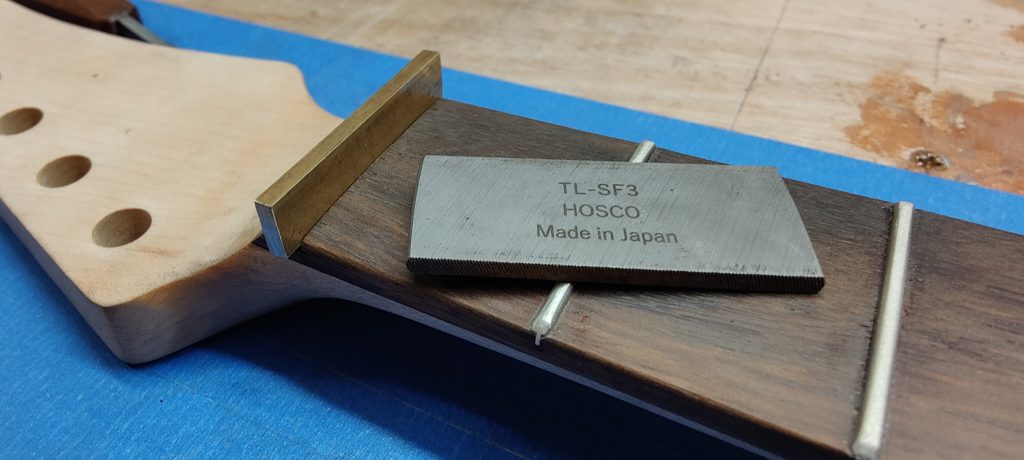
And got started on the brass nut
Routing and drilling the body
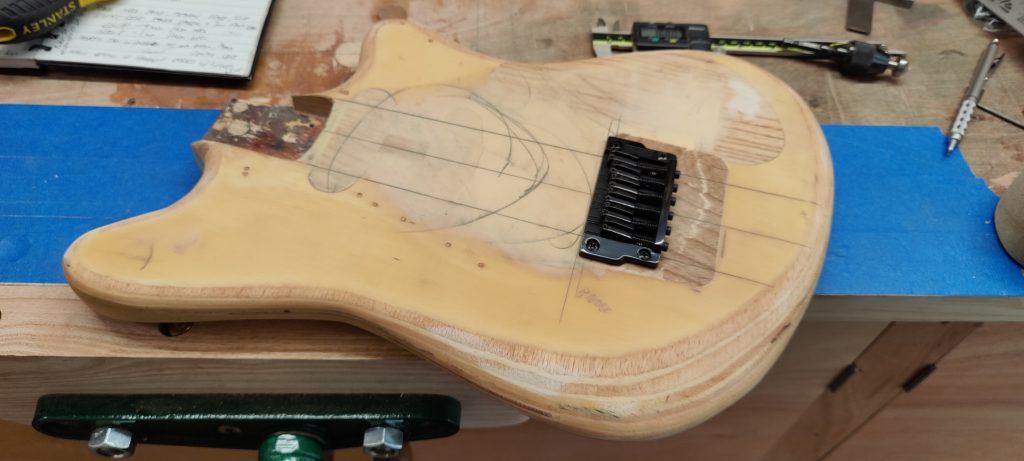
With the neck ready to go, I could mark and drill the bridge mount and string through holes
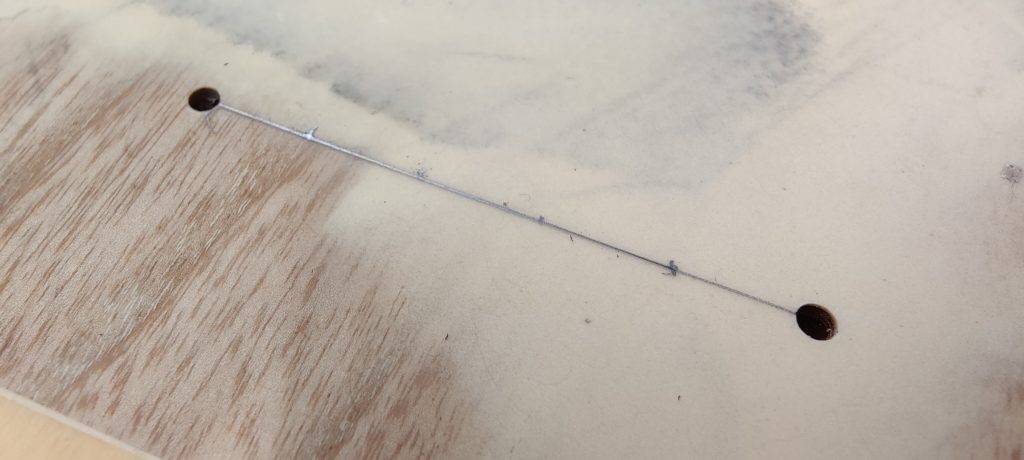
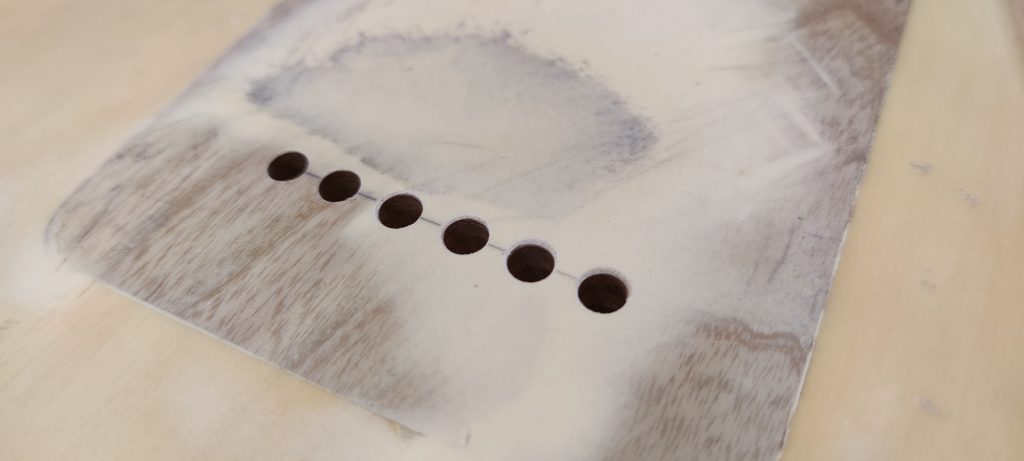
Rear holes using the “both sides” method. Drilling the outer holes the whole way from the top, but the inner holes halfway.
Then joining the holes and marking and centre punching the placement of the inner ones.
And finally, drilling to meet the holes drilled from the top.
Happy with that.
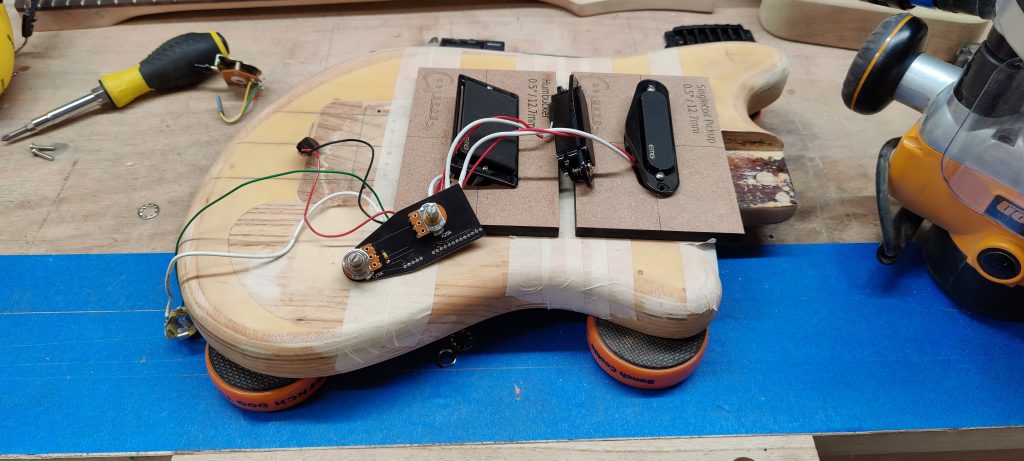
For the wiring, I opted for an EMG Steve Lukather signature set, which includes the full harness (and comes on a pickguard). Here I’m figuring out placement.
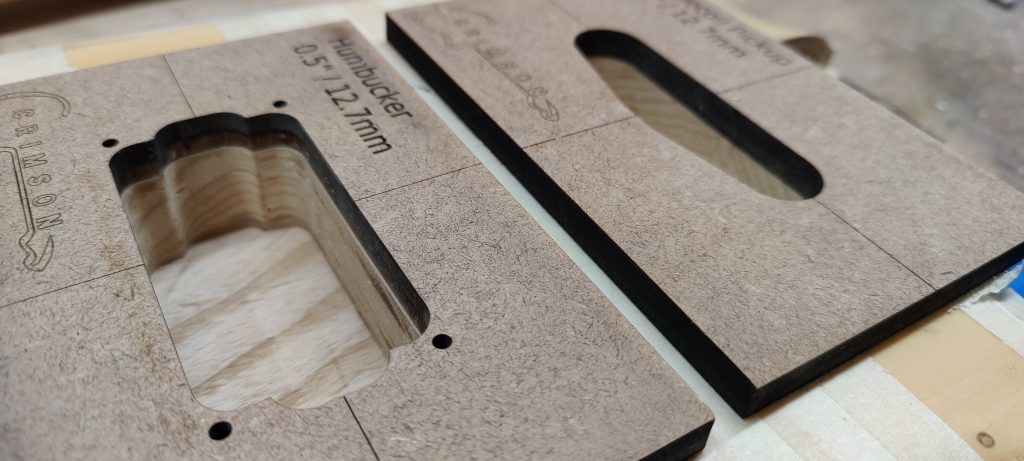
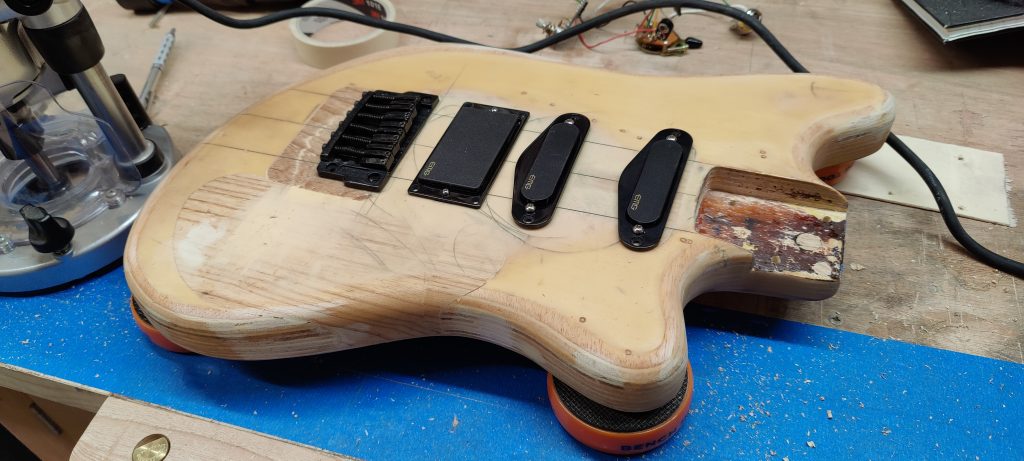
And standard routing with my new Crimson Guitars routing templates.
Now it’s starting to look like a guitar again.
With the top routing complete and the approximate control position established, it was time to add a control cavity.
Due to the positioning I wanted for the controls, I went for a large cavity, rather than a smaller offset cavity, which did eat into some of my added material somewhat.
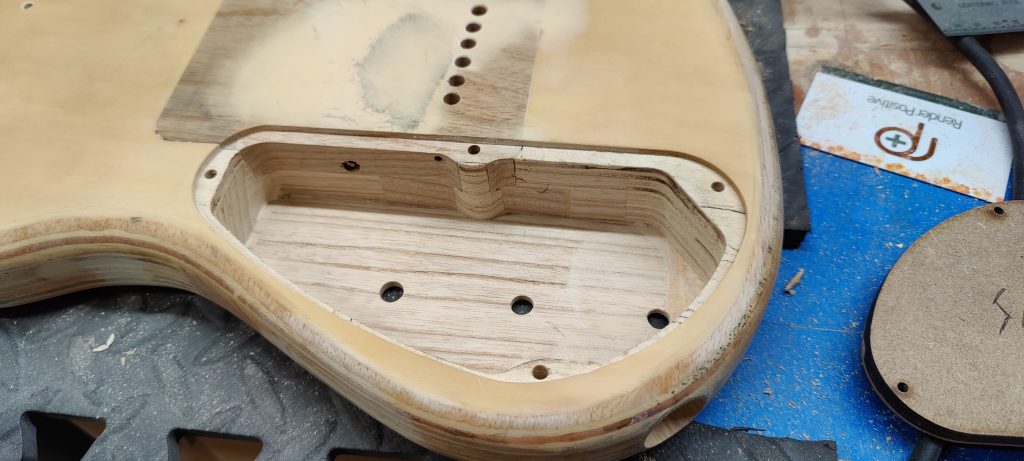
Next I made a cavity cover with an offcut of the infill piece of the same shape, thicknessed with the spindle sander and shelf approach.
I sanded the edges to make the fit slightly loose. It’ll need more reduction after paint, but this is good for now.
Next I drilled the wiring channels and jack hole
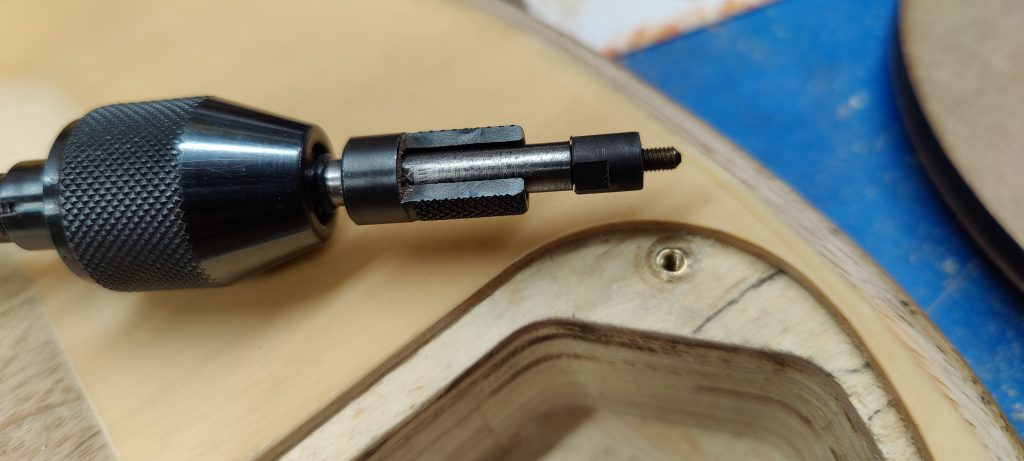
And installed some Grainger guitar parts threaded inserts. By this point, I’d decided the whole guitar will be painted and didn’t want a visible battery cover, so the cavity cover needed to be removable repeatedly throughout the life of the guitar.
Preparing for paint
At this stage, I had the body sealed with polyurethane as an undercoat for the paint. It also sealed and levelled the plywood, filler, cocktail sticks, dust and superglue, etc.
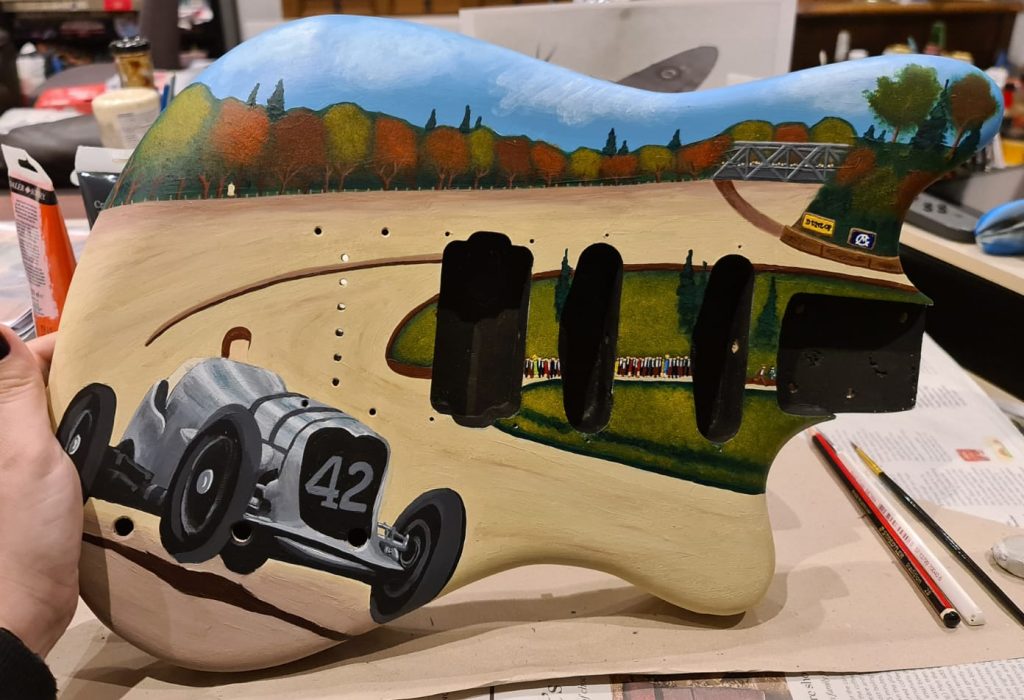
With this step completed, I took these photos ready to mock up the design I wanted.
Brace yourself, here come the mock-ups:
There were a job lot of directions attached to these, but you’ll see the results shortly.
Paint
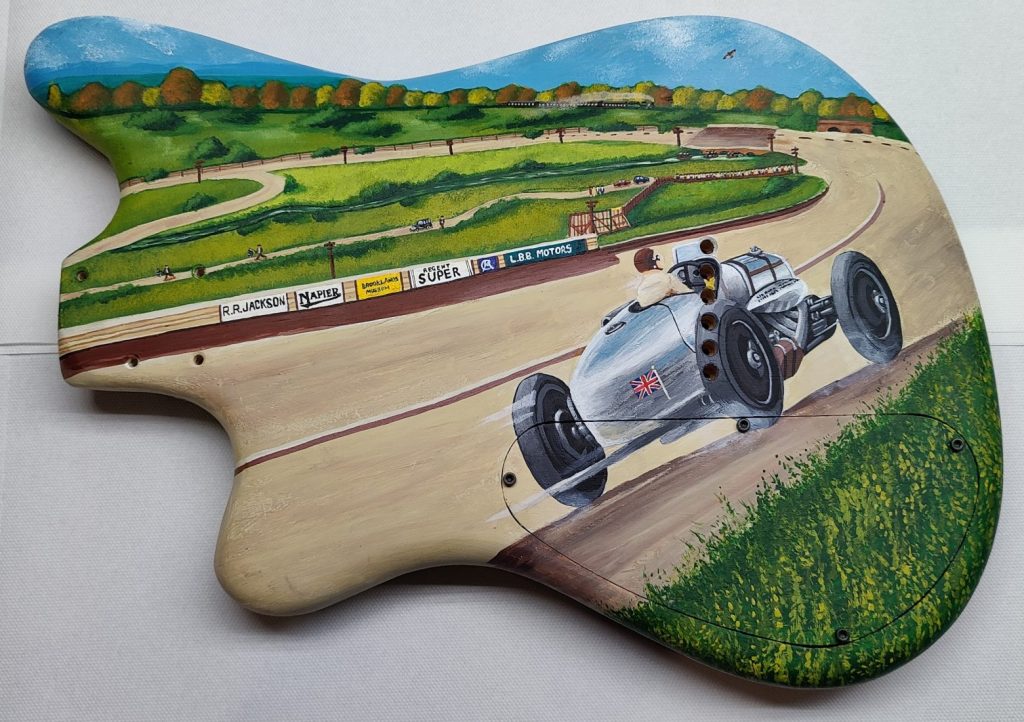
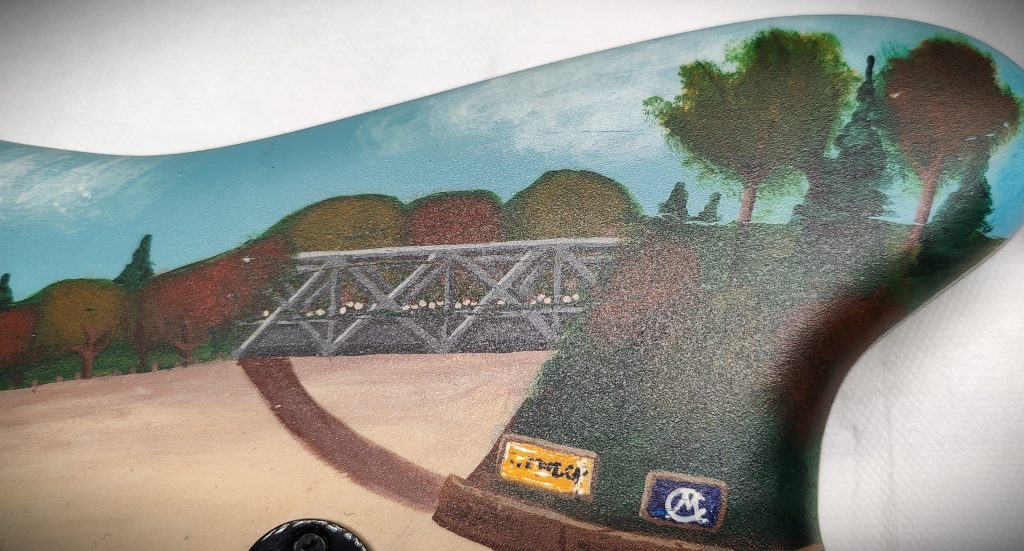
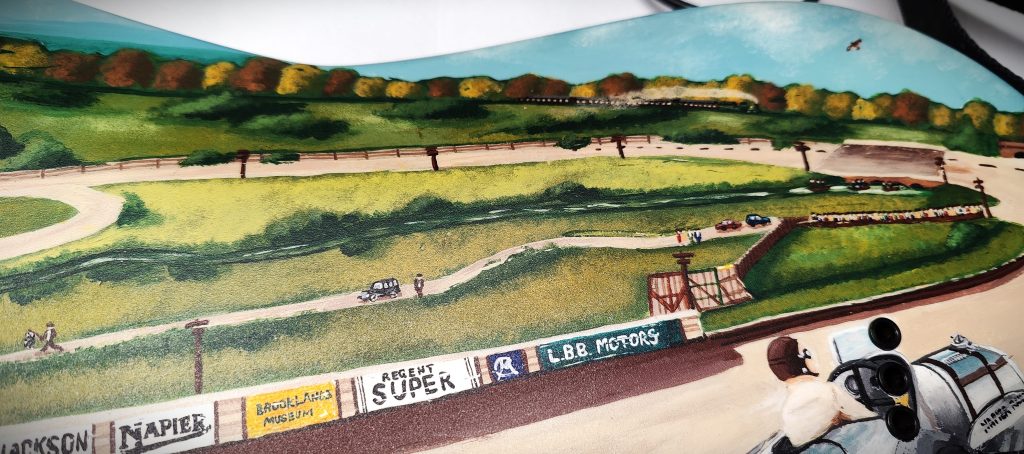
The paint job was done by @carriemillingerart, based on two classic paintings of the Napier Railton on Brooklands racetrack by Richard Wheatland, some historic photos, maps and recent photos from the museum.
Here is the first “how about this” photo she sent over:
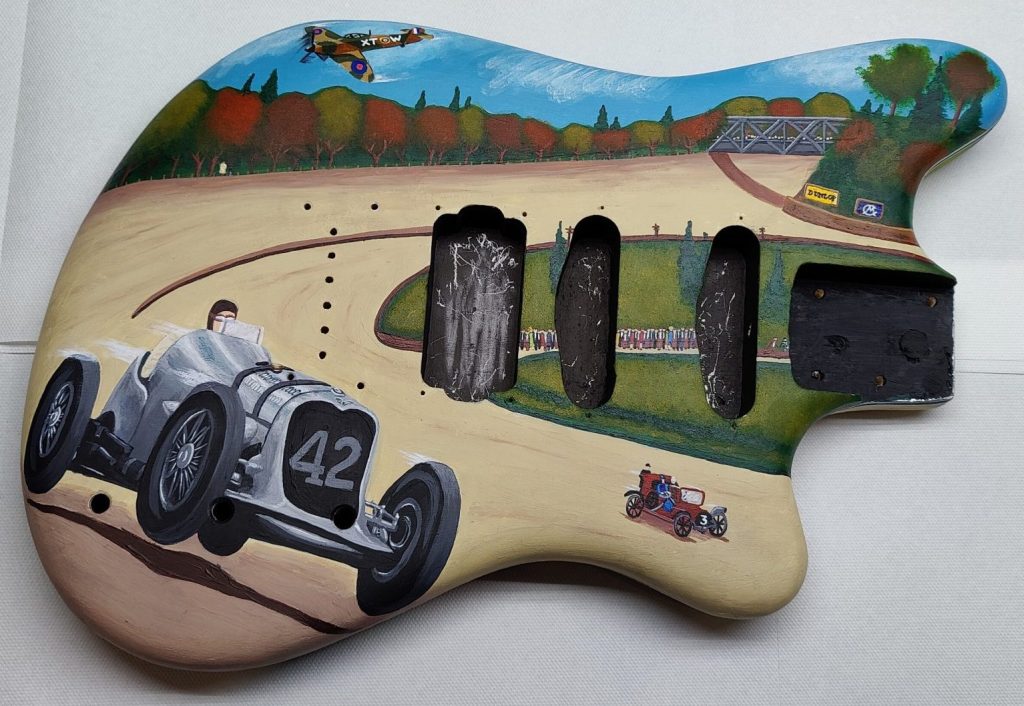
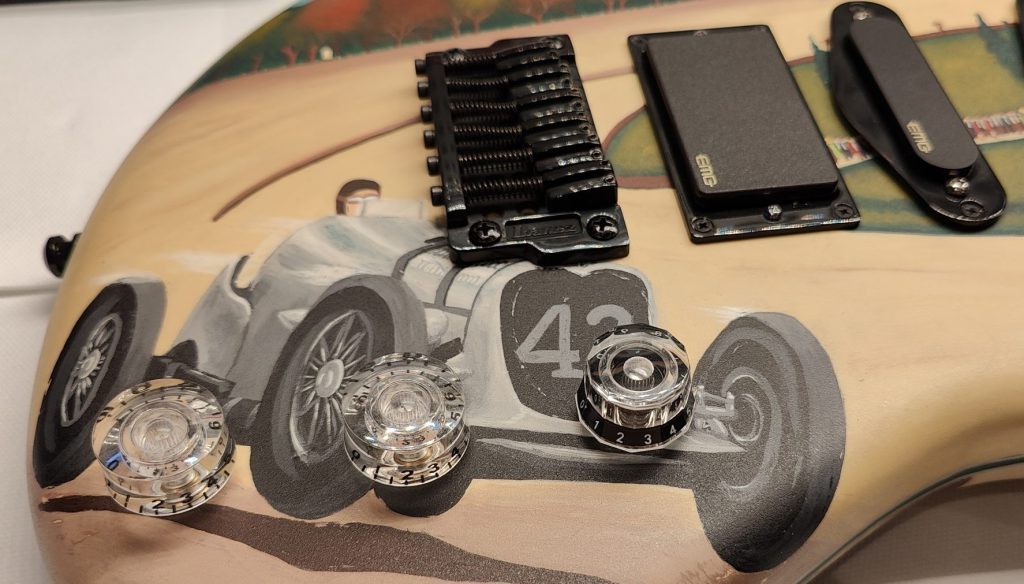
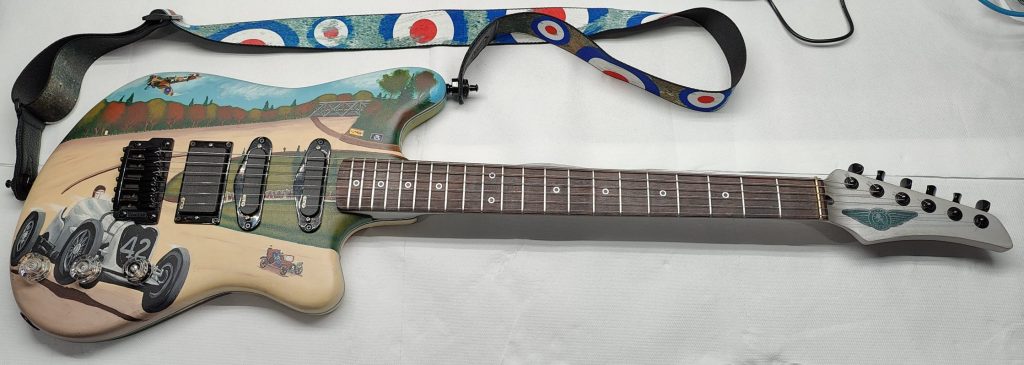
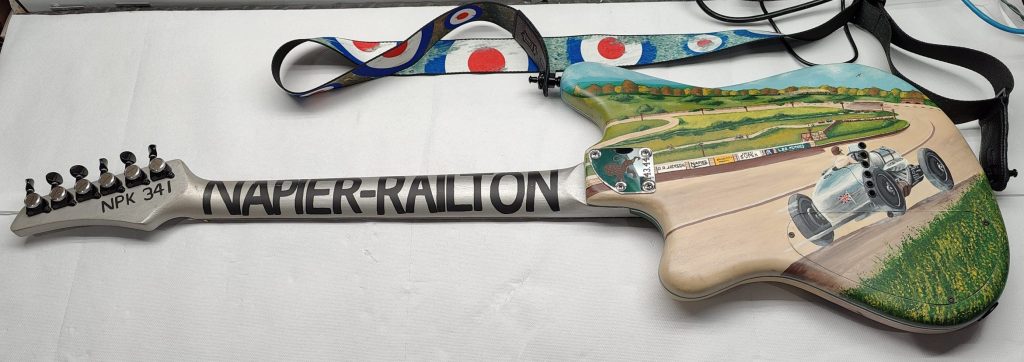
And here are the pictures of the finished body:
I can’t remember why there are scratches in the pickup cavities, possibly something to do with the lacquer not playing nicely with the shielding paint. I only used that because it was black and thin, active pickups don’t require shielding.
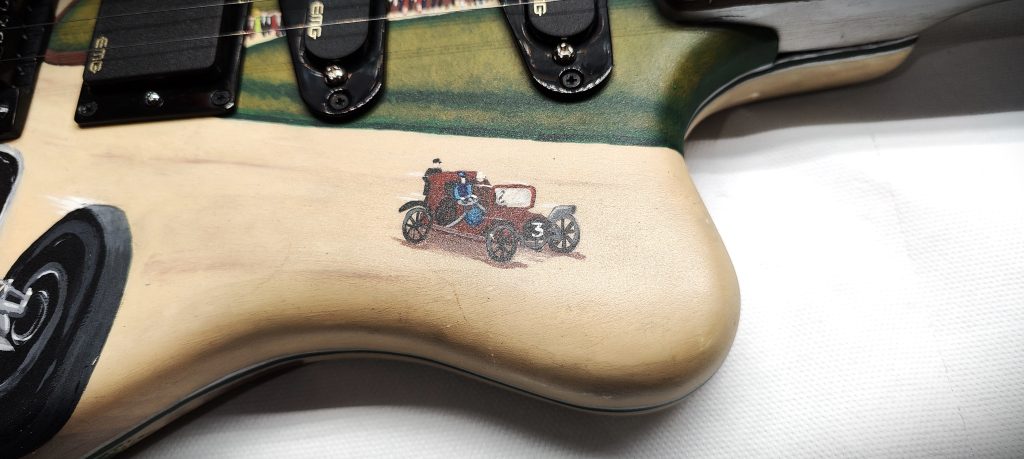
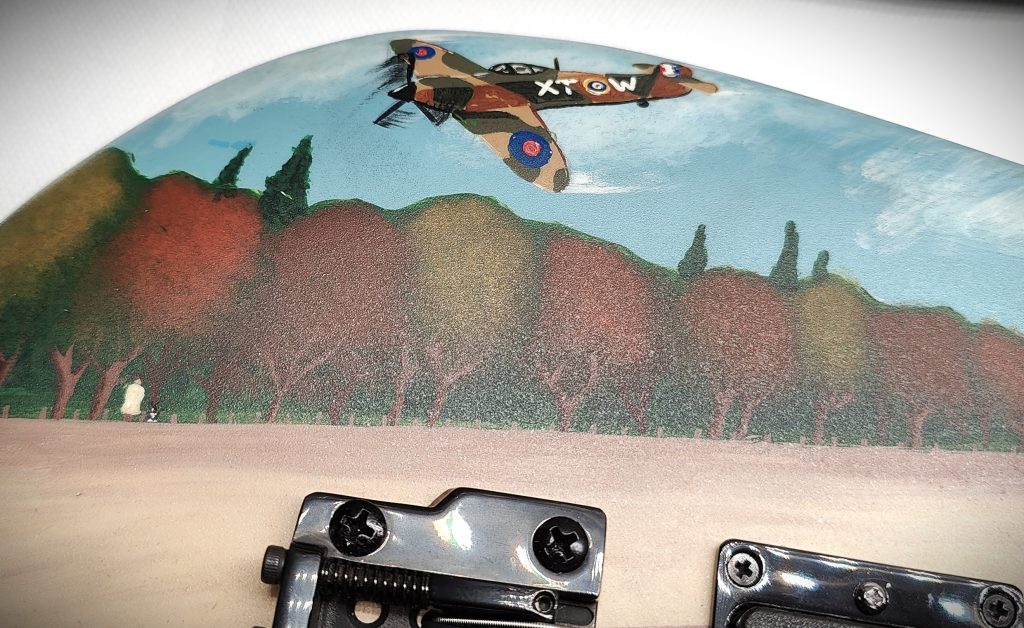
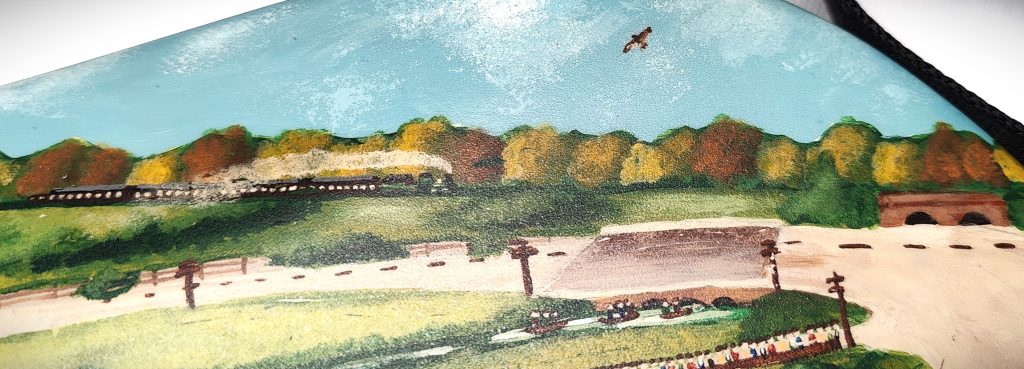
Both sides of the guitar are filled with details and Easter eggs. As a reminder, the theme of the guitar is the Napier Railton and, by extension, Brooklands racetrack.
I’ve been visiting the museum for years and the Napier Railton (the silver car front and back) is my favourite exhibit.
The rear artwork is based on a painting of the John Cobb in the Railton heading around the track by Richard Wheatland. It has been extended to fill the back of the guitar based on photos and maps from the time.
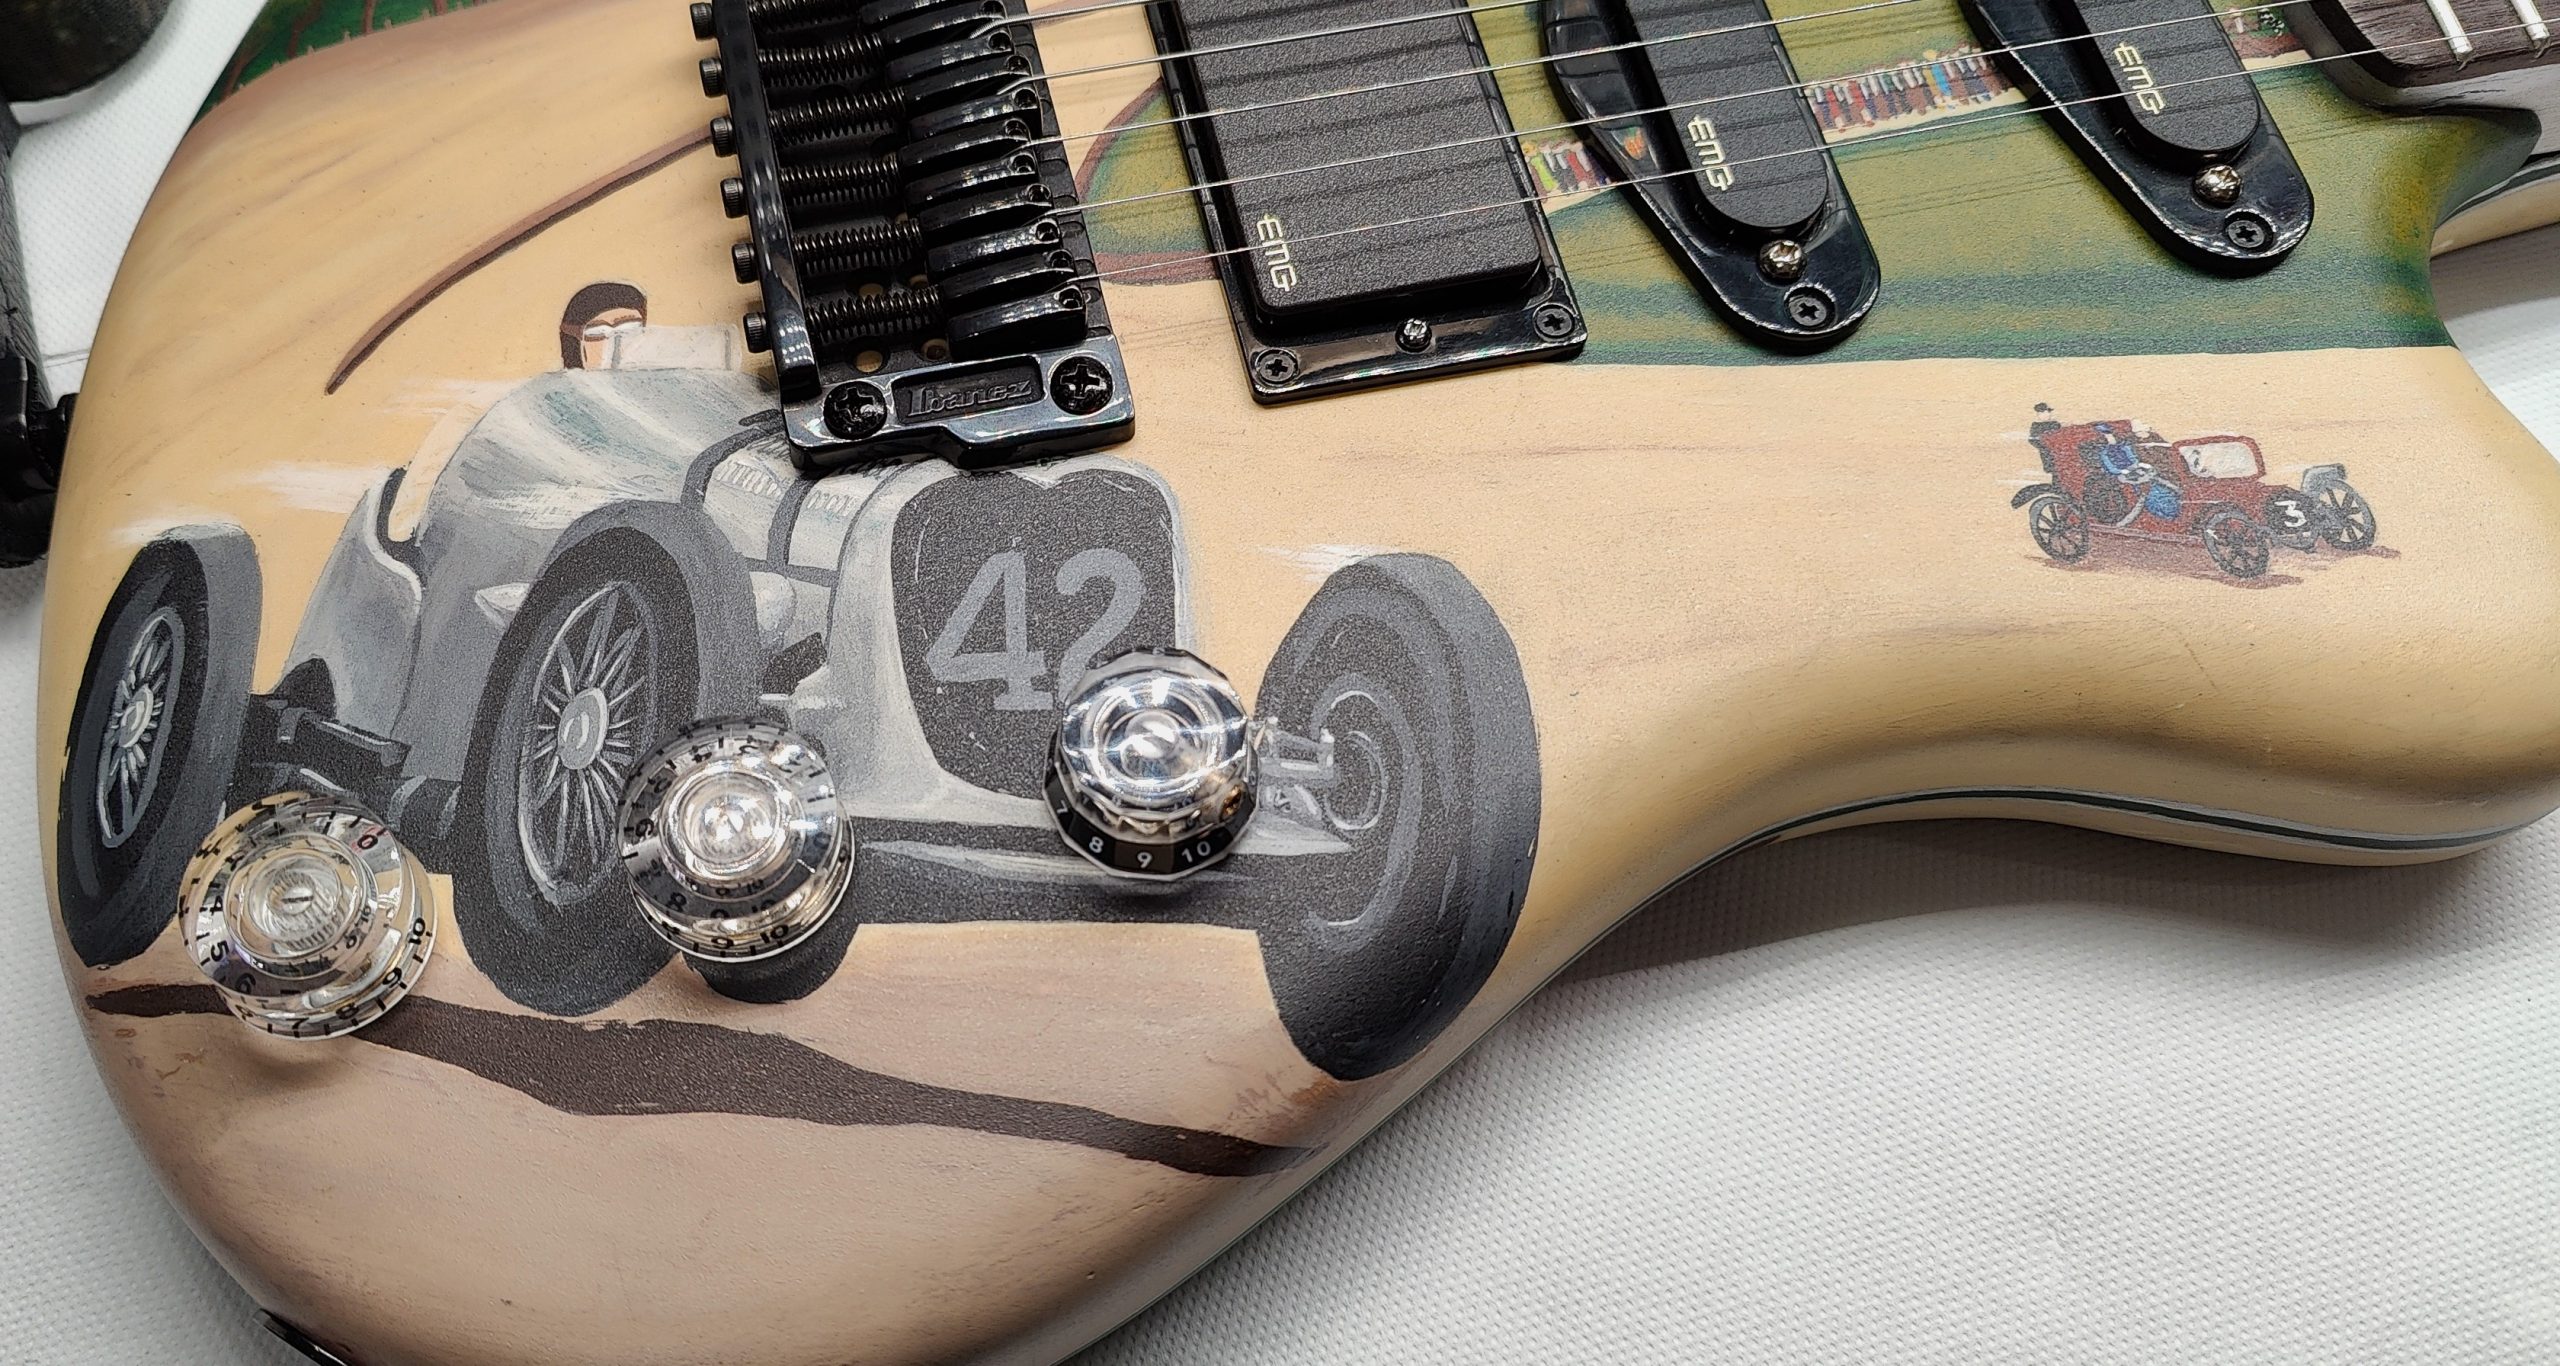
The front is based on a few pictures of John Cobb in the Railton cornering after members bridge. Naturally, all four wheels are off the ground as seen in nearly every photo of that corner, partly caused by a bump in the track at that point.
A few additions, exercising some poetic licence, include:
Ethel Locke King in “Bambo”, an Italia car purchased after it won the inaugural Targa Florio race (running number 3).
A Spitfire with the letters XT-W, a Spitfire I believe still flies today
Punters watching the race from the river
The crowd on Member’s Bridge
Advertisements for some of the companies seen around the museum grounds and an official running with the chequered flag
And more. The front and back designs are separated by a silver/green/silver pinstripe with the colours of the original Napier Railton badge.
Setup and wiring
Finishing straight now!
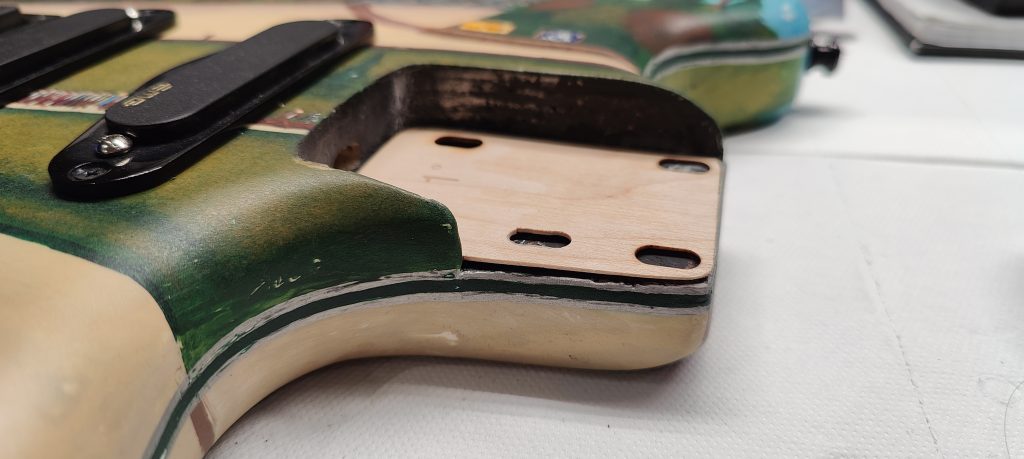
After initial assembly, the neck break angle was very slightly too shallow. I took a StewMac shim and adjusted it to fit the neck pocket.
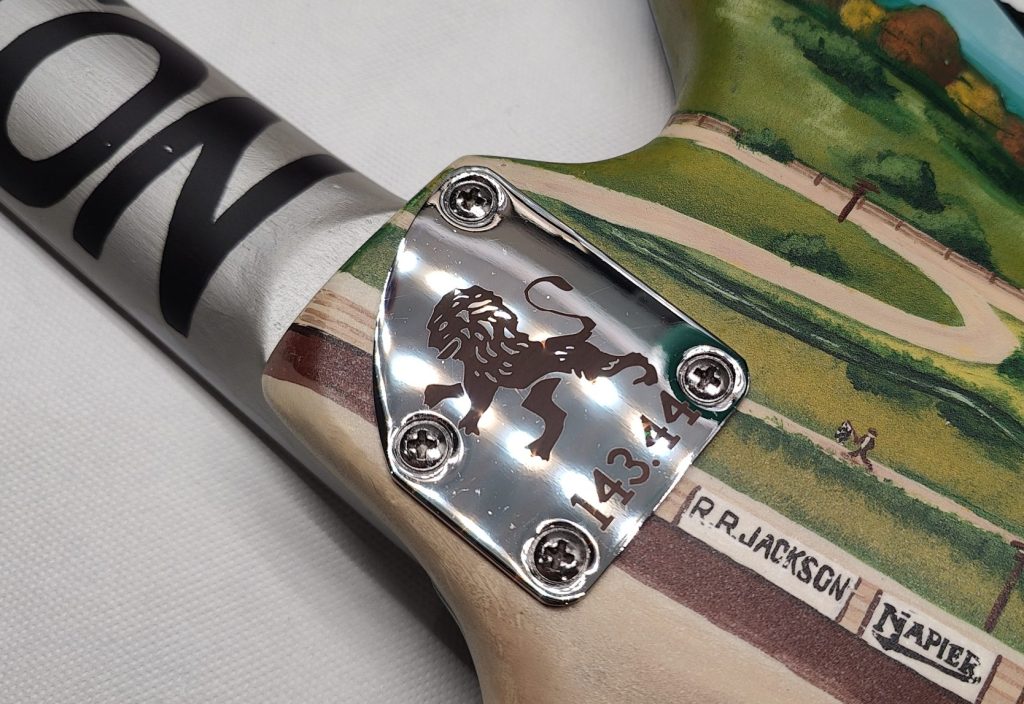
With the neck in, I can reveal the custom engraved neck plate. This features the lion from the Napier badge above the radiator grille on the Railton and 143.44, the all-time lap record (mph) set at Brooklands racetrack in 1935.
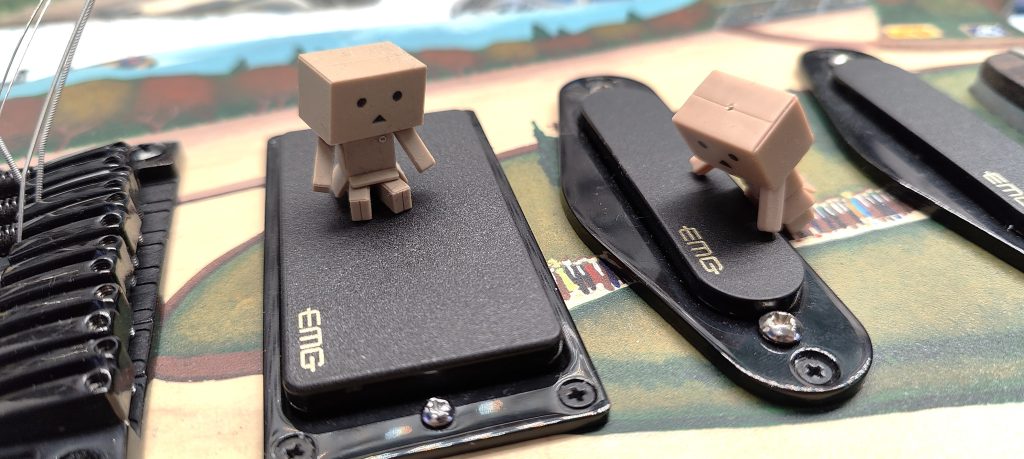
At this point, I had a bit of a time sorting extended wires for the EMGs, so here are some Danbos surveying the pickups.
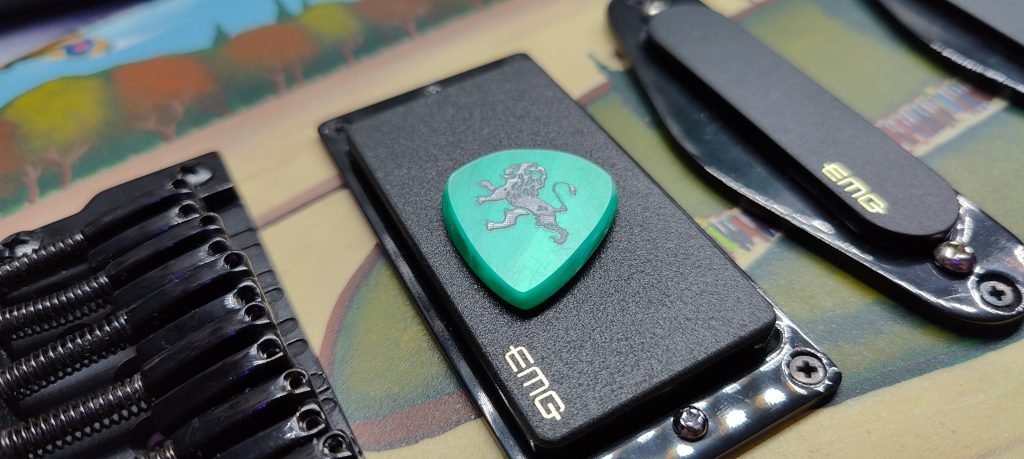
I also took the opportunity to make a Napier pick to go with the build. Emerald green kirinite in an enlarged Jazz III shape with the Napier lion laser etched and painted with Culture Hustle Mirror.
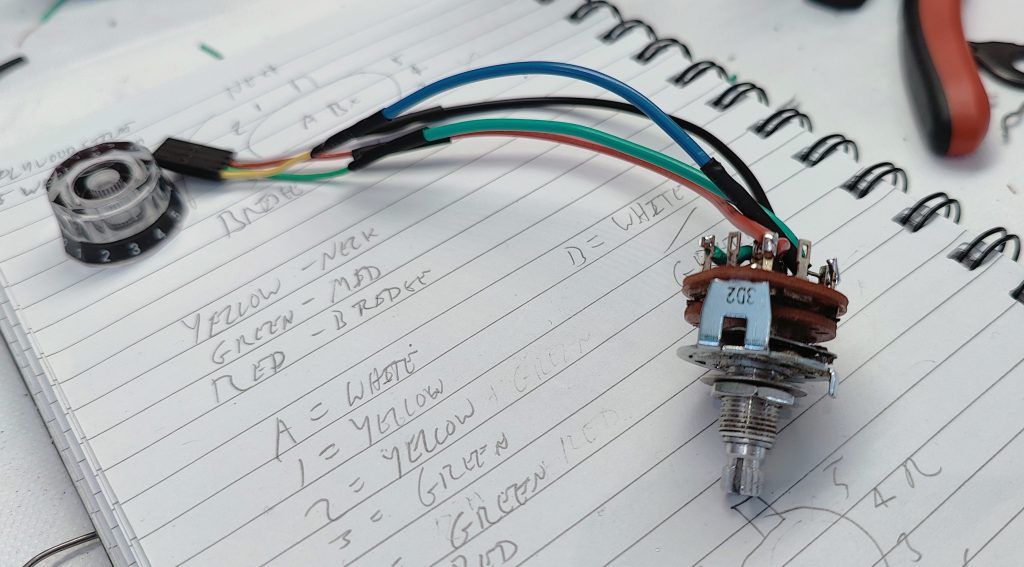
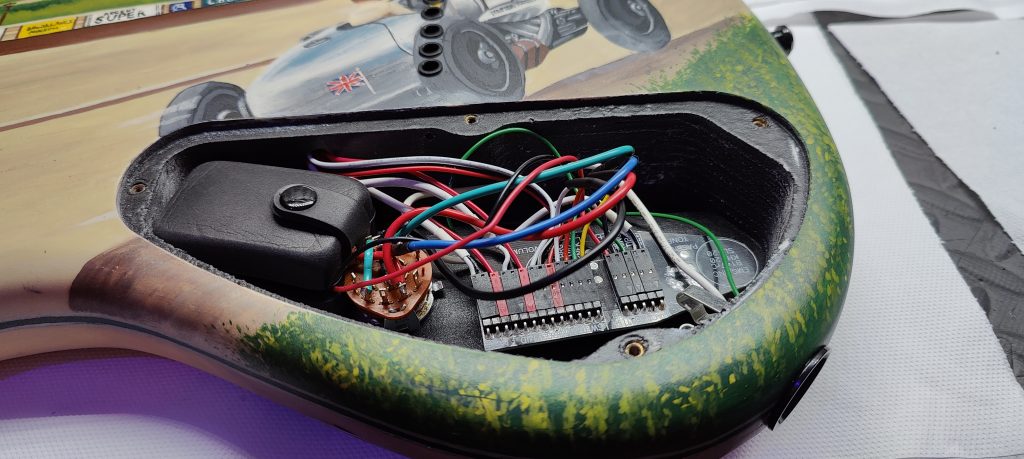
Once I had the correct pickup wires, I spliced in a rotary switch in place of the factory 5-way blade switch. Mostly for aesthetics, but I also like alternative pickup selection options.
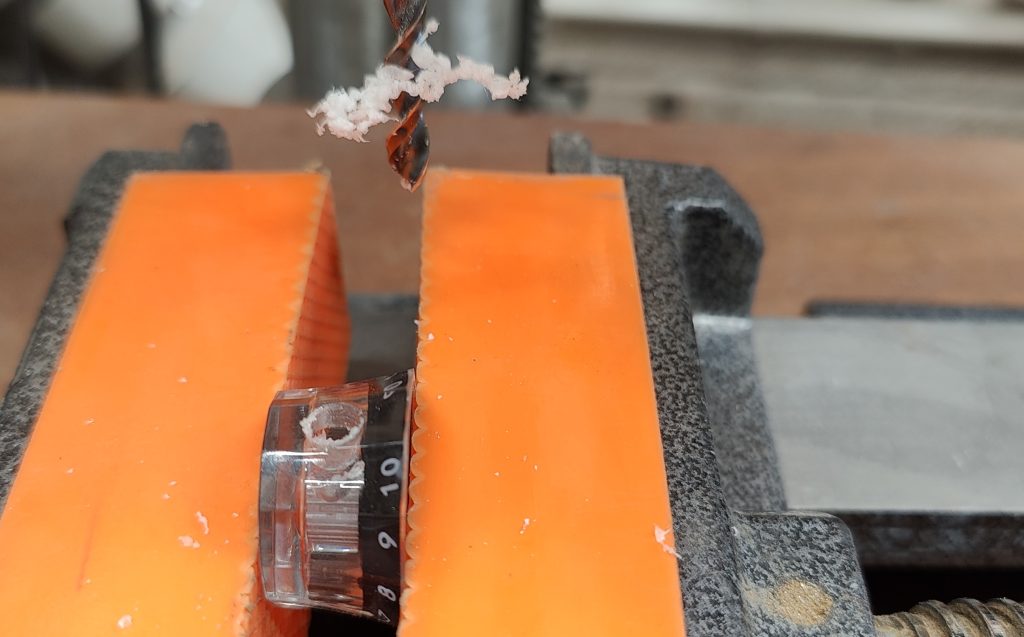
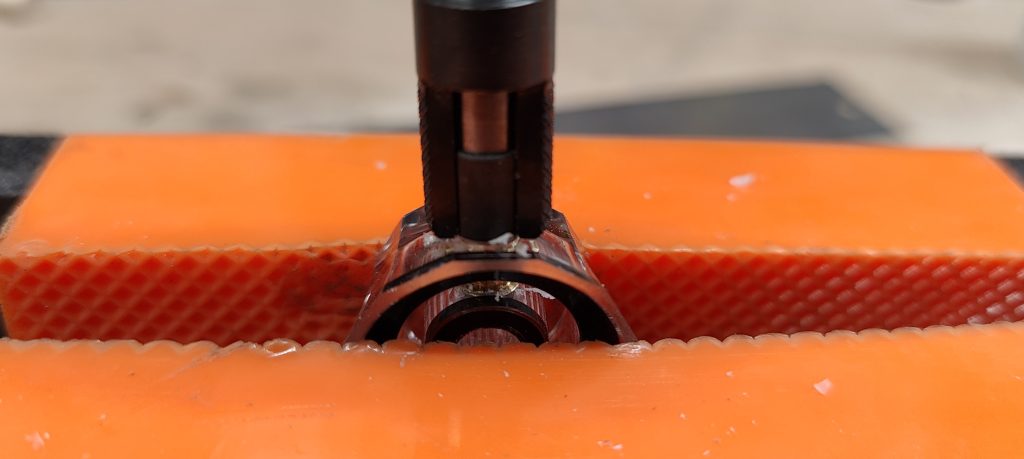
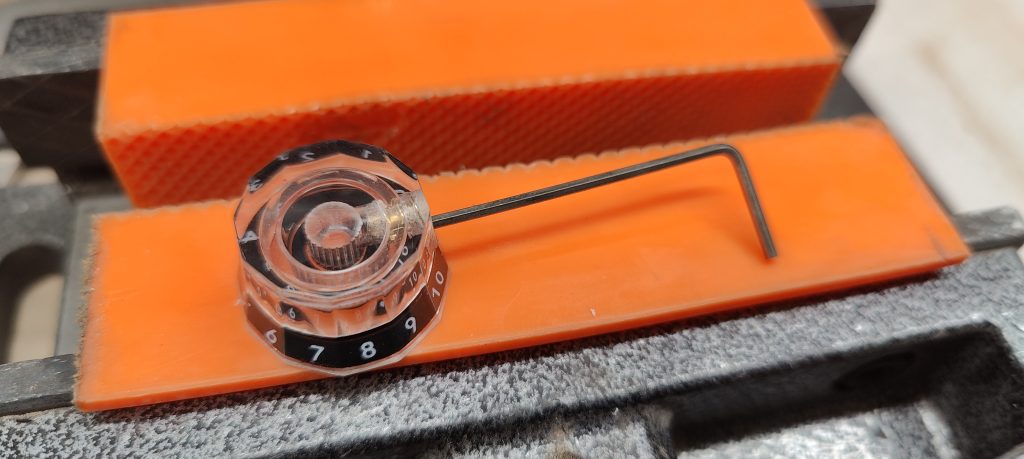
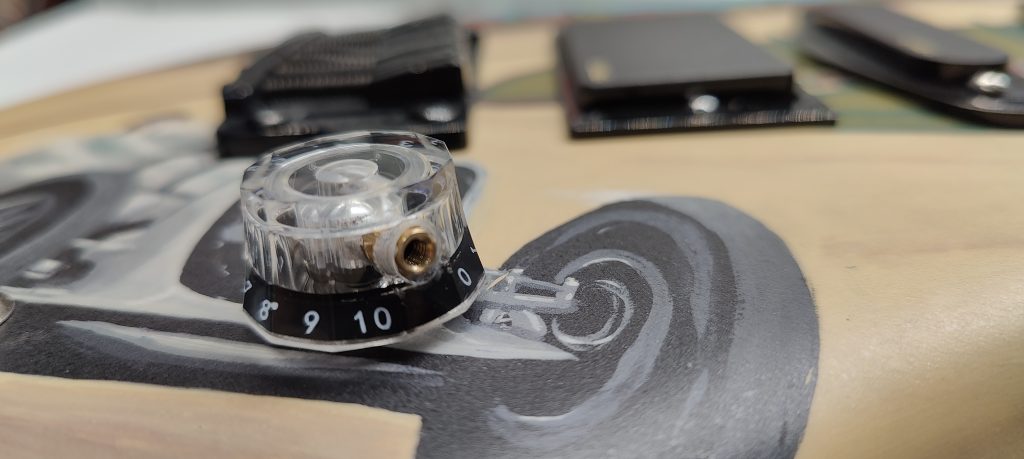
The knob I’d selected for the rotary didn’t have the grip for that purpose, so I experimented successfully with adding a Grainger Guitar Parts threaded insert and grub screw to give it that extra staying power.
Careful drilling with a Famag brad point bit.
Using the insert installation tool.
Couldn’t believe this worked.
And installed.
The others just pressed in. I was tempted to do the Dimebag style soldering iron markings, but decided against it. I selected clear knobs to mask as little of the artwork as possible.
As the wiring harness was premade, I expected this to be the only soldering needed, but unfortunately the stereo jack was soldered shorted at the factory, so that needed redoing (for longer than I’d care to admit, I thought it was my rotary wiring).
Having resolved that issue, I finished installing the harness and fitted the battery case.
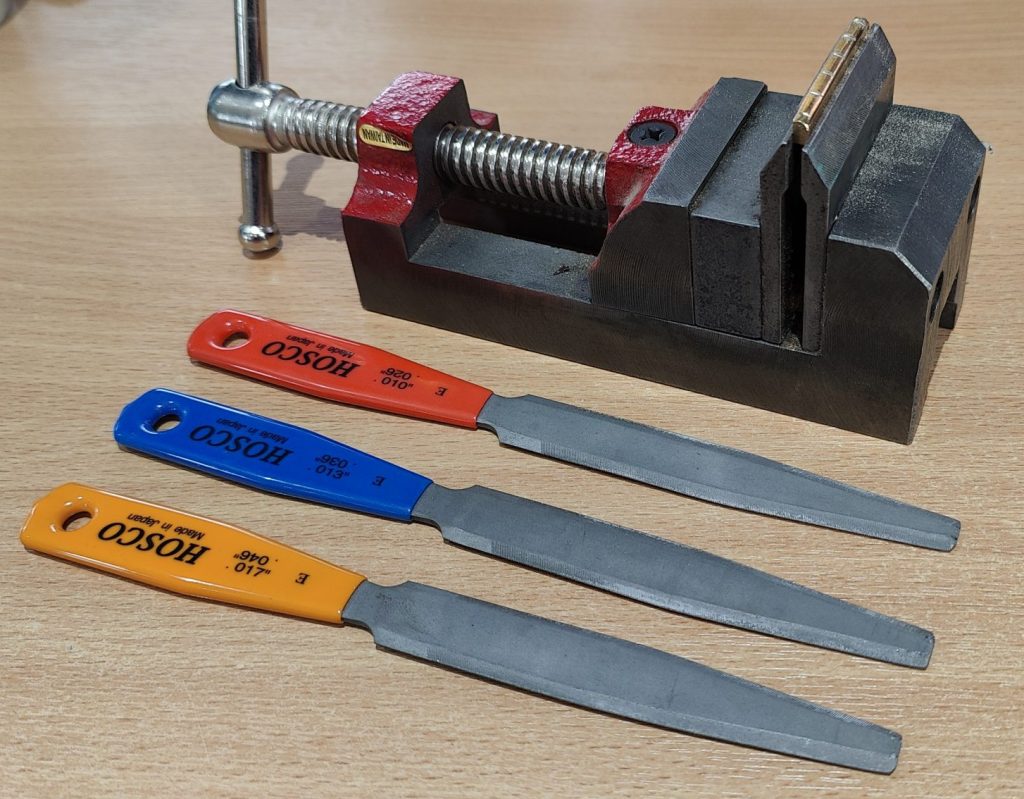
Next it was time to slot the brass nut.
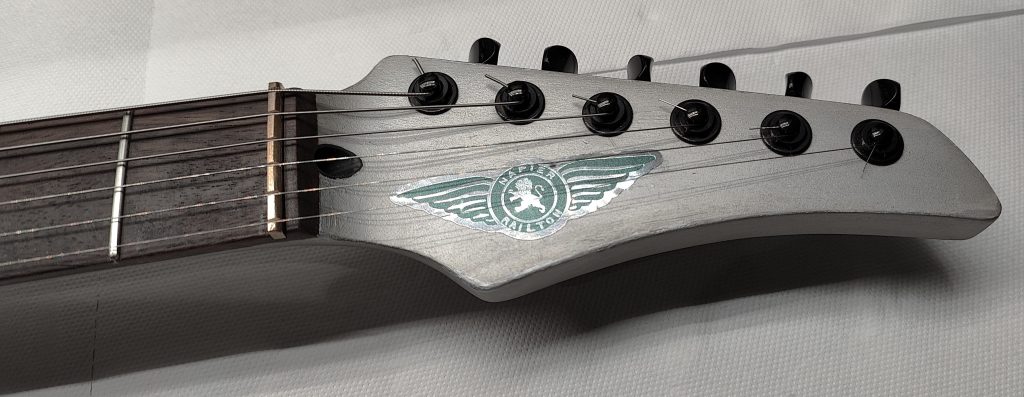
Around this time, I finished tracing the badge on the Napier Railton and, with permission from the team at Brooklands Museum, had metallic stickers printed up for the headstock. As the price was the same for 1 and for 20, I got 20. I actaully got through a couple figuring out the alignment of the badge. Initially I’d set it up on the centre line, but in the end it made more sense to adjust it to align with the G string.
Then the standard wiring check and intonation and the guitar was finished!
Finished Shots
It’s been a great project and I’m very happy to have this guitar playable once again.
Modifications include:
- New body shape
- New headstock shape
- String tree delete
- Brass nut
- Gotoh staggered locking tuners
- Reshaped the neck to a thin, Ibanez style D profile
- Re-radiussed the fretboard to 16″
- New aluminium and carbon fibre inlays
- Full frefret
- All cavities filled with ash, nails?!? Removed and replaced with dowels
- Ibanez Gibraltar bridge added
- EMG Steve Lukather set added with custom rotary switch and modified knob
- Custom Napier Railton/Brooklands paint job
- Napier neck plate
- Napier Railton badge on the headstock
- Neck shim
- Neck heel new bolt pattern


 ‘lo Bob