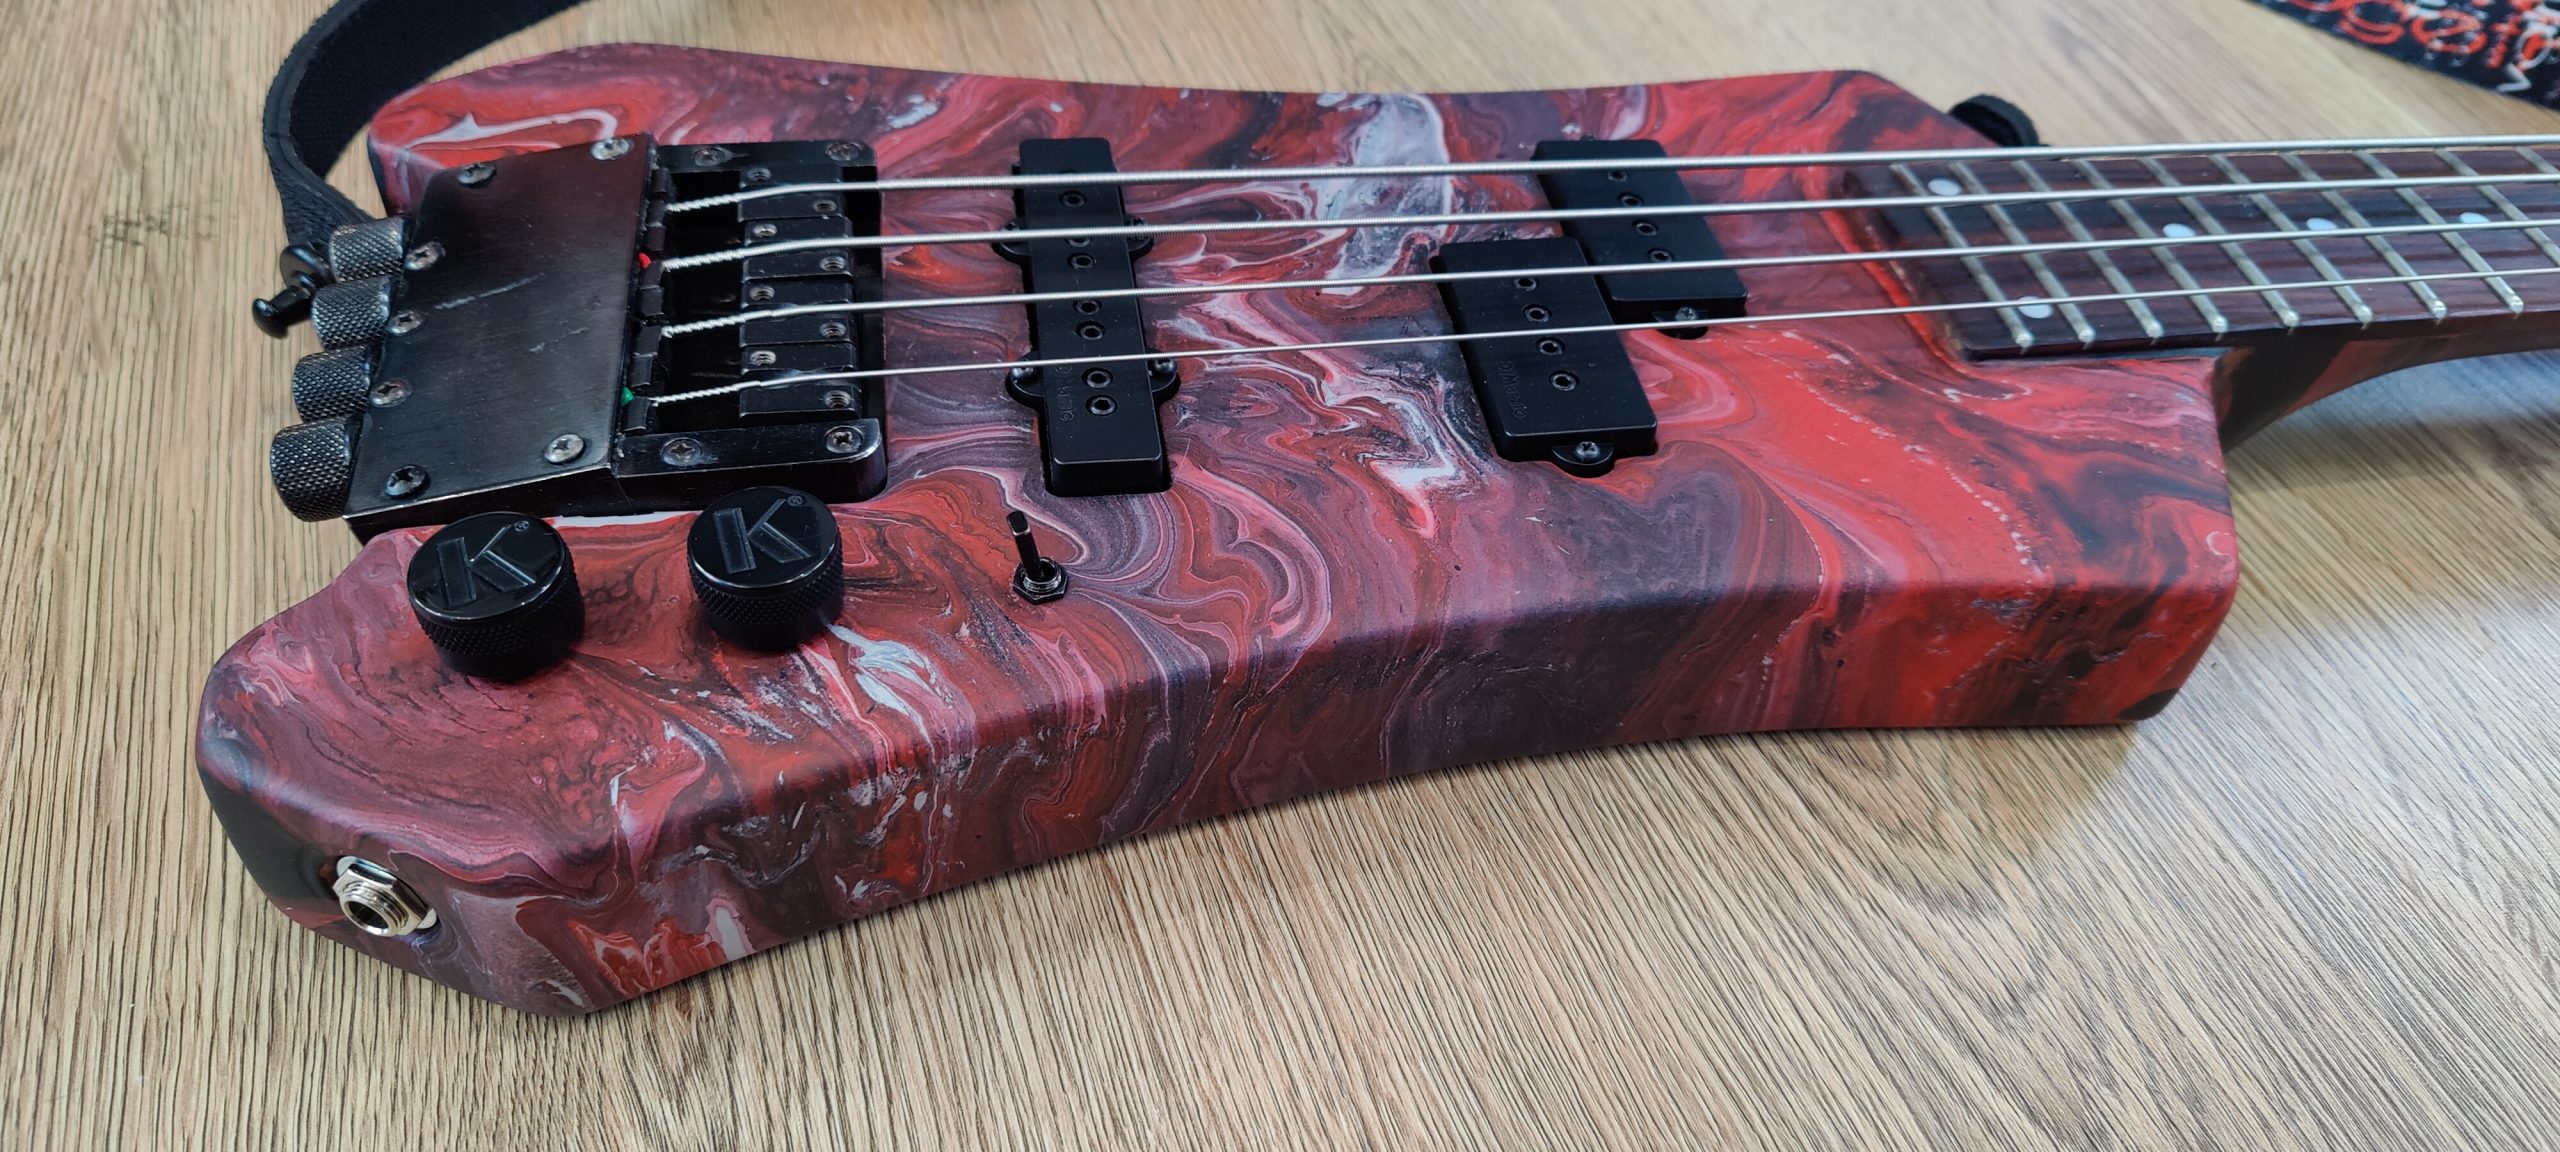
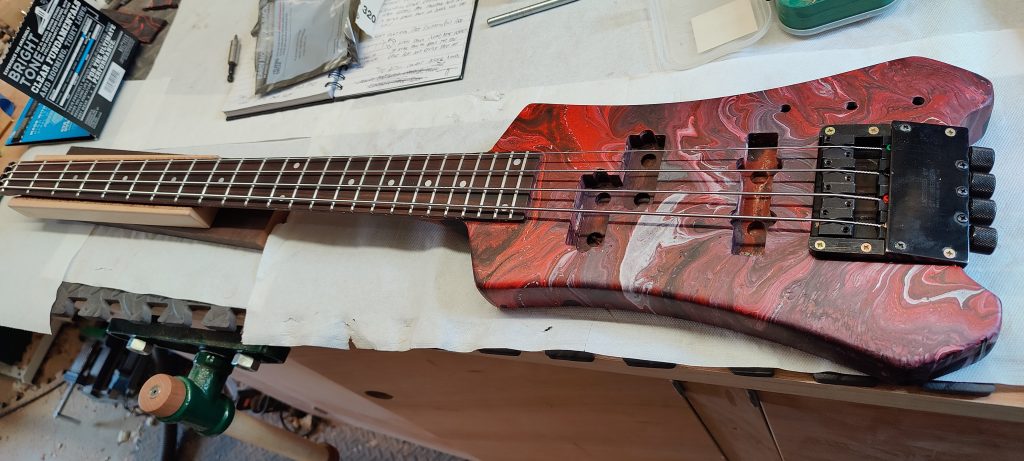
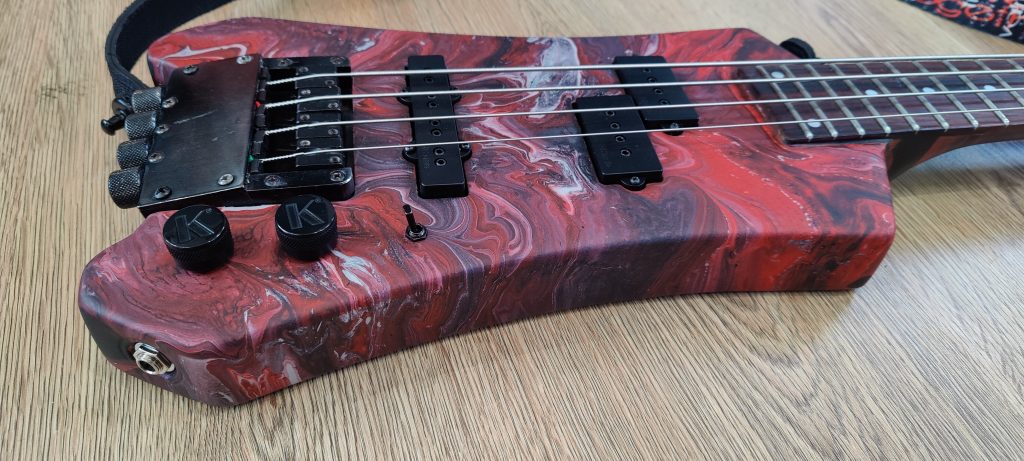
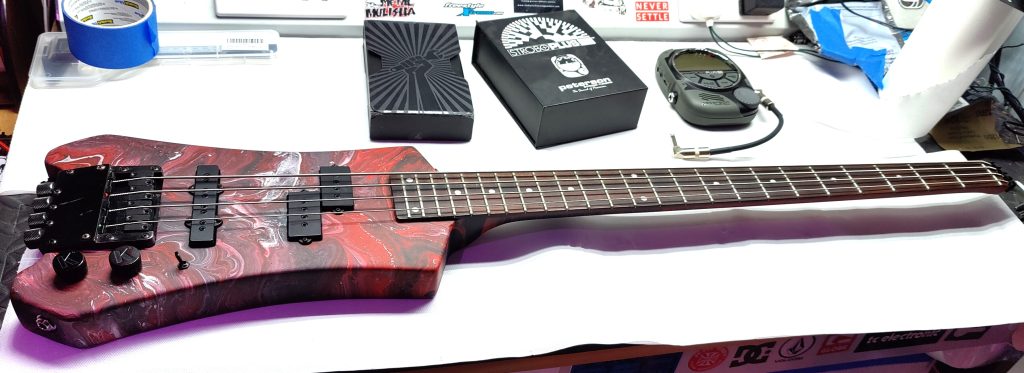
Some time ago, I bought an old Cort/Mach I headless bass. After going through a few design ideas, I decided to fix it up, modify it to suit my playing style and give it a special paint job.
Introduction
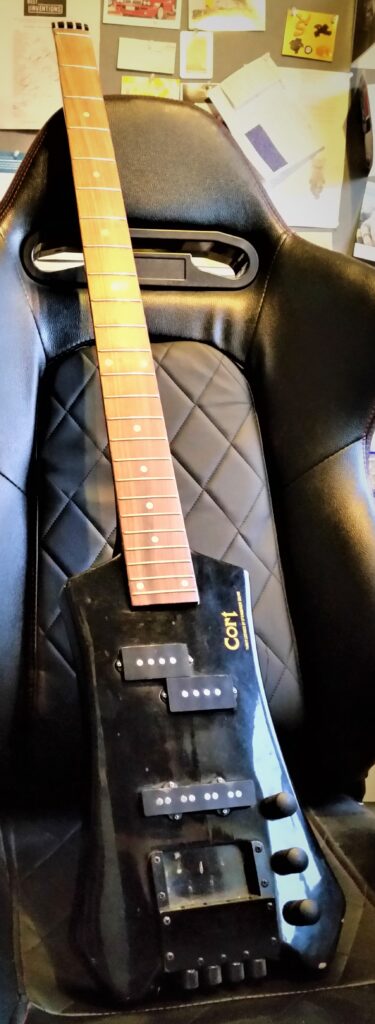
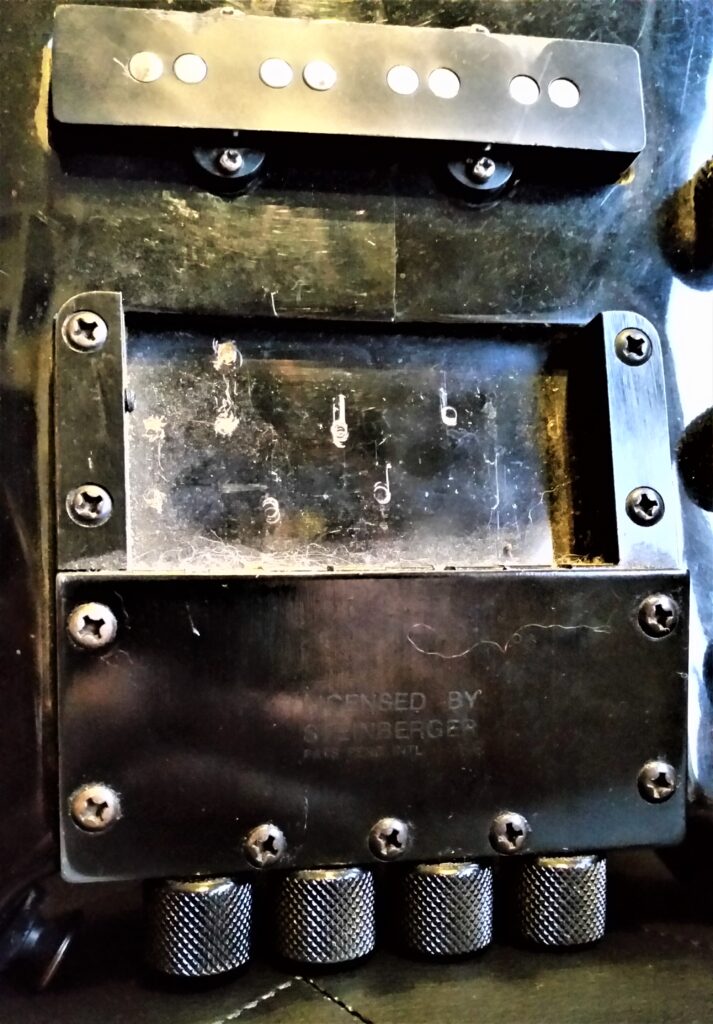
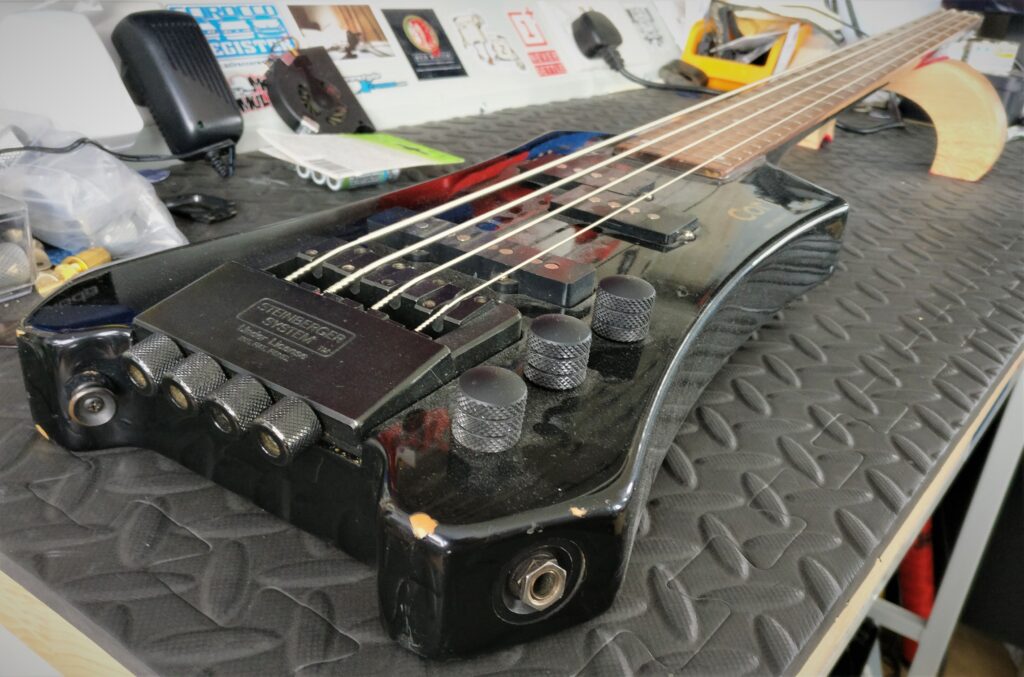
I took up playing the bass a couple of years ago and bought the cheapest headless bass on eBay at the time to practice on (the Tommy the Cat bass being my main one). The body was somewhat battered, the electrics were shot, and the bridge was missing all four saddles.
Minor refurb
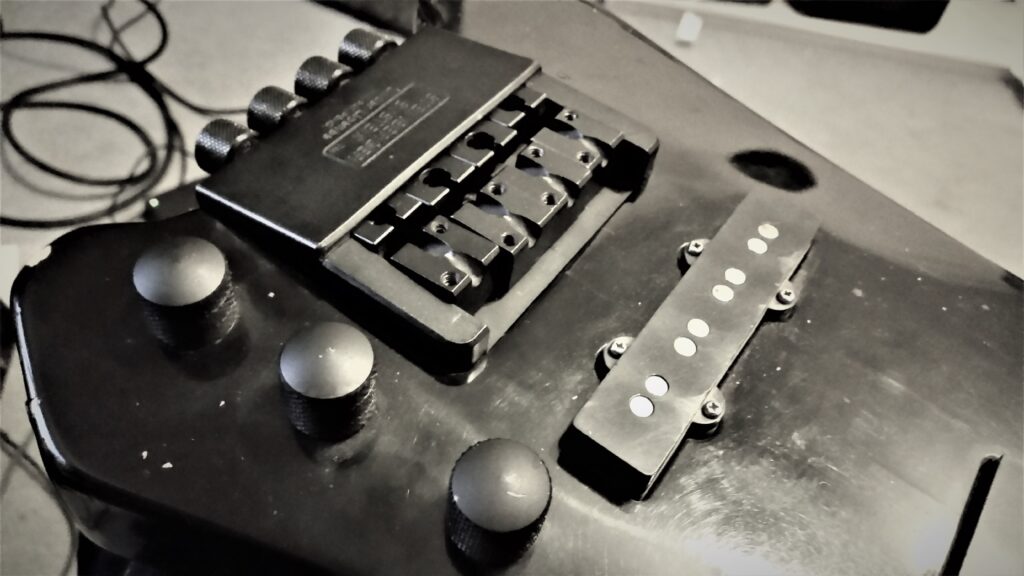
First, I fixed it up with a used bridge to make it playable:
After using it as a non-working bass for a while, I decided to give the bass a new lease of life.
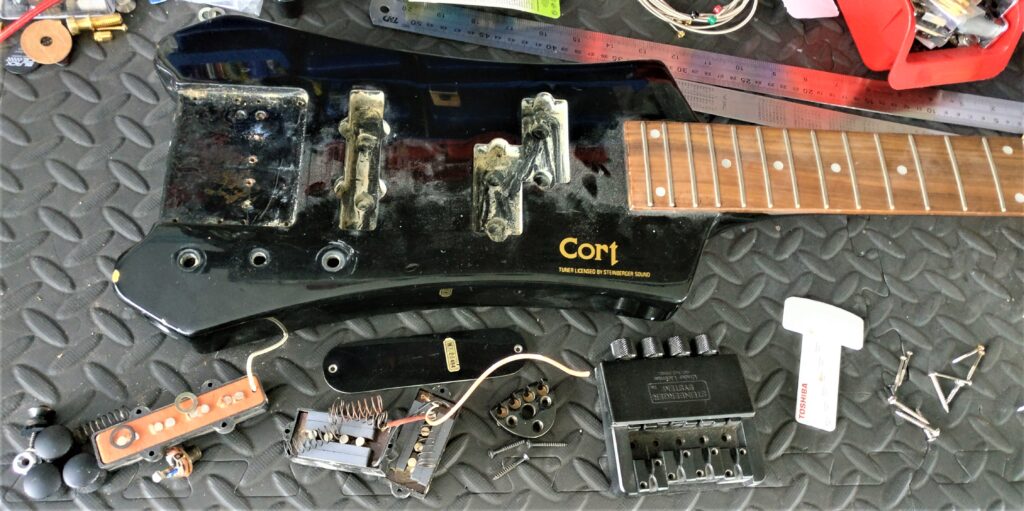
Quick teardown
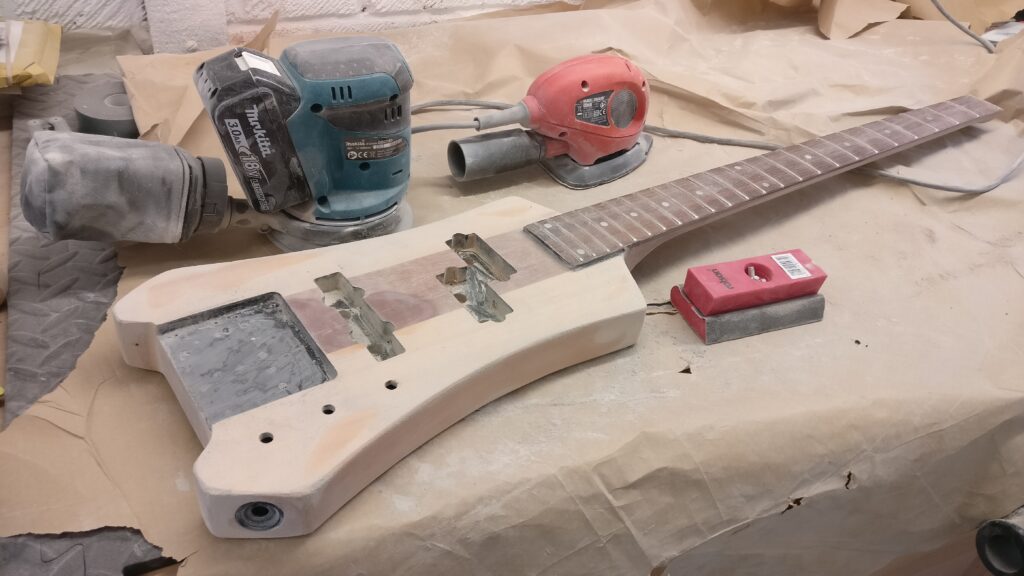
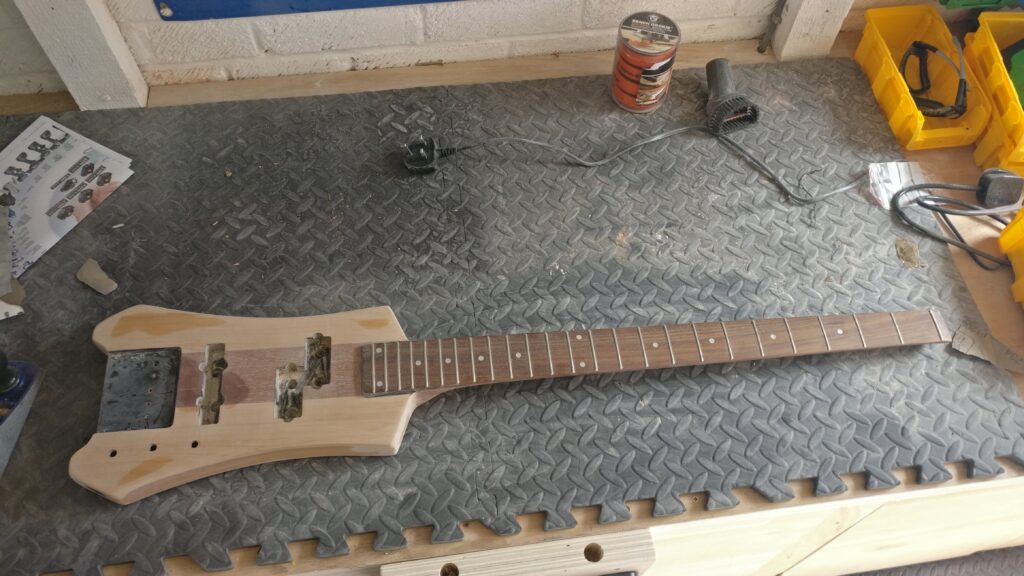
Nothing much to report, I think this may be a new record teardown to me in just under a minute.
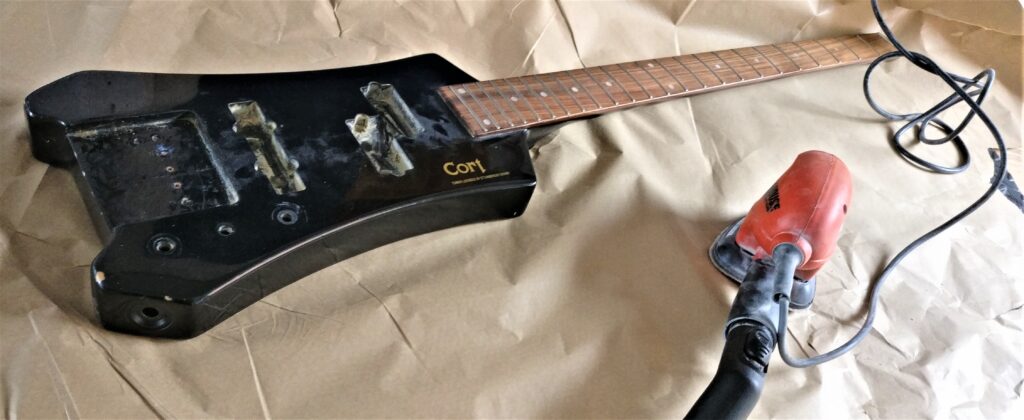
Paint stripping
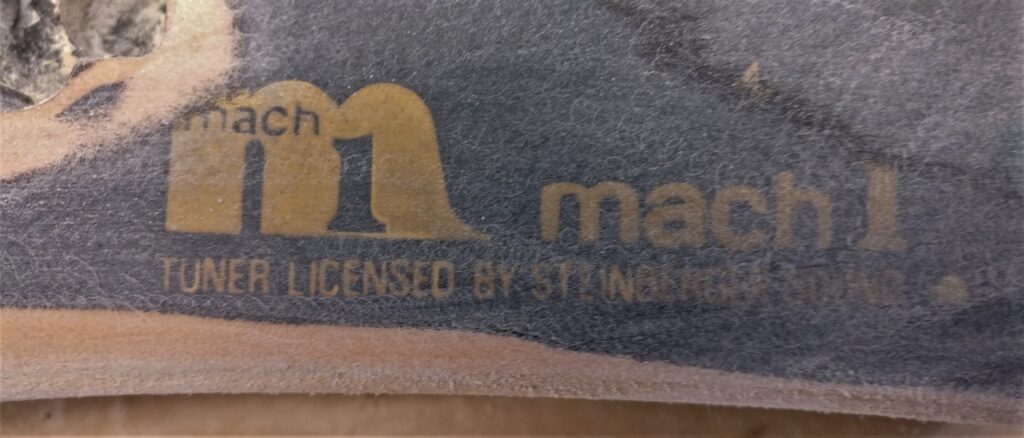
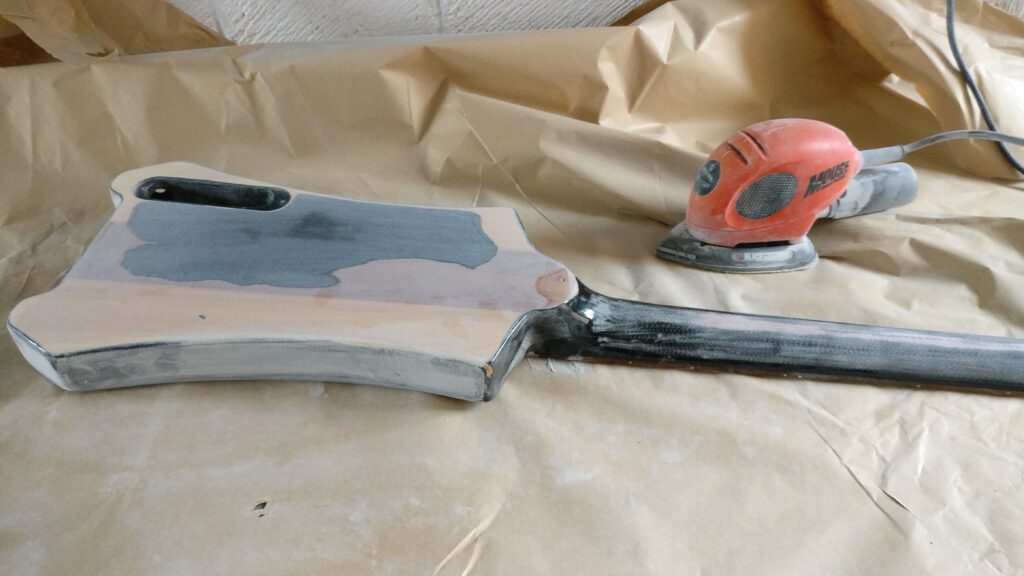
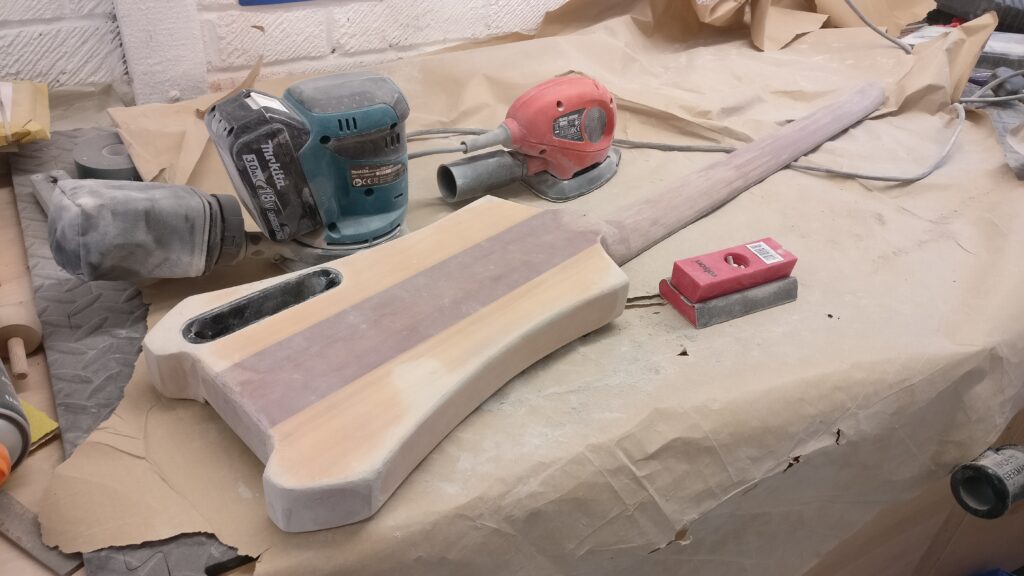
Usual technique. I invested in a disk sander eventually, which both made things quicker and revealed that this bass had a second identity:
I used 40 grit sandpaper to take the finish off the neck. This was crazy quick, but I would recommend more like 80 as it did remove more wood than I would have liked.
Cured by working through the grits, just a lesson for the future.
Fixing its past
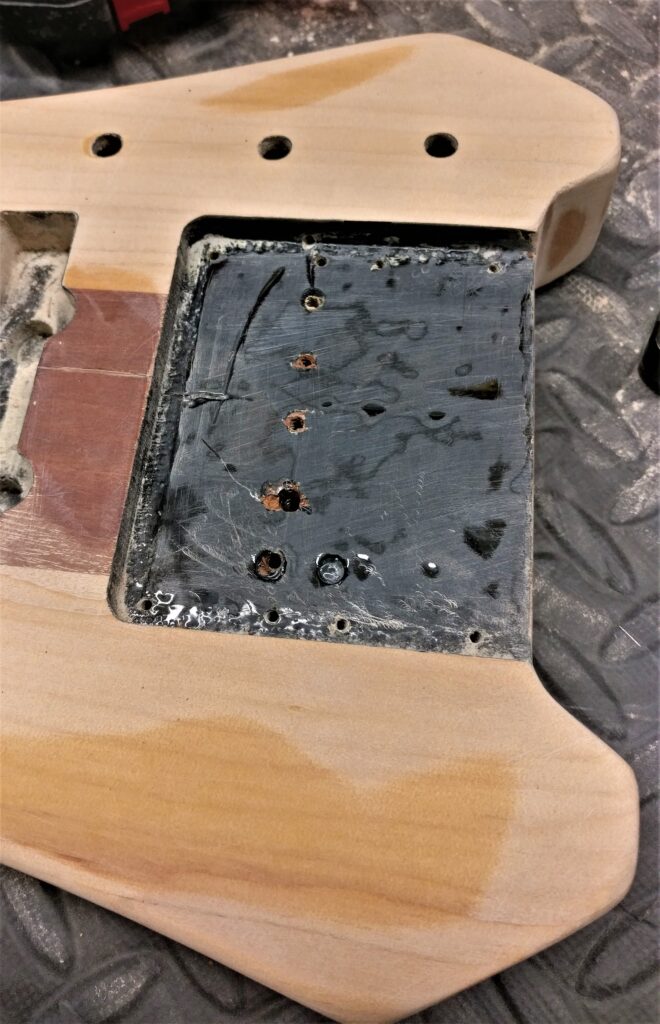
One of the 20+ year old screws sheared clean off when removing the original bridge, then I helped things by sanding it dead smooth removing the finish…
So out with the drill and I now have a hole to fill before re-fitting the hardware.
Paint
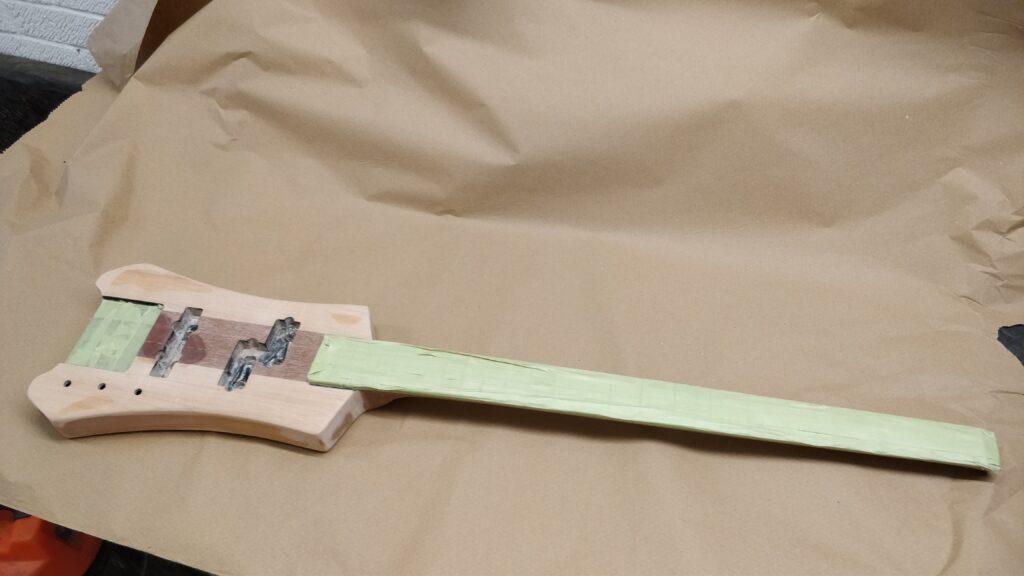
Took a bit of time taping the guitar up ready for primer:
Learning from the last project, I added a few crossing layers to avoid over-spray. Unfortunately, the nut end came unstuck on spray, so I’ll need to sand that very lightly once the paint’s down.
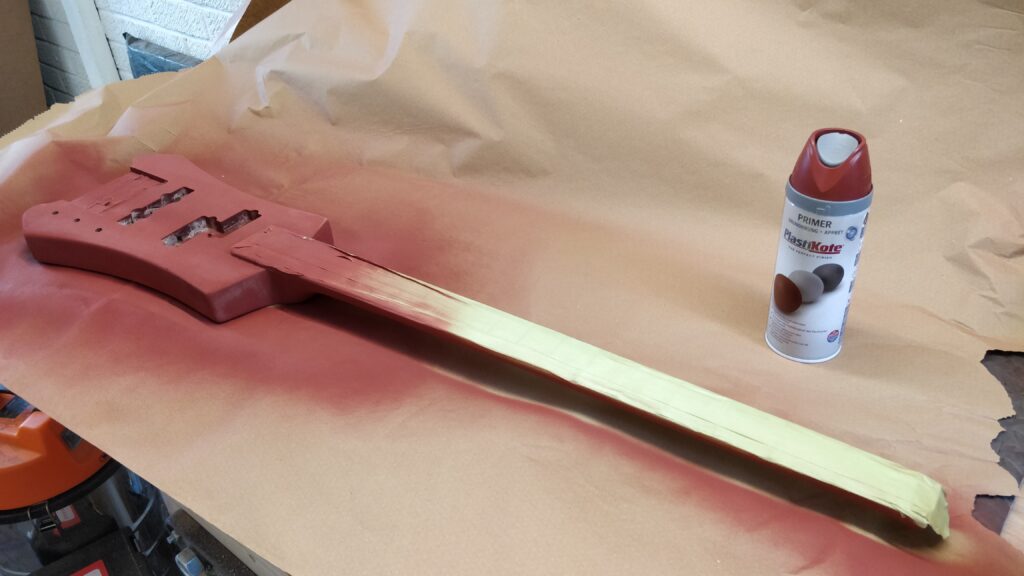
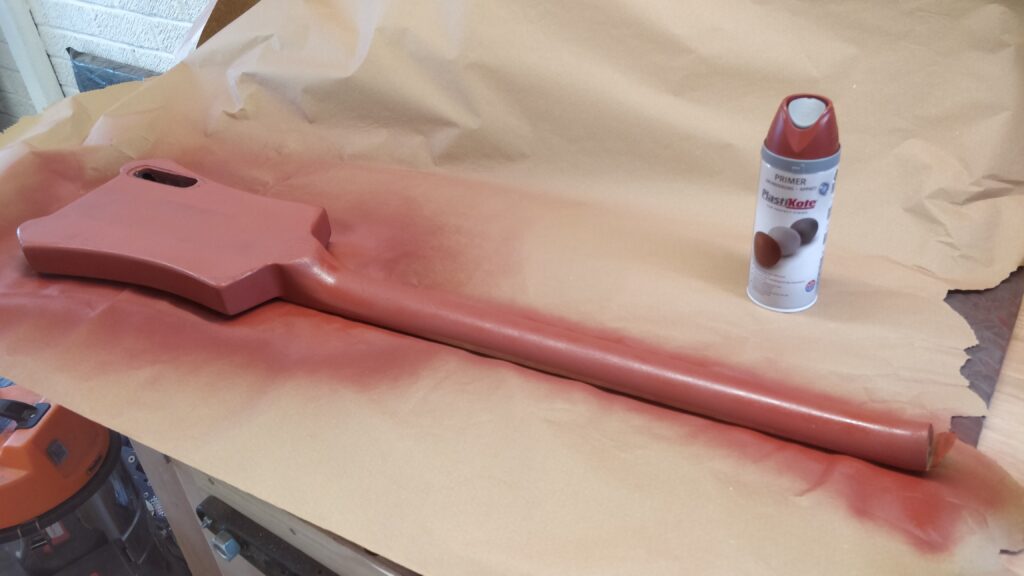
I used Plasti-cote red oxide primer (affiliate link) hopefully to boost the red when I spray it on. Primed, but before sanding, the guitar looks like this:
Fluid Art
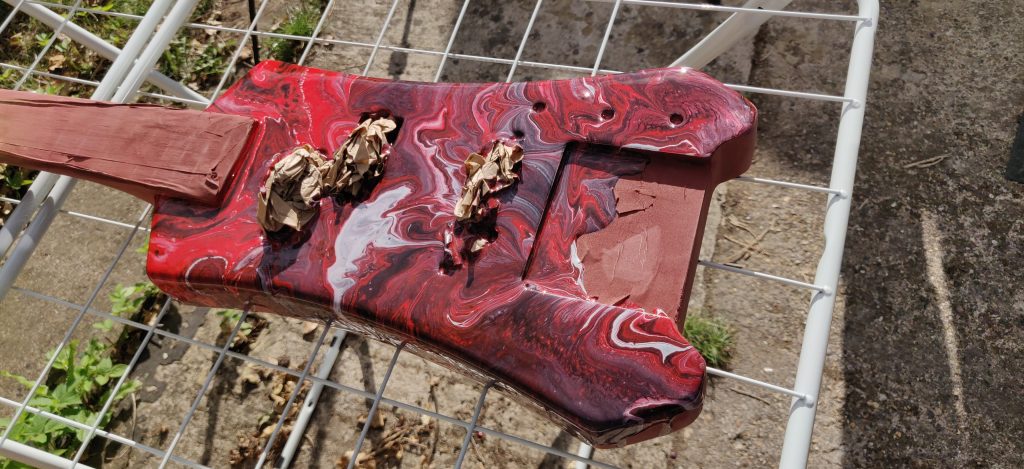
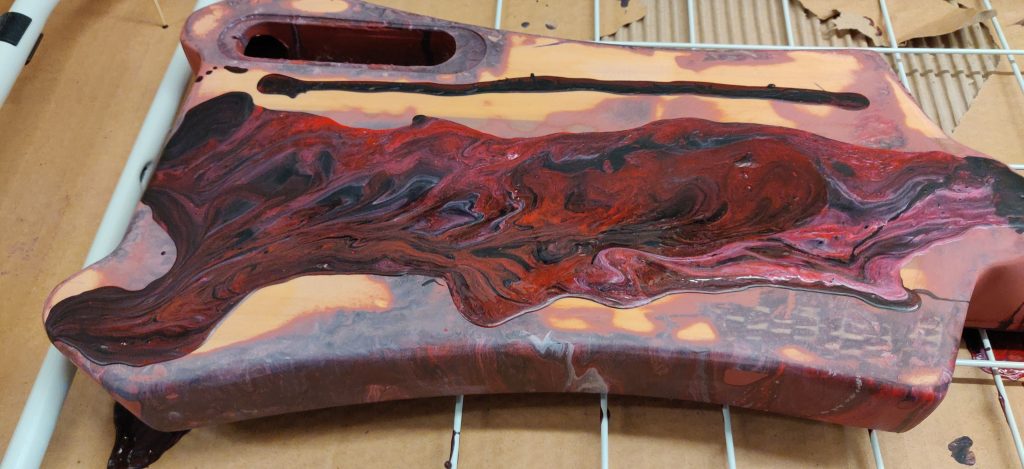
@carriemillingerart had recently started experimenting with fluid art, so we decided to give it a go on the bass. We went for a colour scheme of red, black, and silver and went for it.
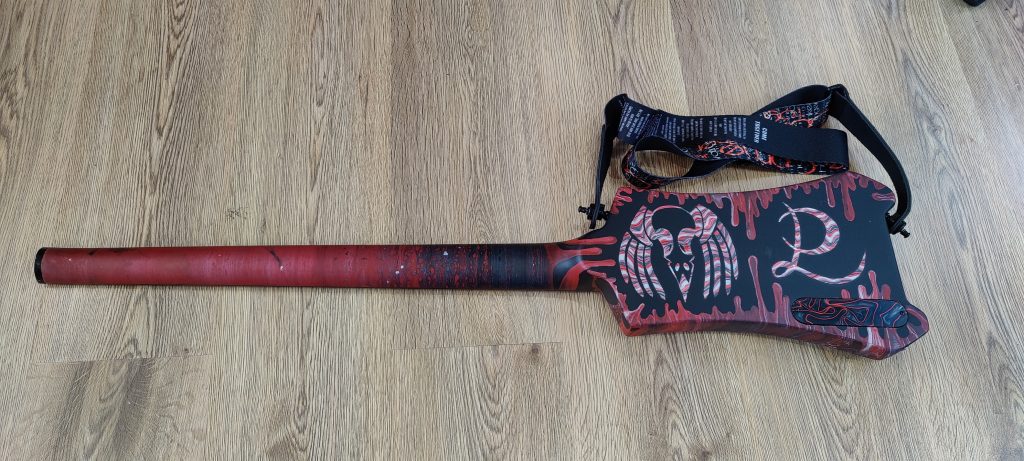
We did the back as well; however, it sadly got stuck to some masking paper and needed redoing. Initially, it looked like this, the plan had been to attempt to encourage the paint out towards the edges. You’ll see the final paint later in this post:
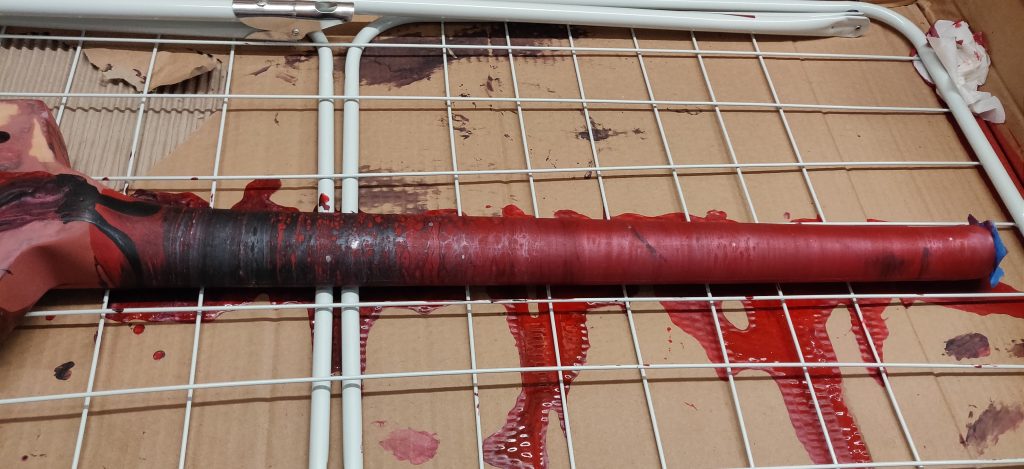
And the neck turned out like this:
I opted to have this guitar finished professionally with satin lacquer.
Fretwork and the single action truss rod
Once I got the bass back from finish, I set about getting everything playable. This is where I discovered/remembered that during the initial stages of sanding back the finish etc, I had yet to set up a guitar or bass, meaning I hadn’t checked the neck was flat, looked at the frets or anything.
Suffice to say the fretboard wasn’t flat, and although I was much more familiar with adjusting truss rods by this stage, this was my first experience of a single action.
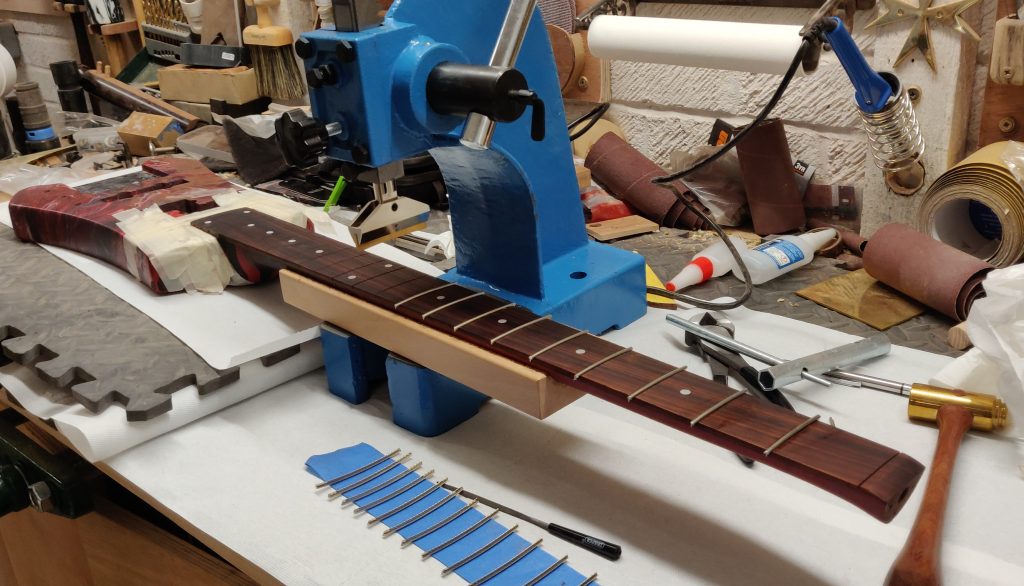
Fortunately, the bow of the neck was such that I could pull the frets, strap the bass down with the neck flat and the truss rod backed off, and level the fretboard to compensate. During this operation, I also fixed some minor cracks and added a 16 inch radius to make it play a bit more like a guitar.
Once that was done, I added a fresh set of frets (Jescar nickel silver) jumbo, with extra jumbo for the zero fret, which provided a perfect low action.
For those interested, I used the fret press most of the way up, then switched to my BC Woodworks fret hammer for the upper frets.
I then assembled the bass (sans pickups) and set it up in terms of action to confirm all was well, which luckily it was.
Wiring, adjusting the pickup cavities and setup
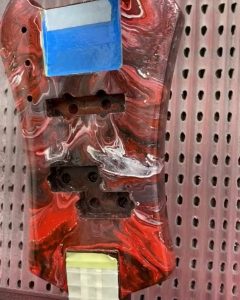
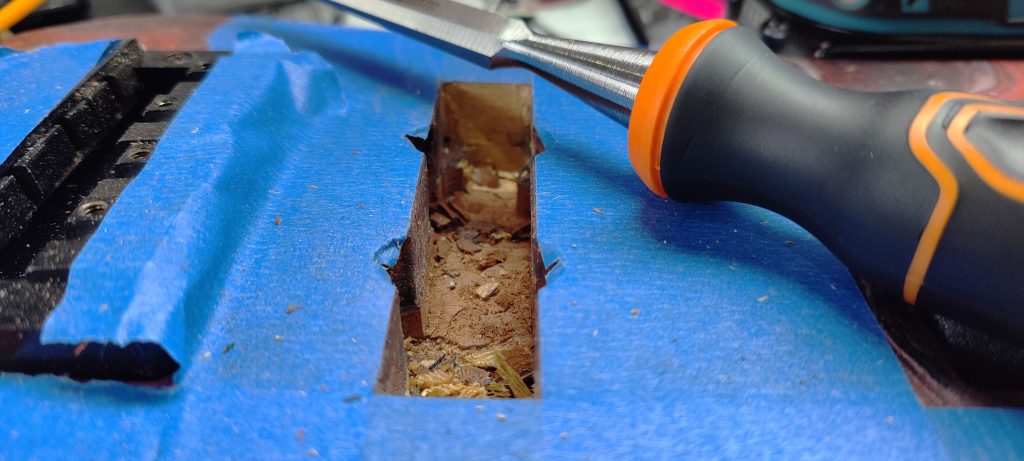
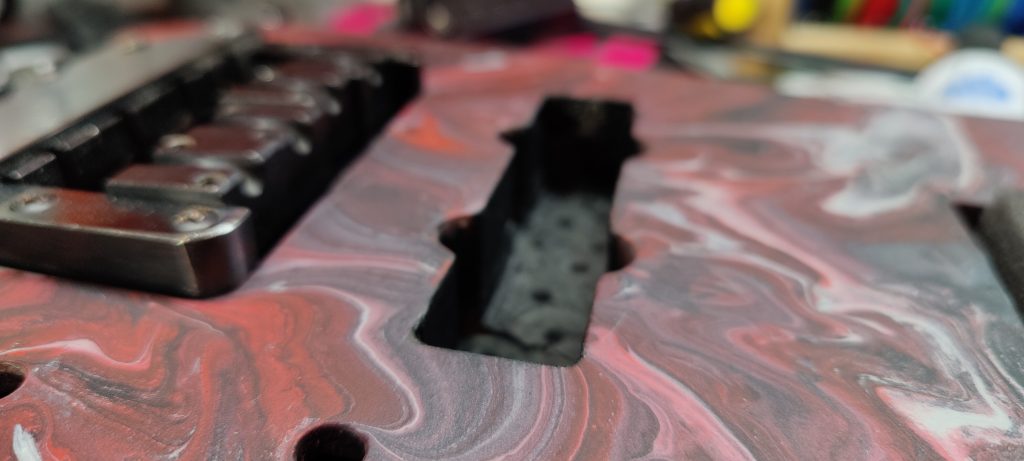
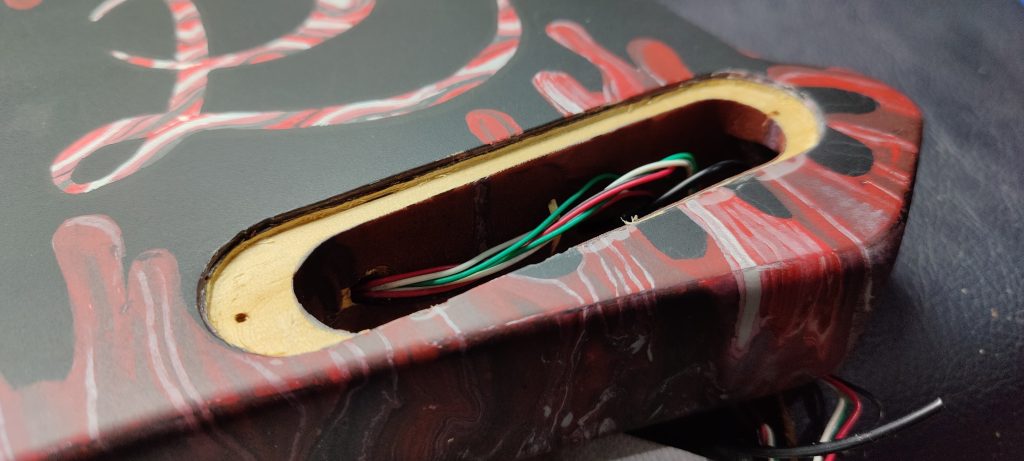
Taking the bass upstairs to add the electronics, I realised that I’d sprayed the primer over the original paint within the pickup cavities, then painted over that with the fluid art pour and then added finish on top. The neck pickups just fit, but the bridge pickup cavity needed some work.
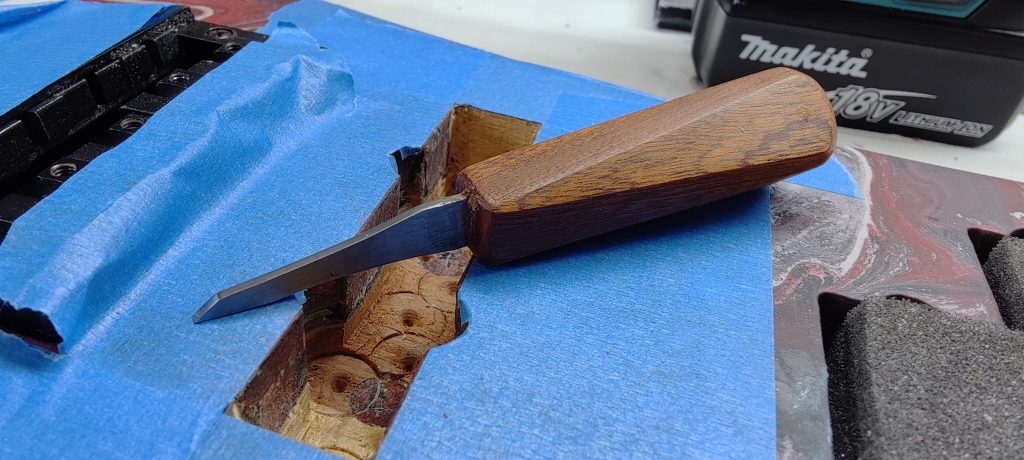
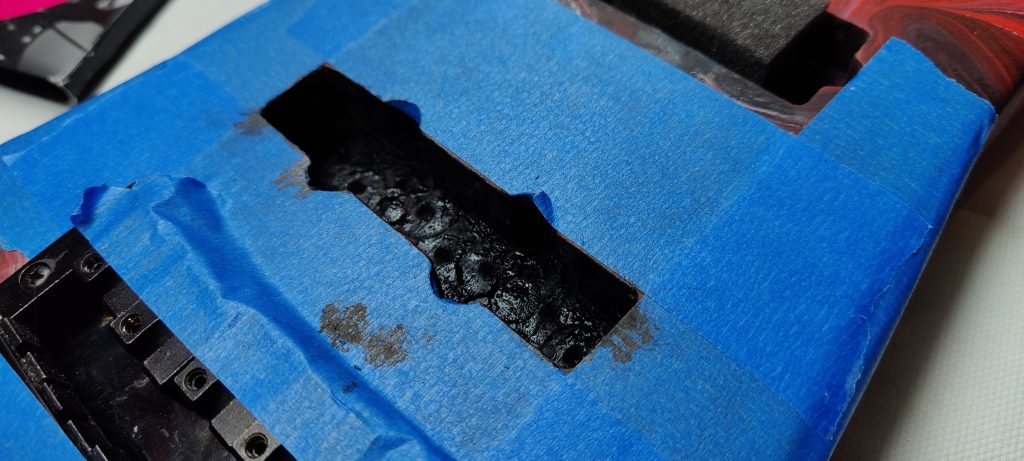
I took my time, using a forstner bit and chisels to carefully deepen and expand the pickup cavity before filling them with shielding paint (mostly to mask the bare wood).
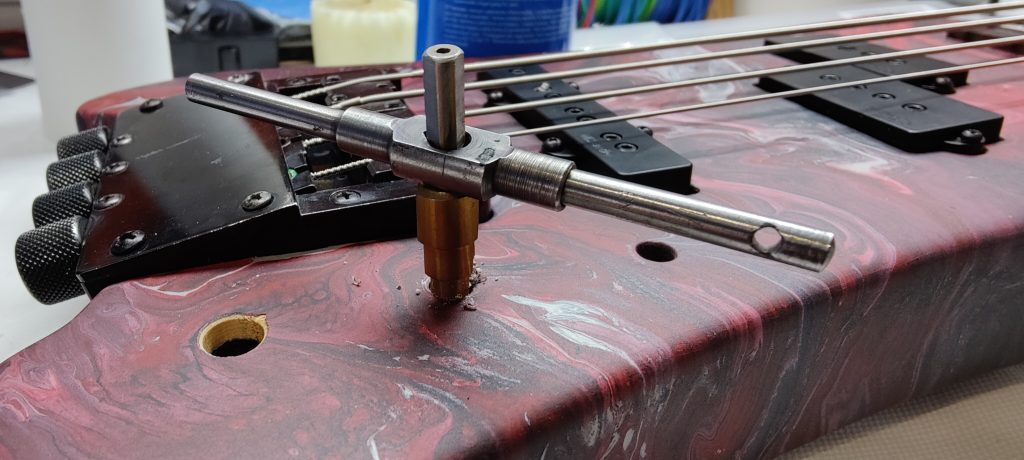
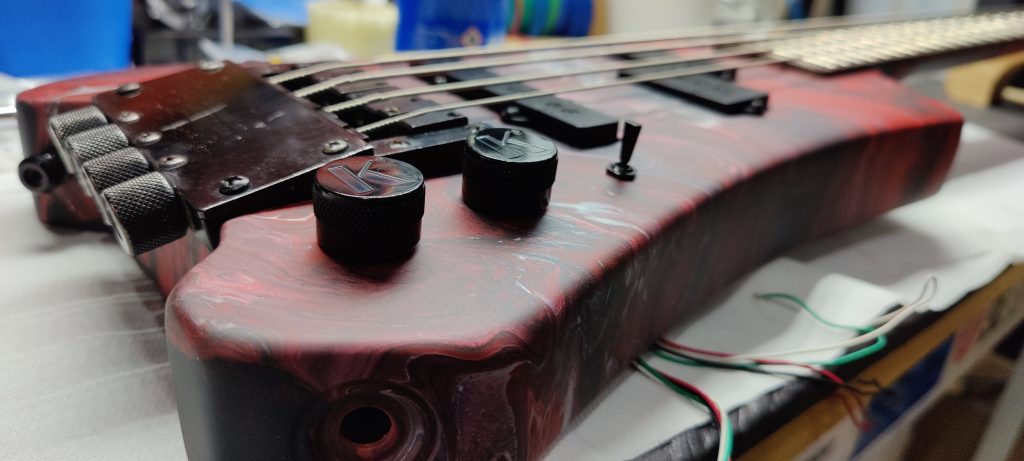
Having dropped in the pickups (Dimarzio DP126 BK set), I also needed to widen the holes for the controls. I decided to go with a volume, tone and a three-way selector to make the controls similar to those of a guitar.
My favourite method for this is to use a step drill with a vintage tap handle, allowing me to take my time, spot any lifting on the finish, work it backwards or forwards as necessary etc.
I went for a three-way mini toggle due to the available space, as the control cavity is quite tight. I also preferred that look for this bass than a Gibson style selector.
With the wiring complete, I was able to intonate the bridge with the Peterson. This was much easier than I expected, considering the saddles are only held in place with the strings when intonating, before they’re locked in place with a set screw.
Cavity and cavity cover
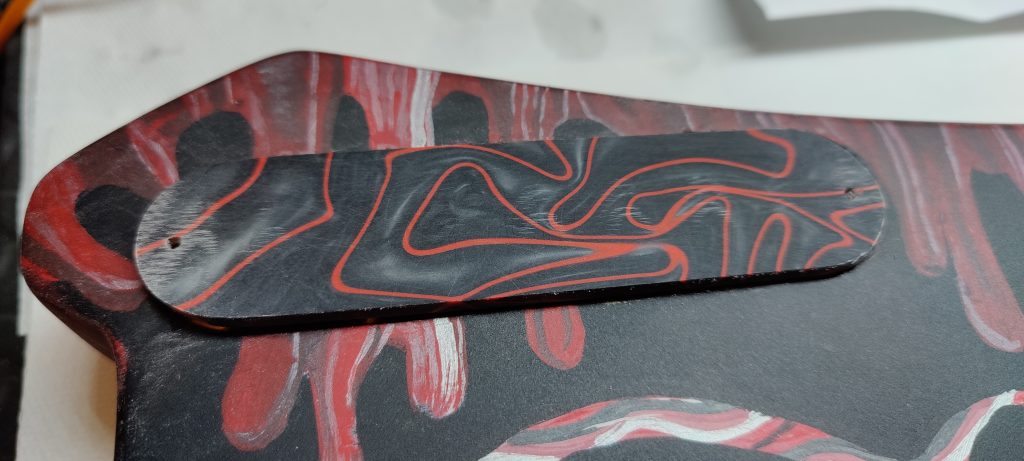
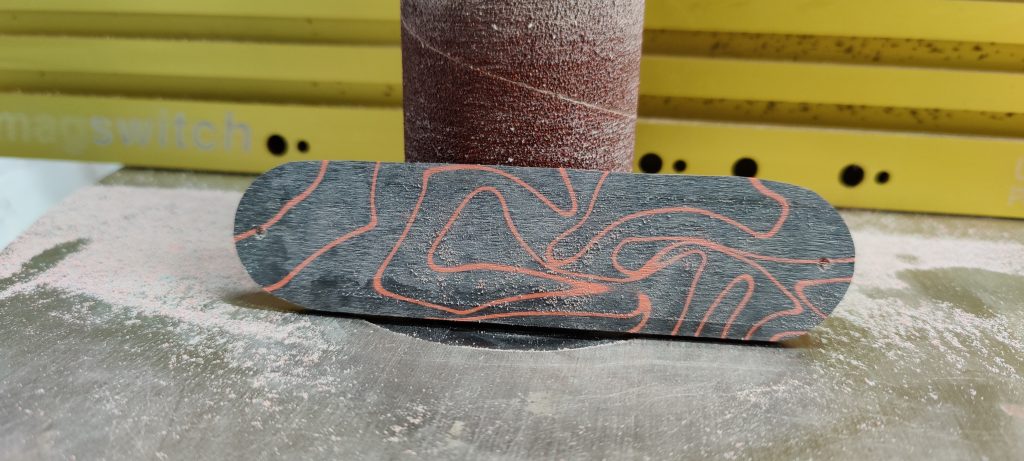
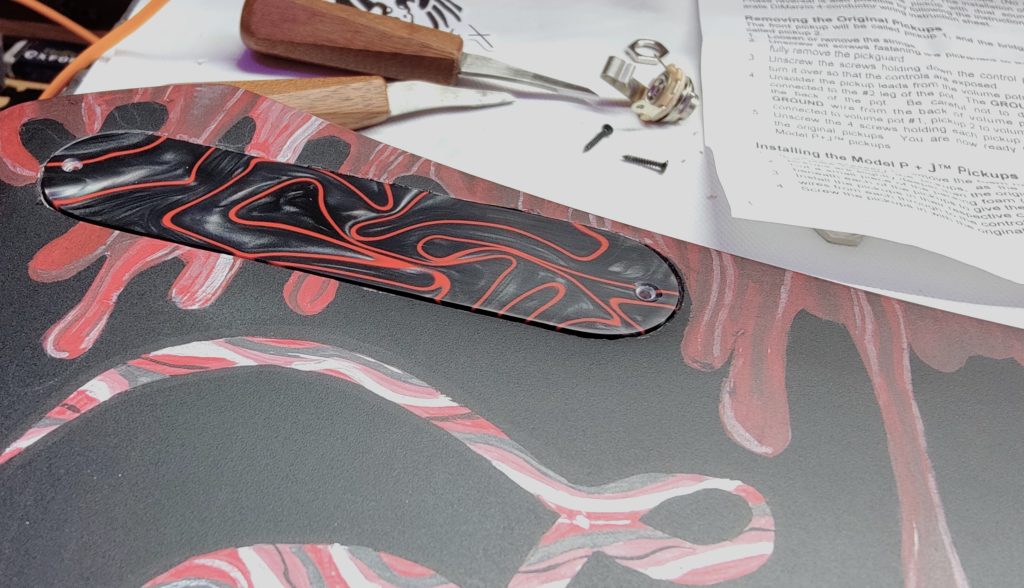
As the cavity cover no longer fitted, I decided to make one out of kirinite, using a piece with similar colouring to the paint.
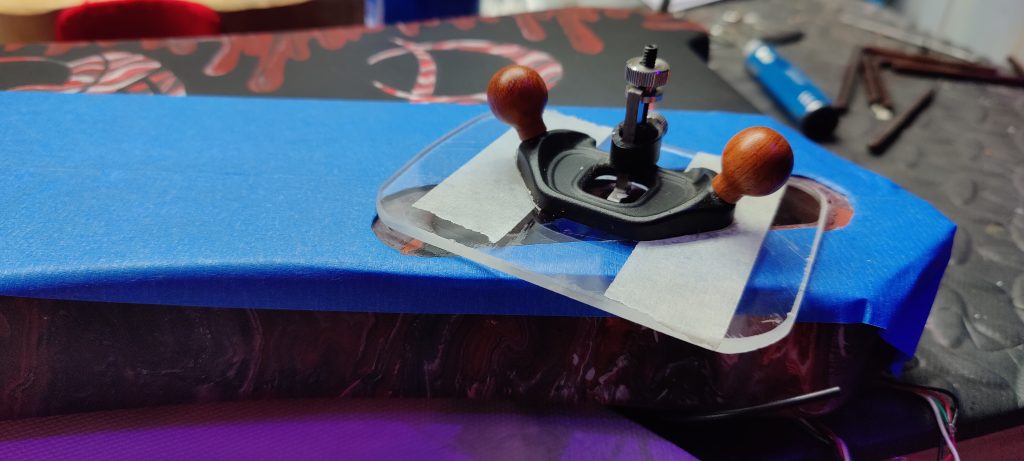
To allow for a slightly thicker piece, I used my Veritas mini router plane. This gave me the control I needed to clean up the paint and deepen the recess.
I also used a marking knife throughout to keep the sides true, and used an inlay chisel in places to keep everything tidy.
I then cut and shaped the piece to match the new recess.
And thicknessed it on the full-size Triton spindle sander, with a 90 degree Magswitch guide plate (with the piece attached to a piece of plywood, not shown).
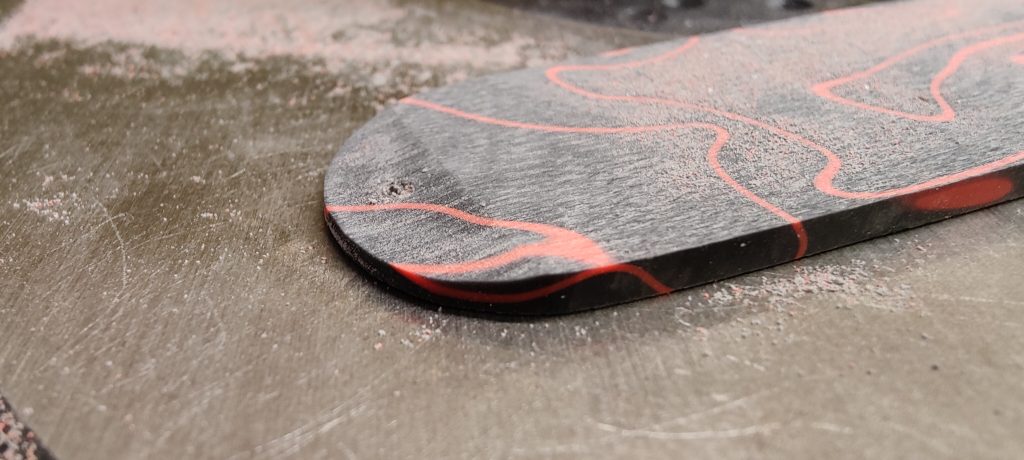
Once at thickness, I added a chamfer to allow it to kick out when pressed for easy removal.
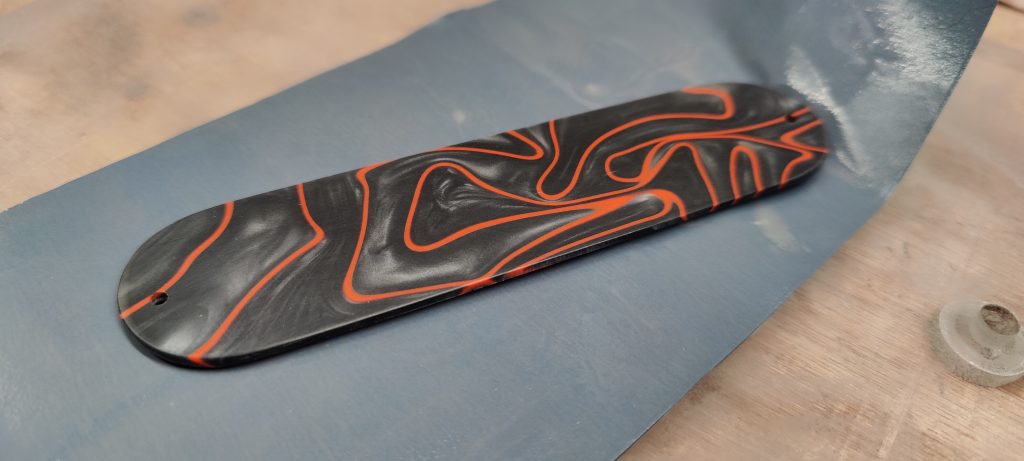
Then fine sand and polish.
I think it works well.
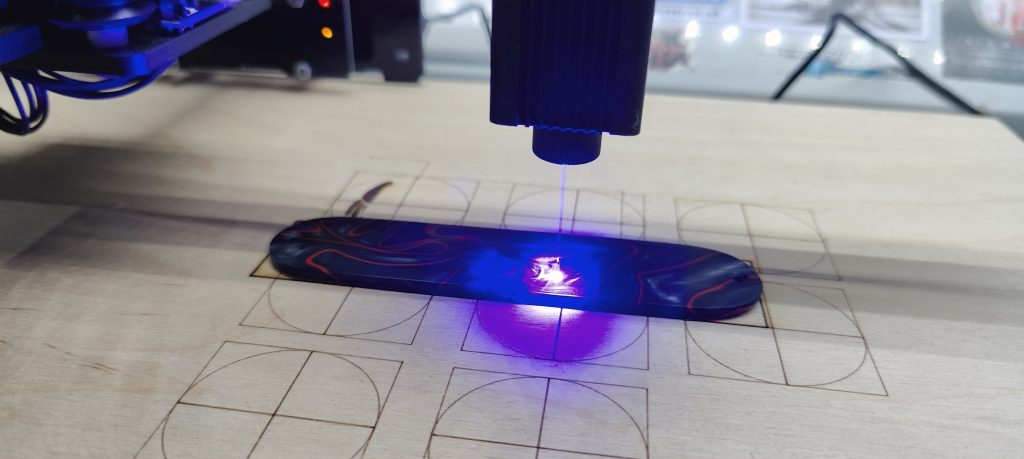
At this stage, I took the liberty of engraving the original serial number into the plate with the laser.
Done!
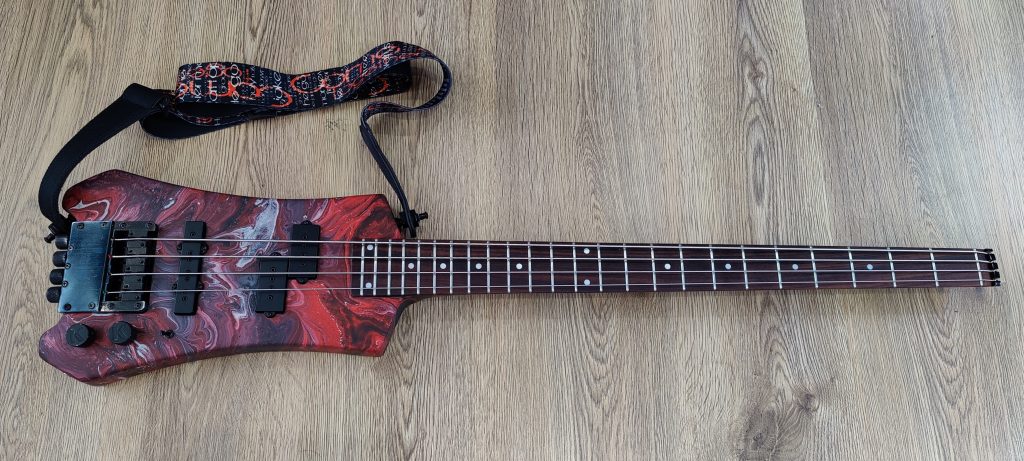
This was a longer journey than planned, but the bass turned out fantastic and is extremely comfortable to play.
Surprisingly, despite the proportions, it also has almost no neck dive, I suspect due to the neck through construction and use of mahogany for the neck with maple wings.

